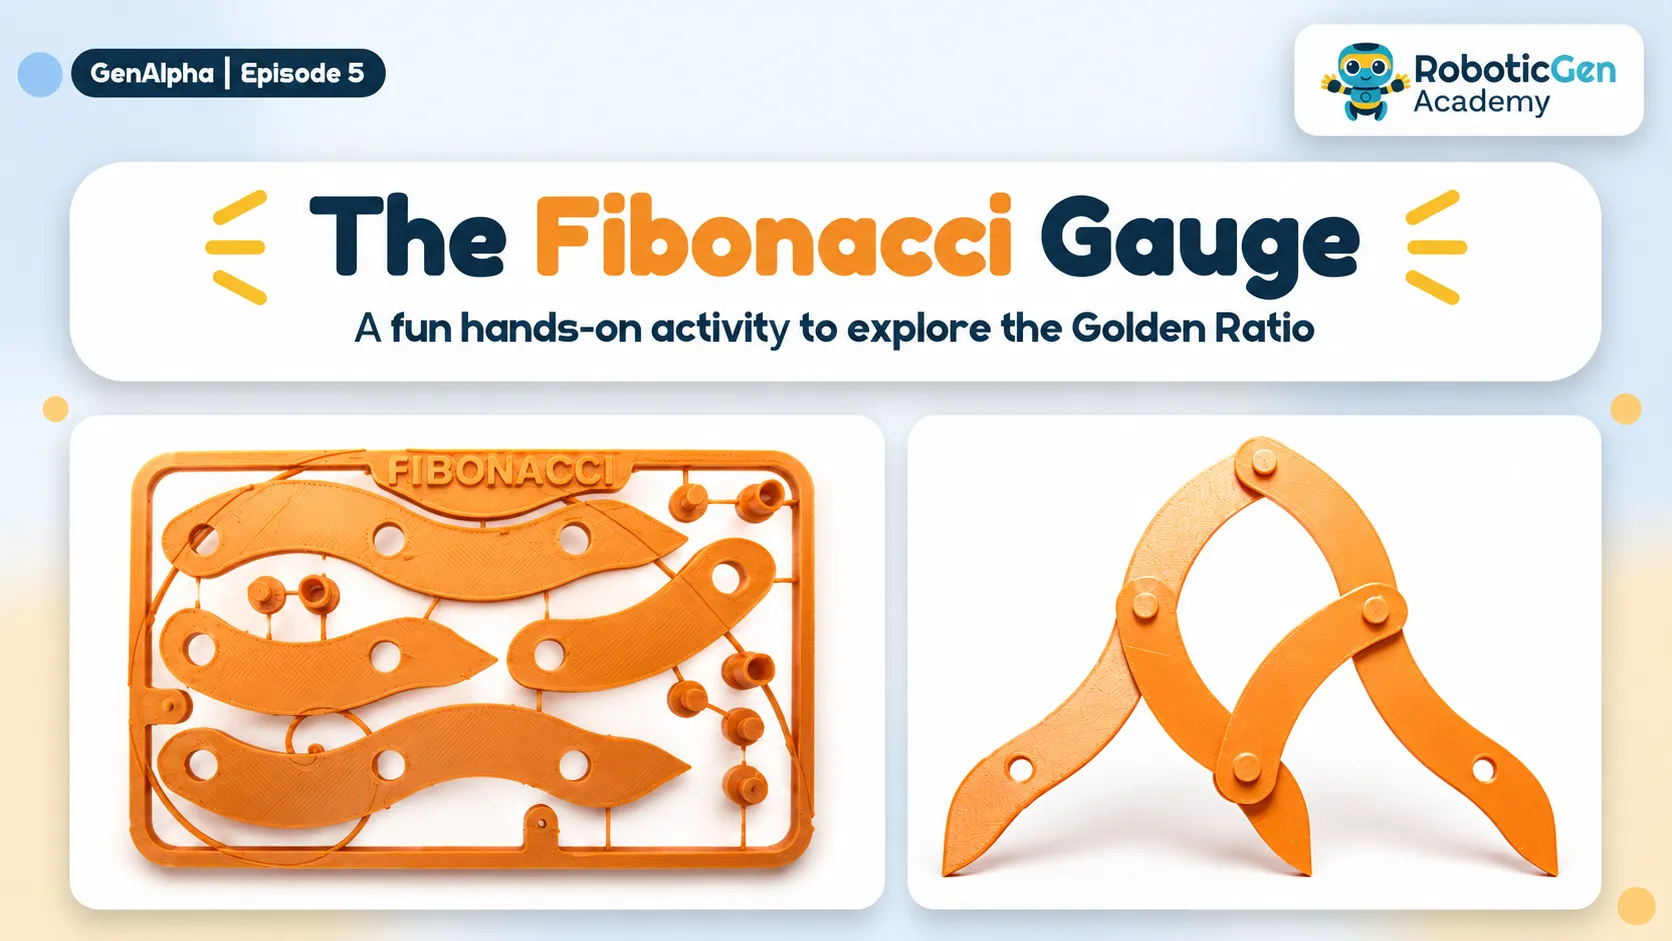
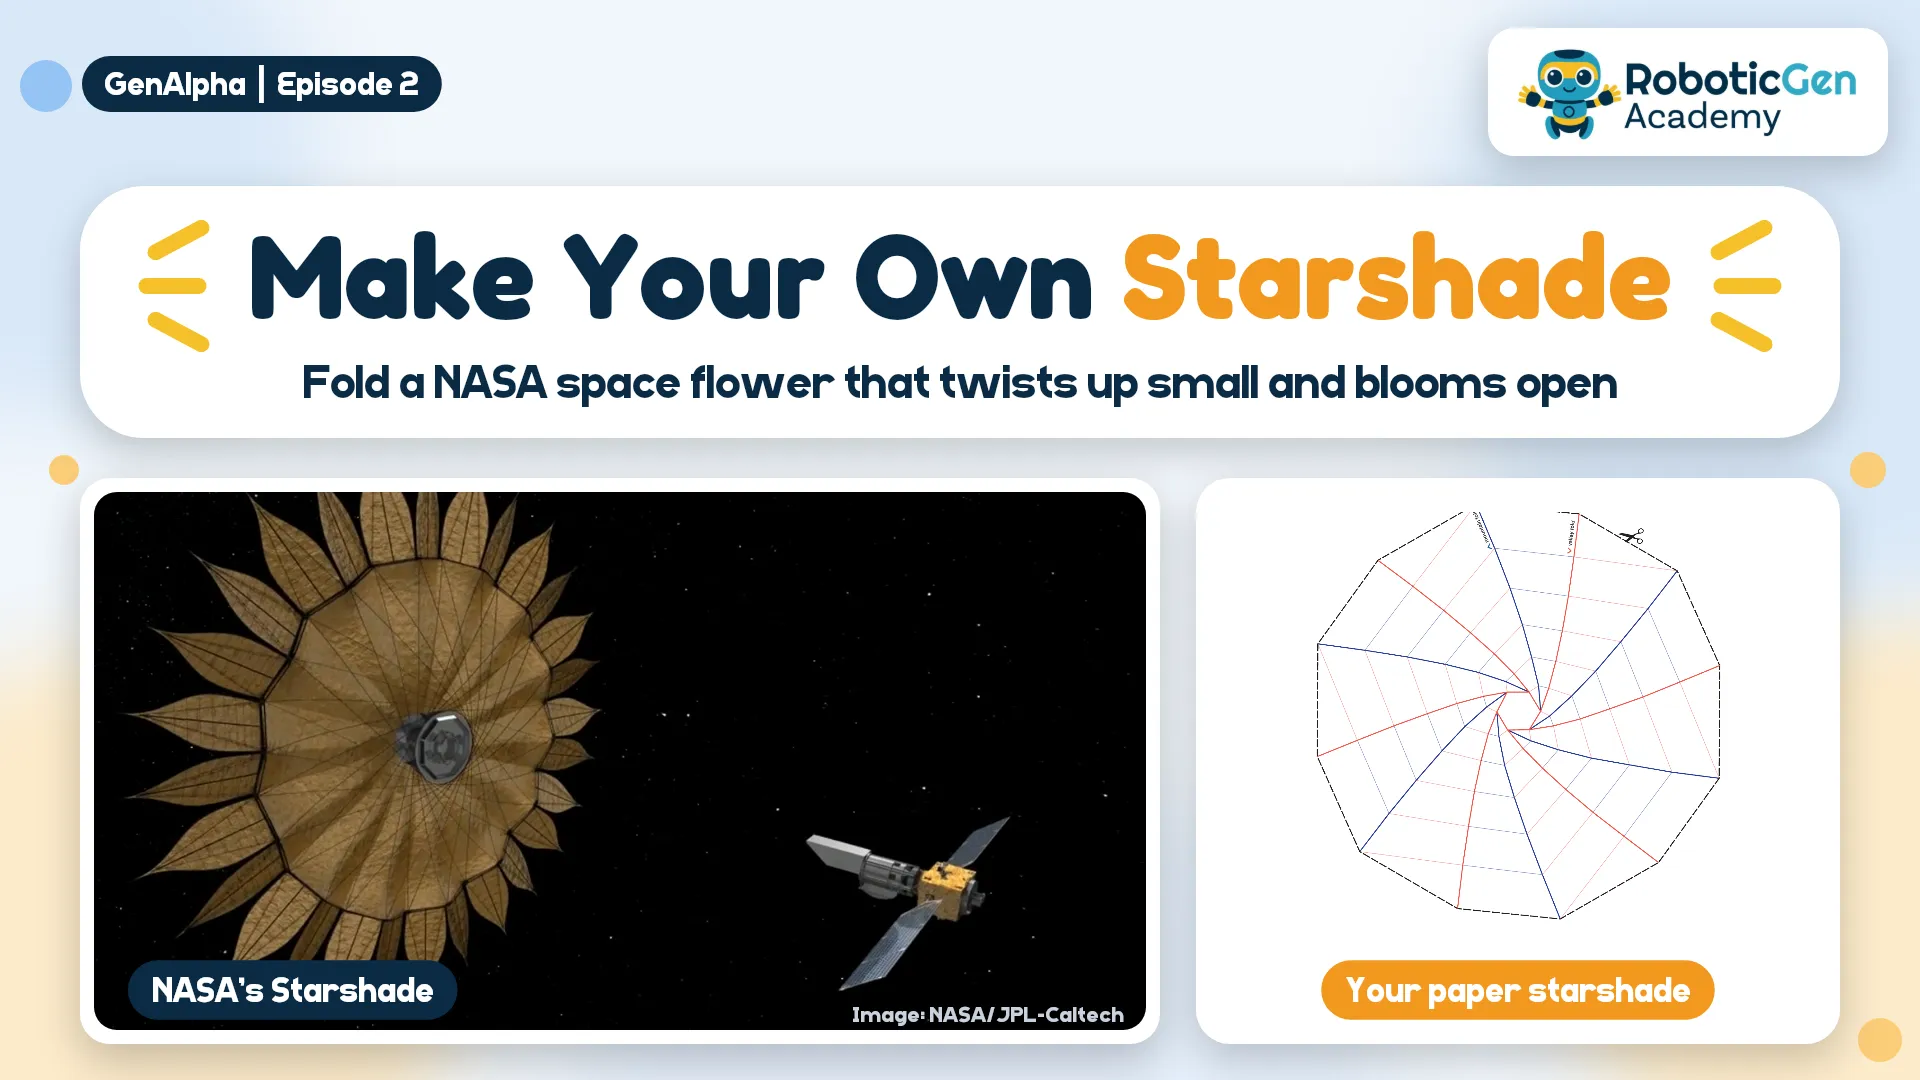
Published builds from the RoboticGen community — featured picks first.
This project is from Gen Alpha Episode 4 on Ahasa TV. Watch the episode to see how a 3D printer builds things layer by layer, then follow the steps below to make a free Onshape account and design your first box!
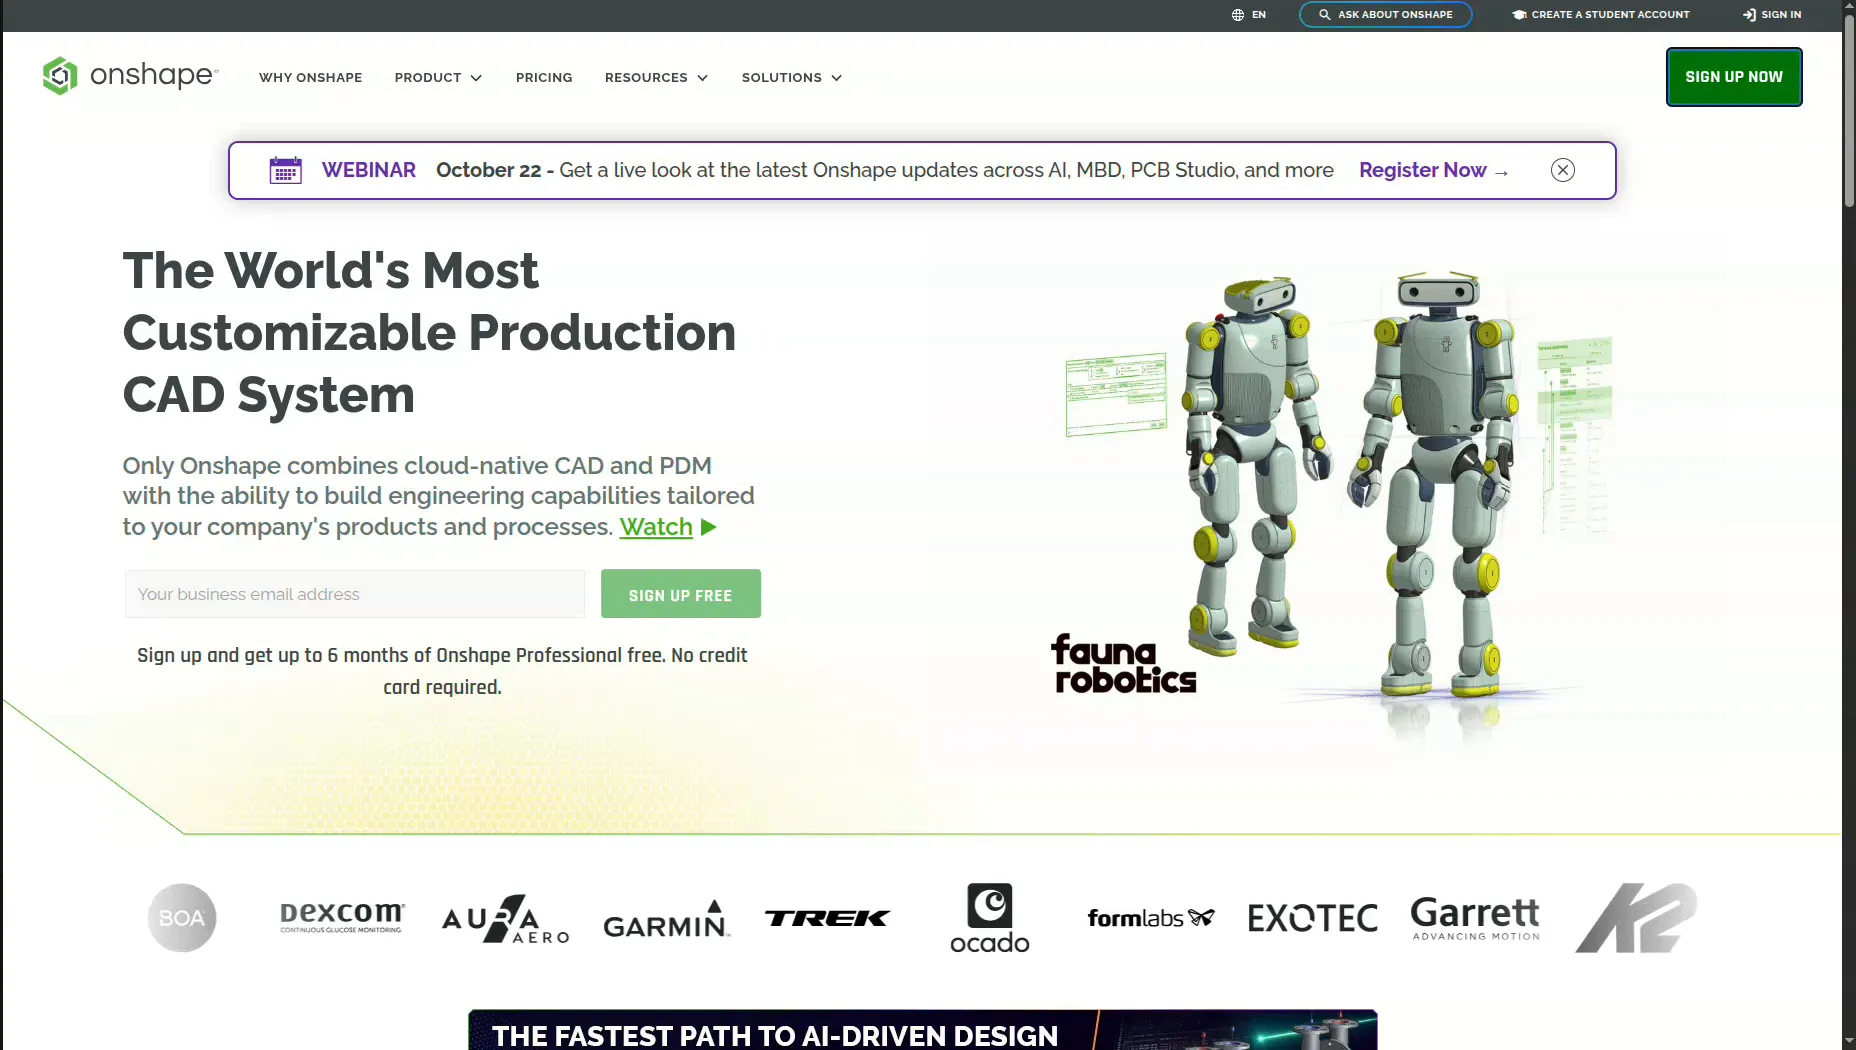
Open your web browser and go to onshape.com. Click the green SIGN UP NOW button at the top right. If you are a student, you can also click CREATE A STUDENT ACCOUNT in the bar at the very top.Go to the Onshape website.
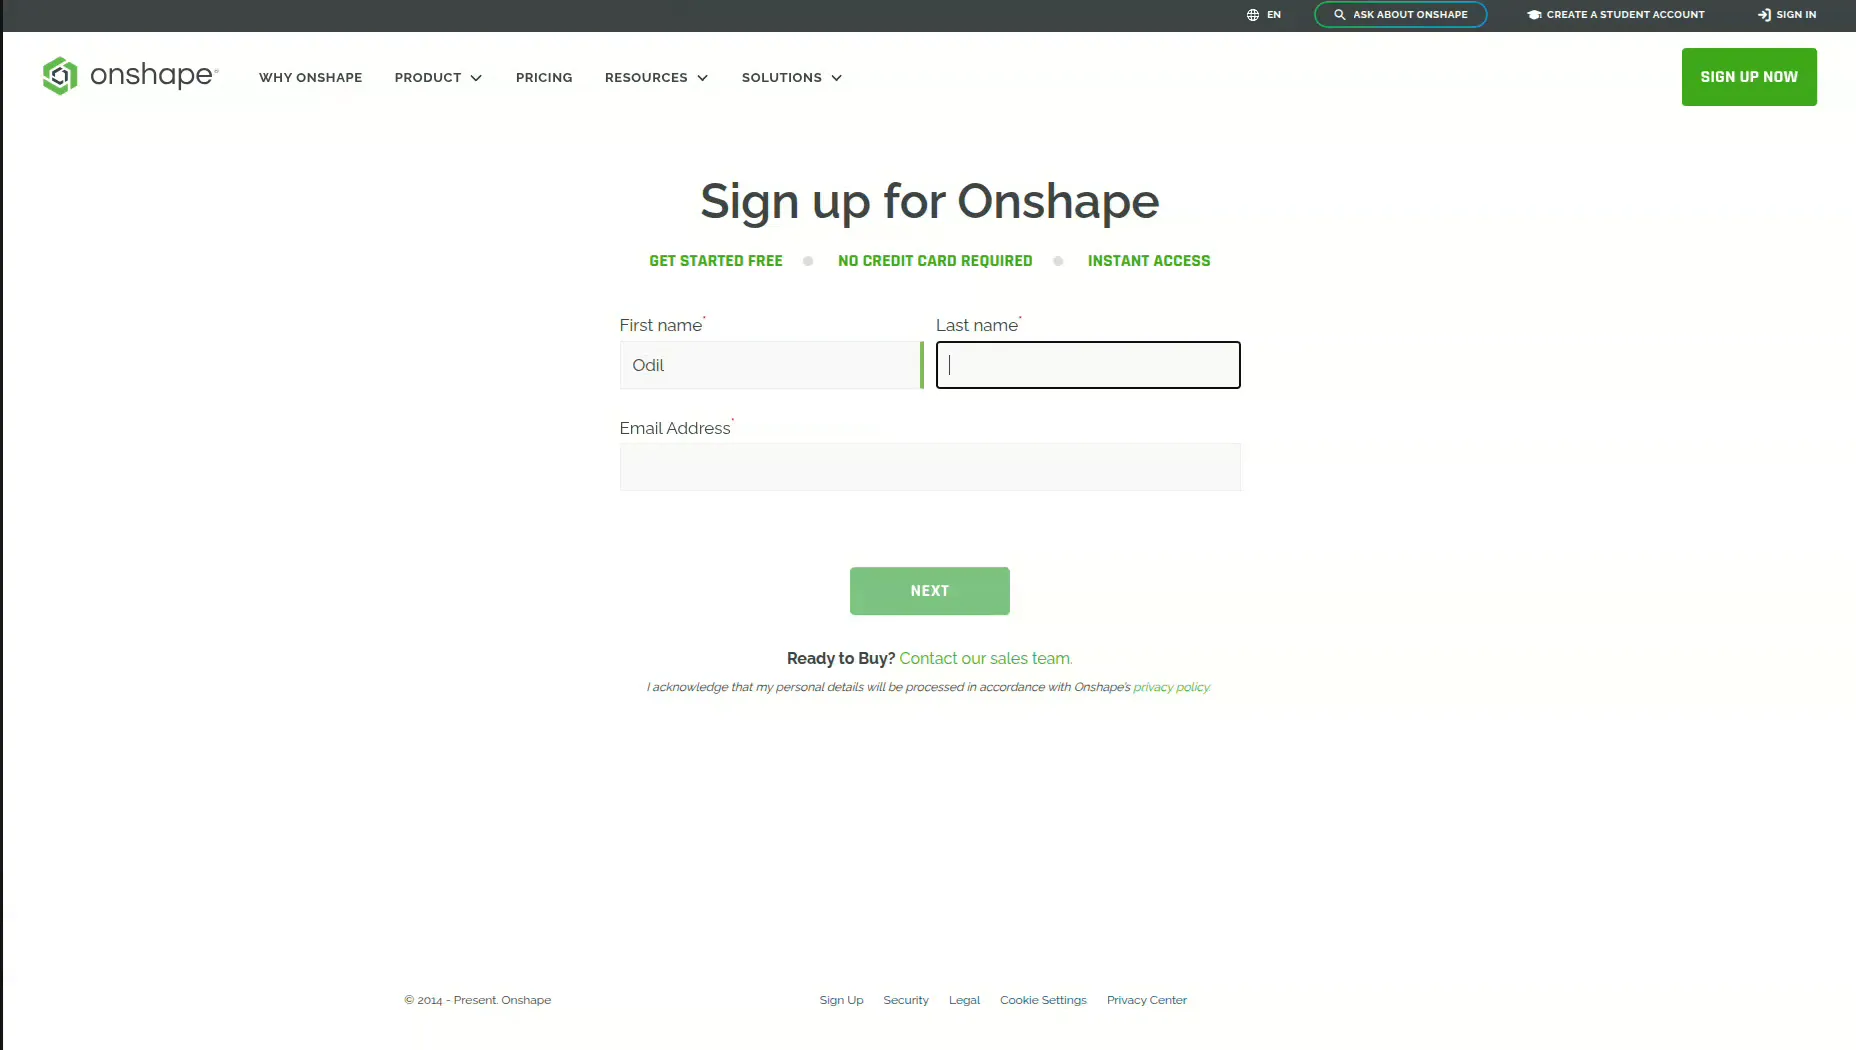
Type your First name, Last name and Email Address, then click NEXT. Use an email you can open, because Onshape will send you a link.
Tip: if it says "There is already an account associated with" your email, you already have an account. Click Sign in, or Reset your Password if you forgot it.
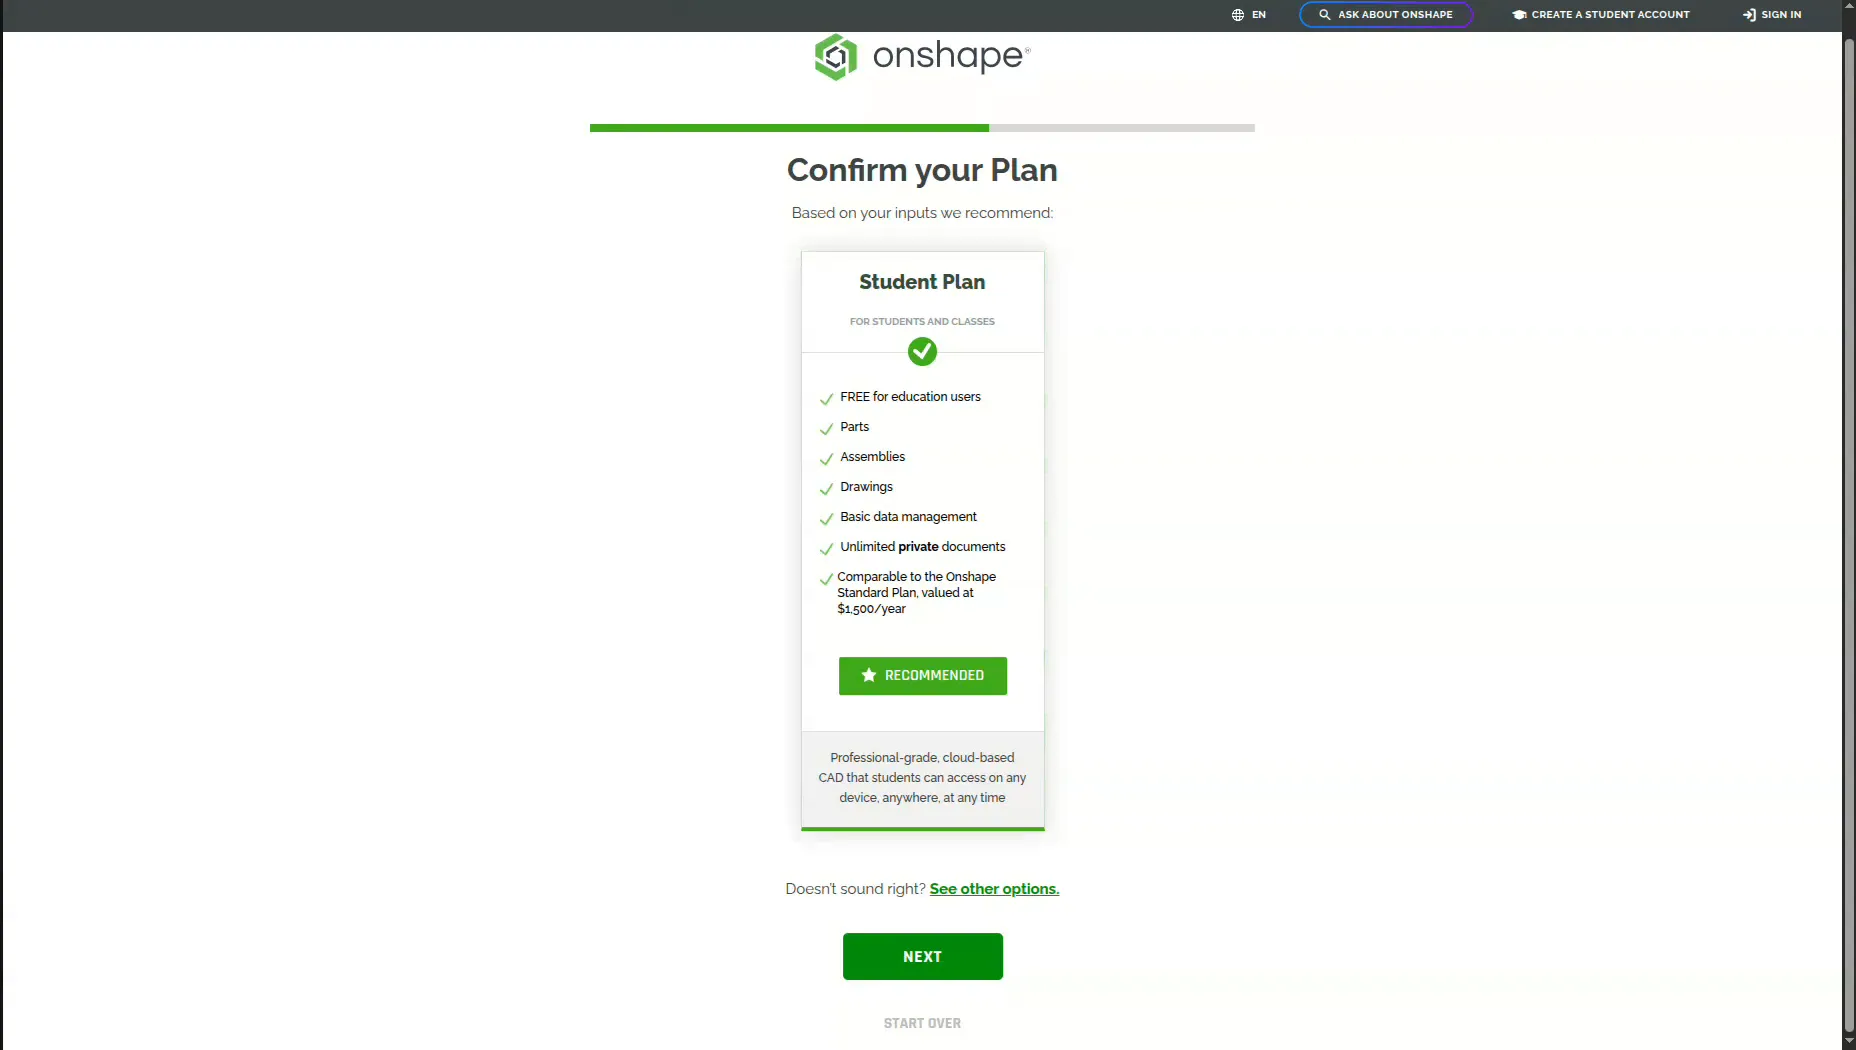
Onshape recommends the Student Plan. It's free for education users and has parts, assemblies, drawings and unlimited private documents. Click NEXT.
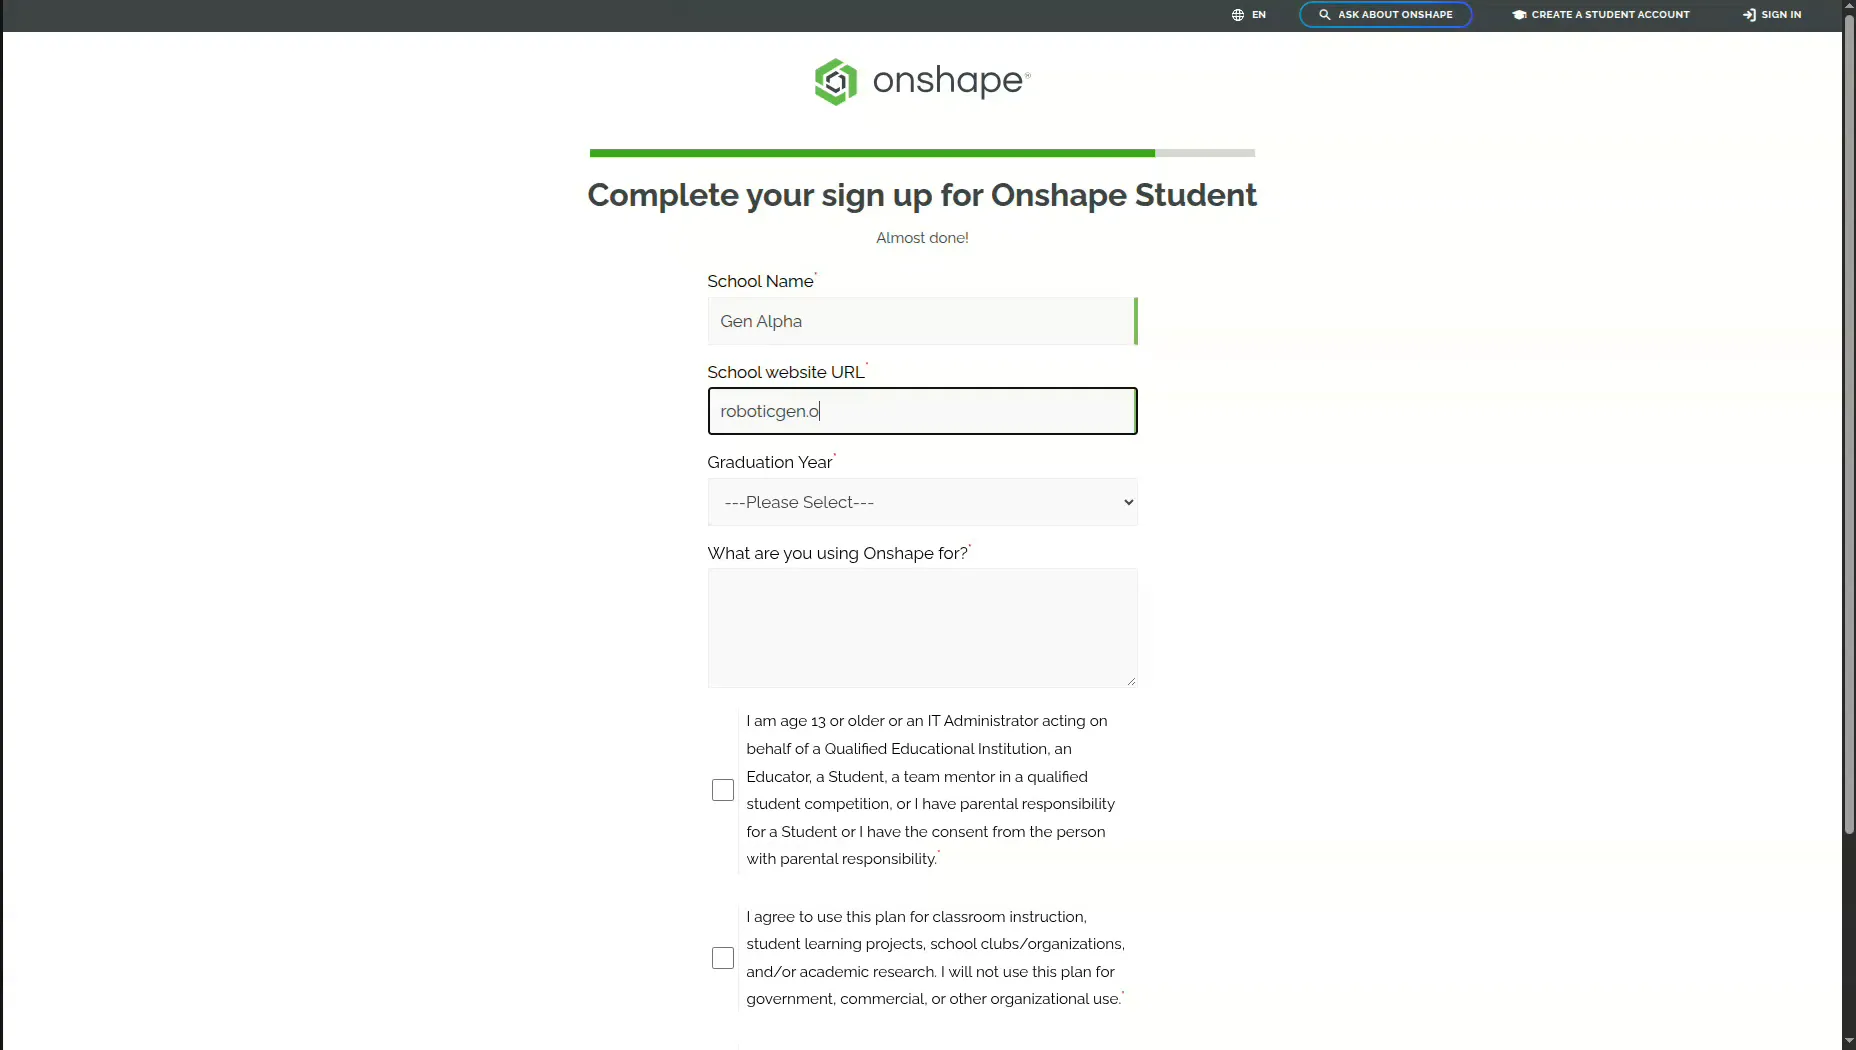
Fill in School Name, School website URL, Graduation Year and What are you using Onshape for? All of them must be filled in.
Tick all three boxes:
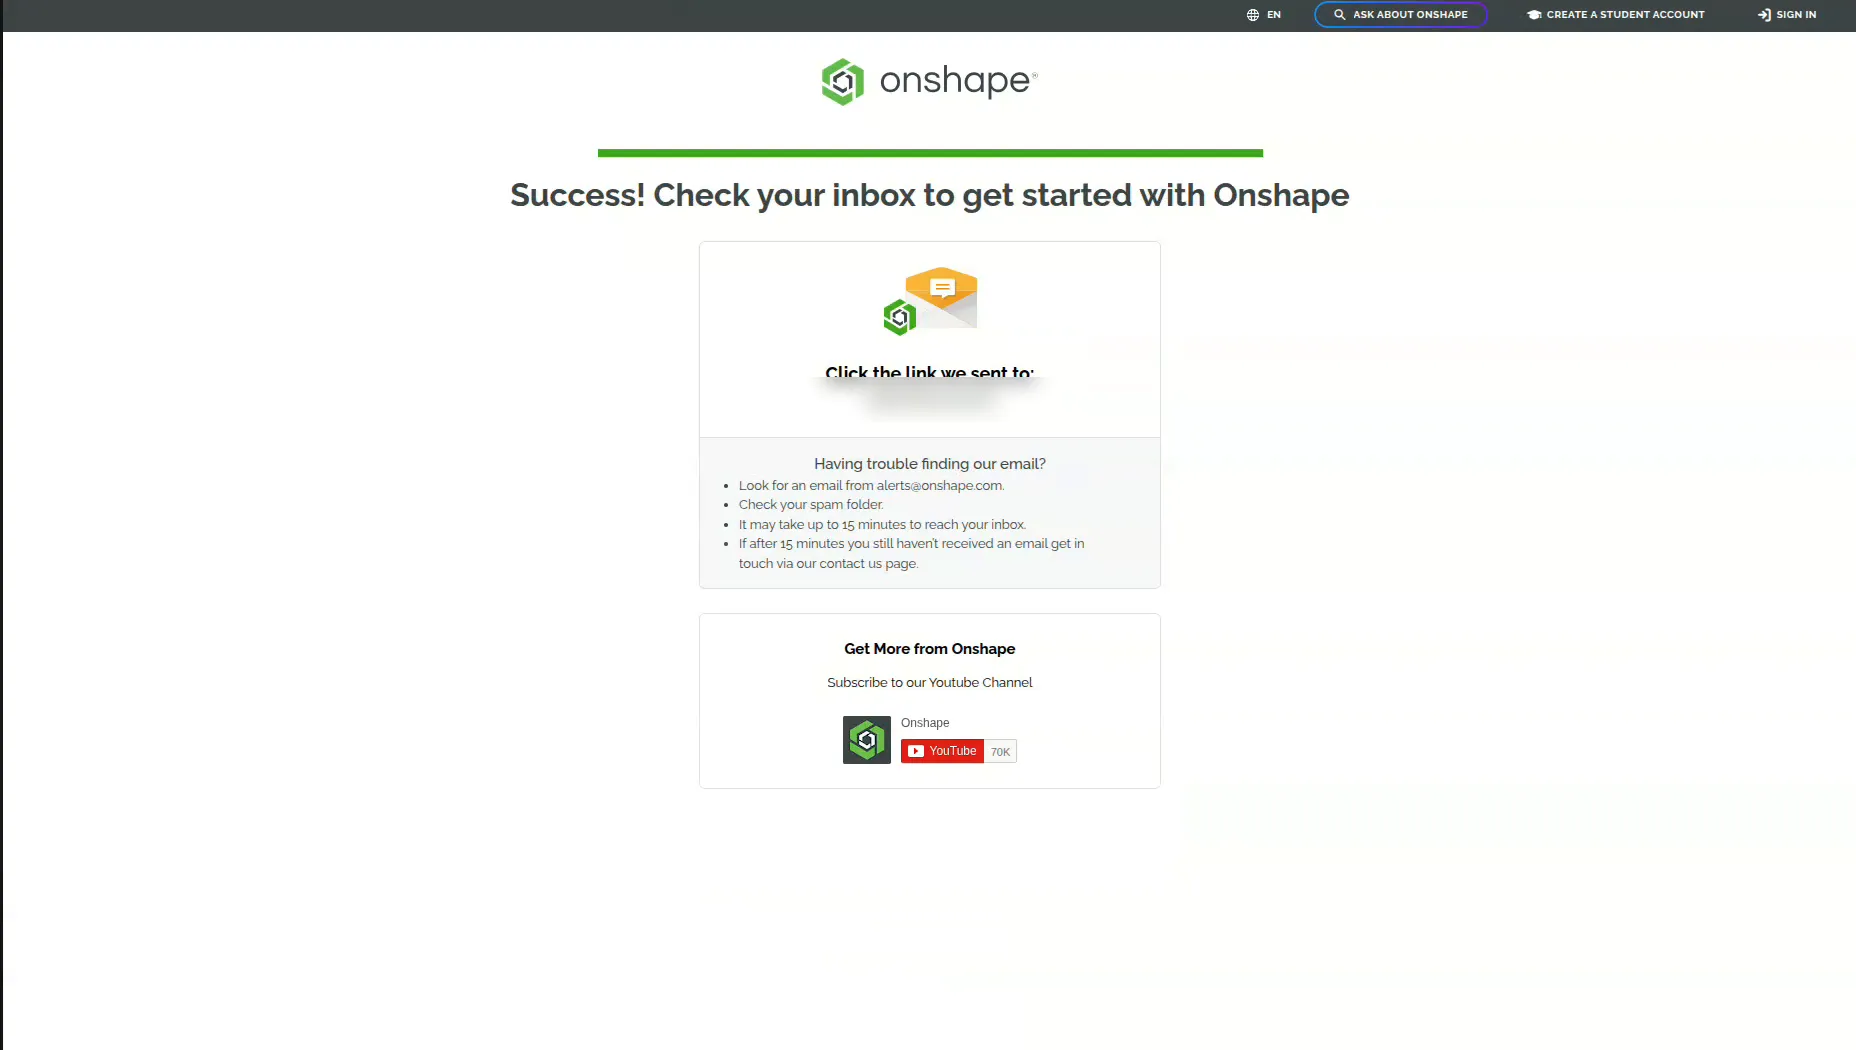
You'll see "Success! Check your inbox". Open your email and look for a message from alerts@onshape.com, then click the link in it to activate your account. Can't find it? Check your spam folder and wait up to 15 minutes.
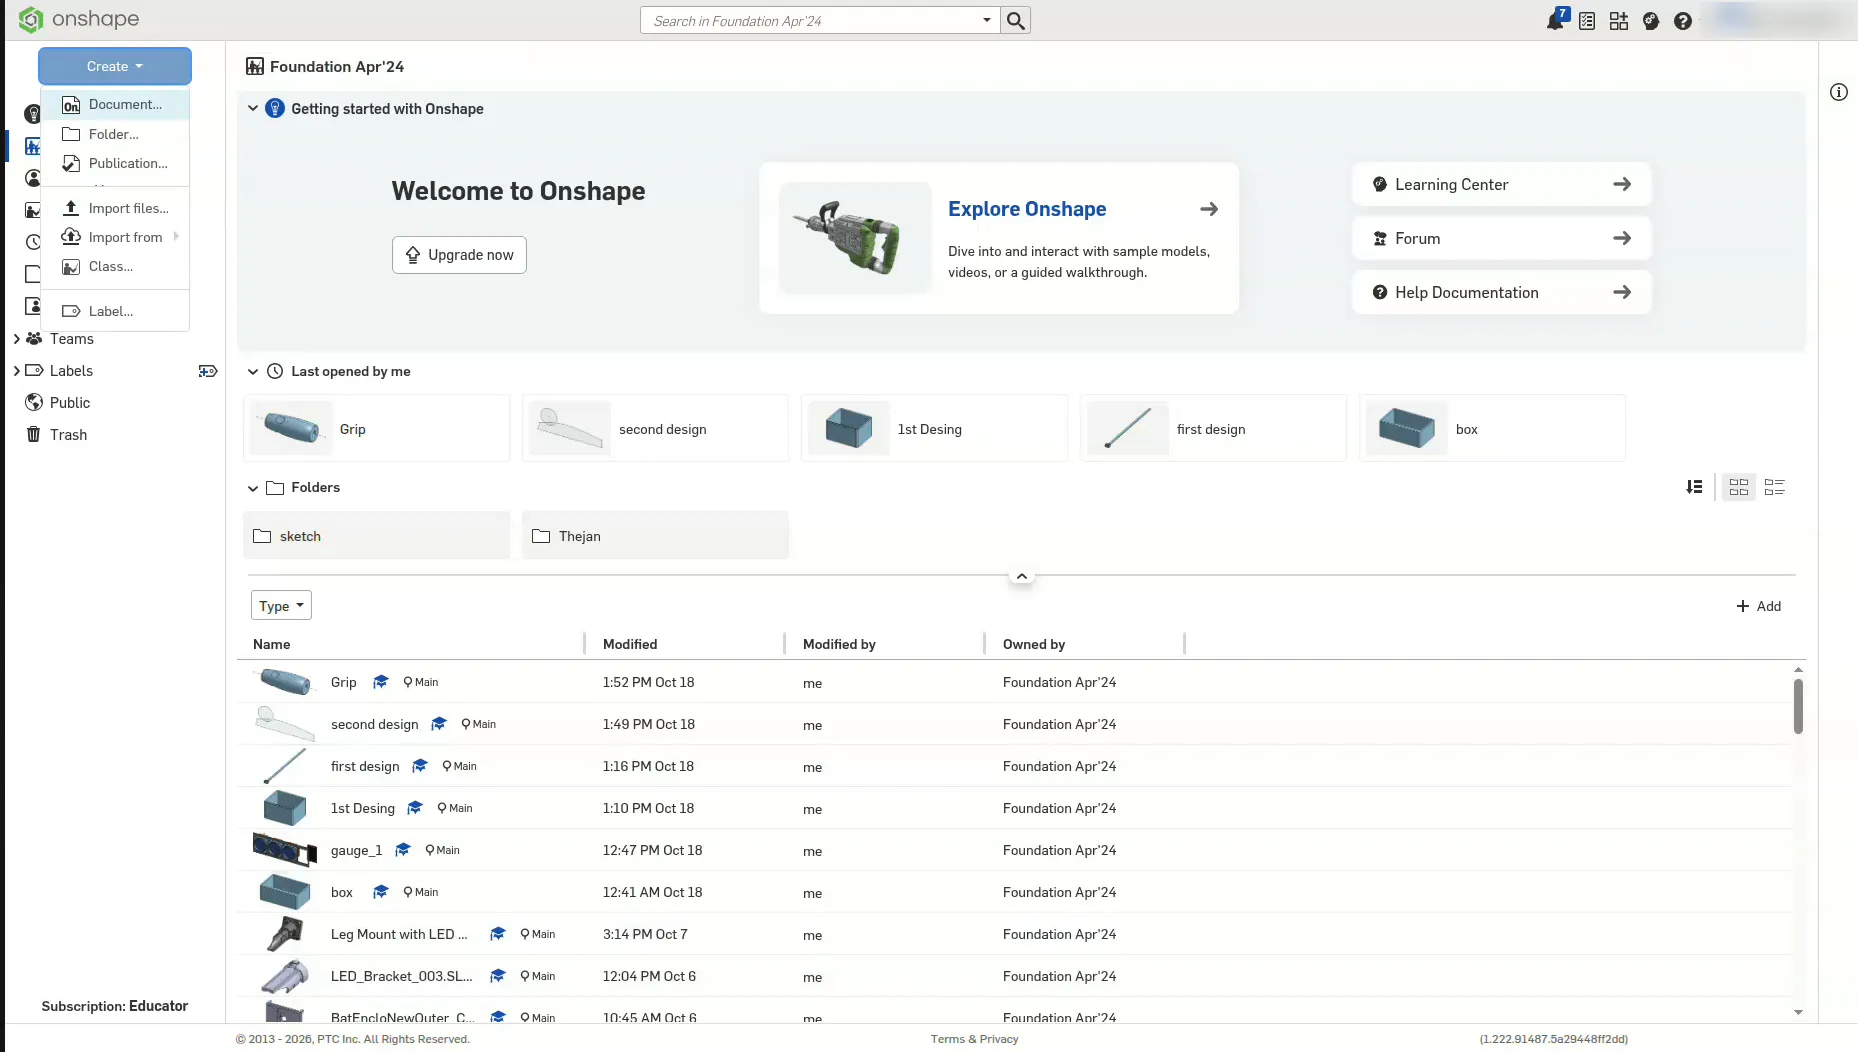
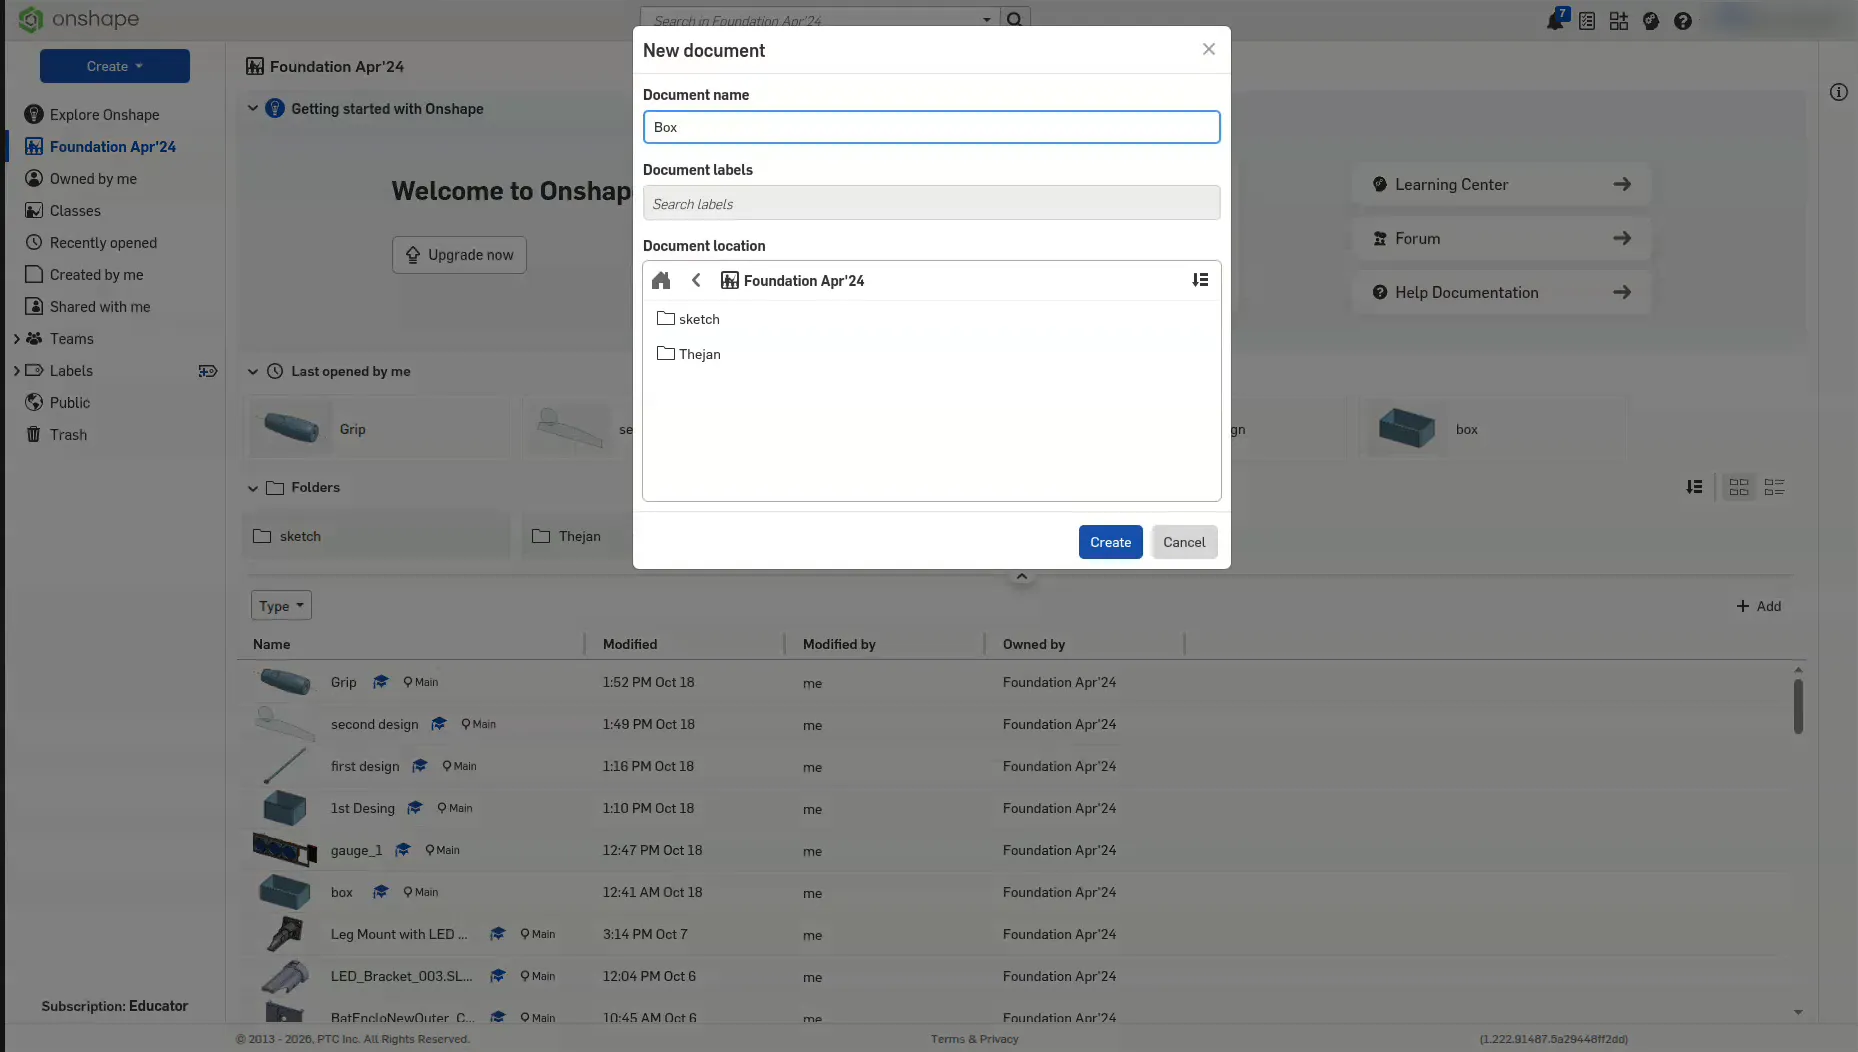
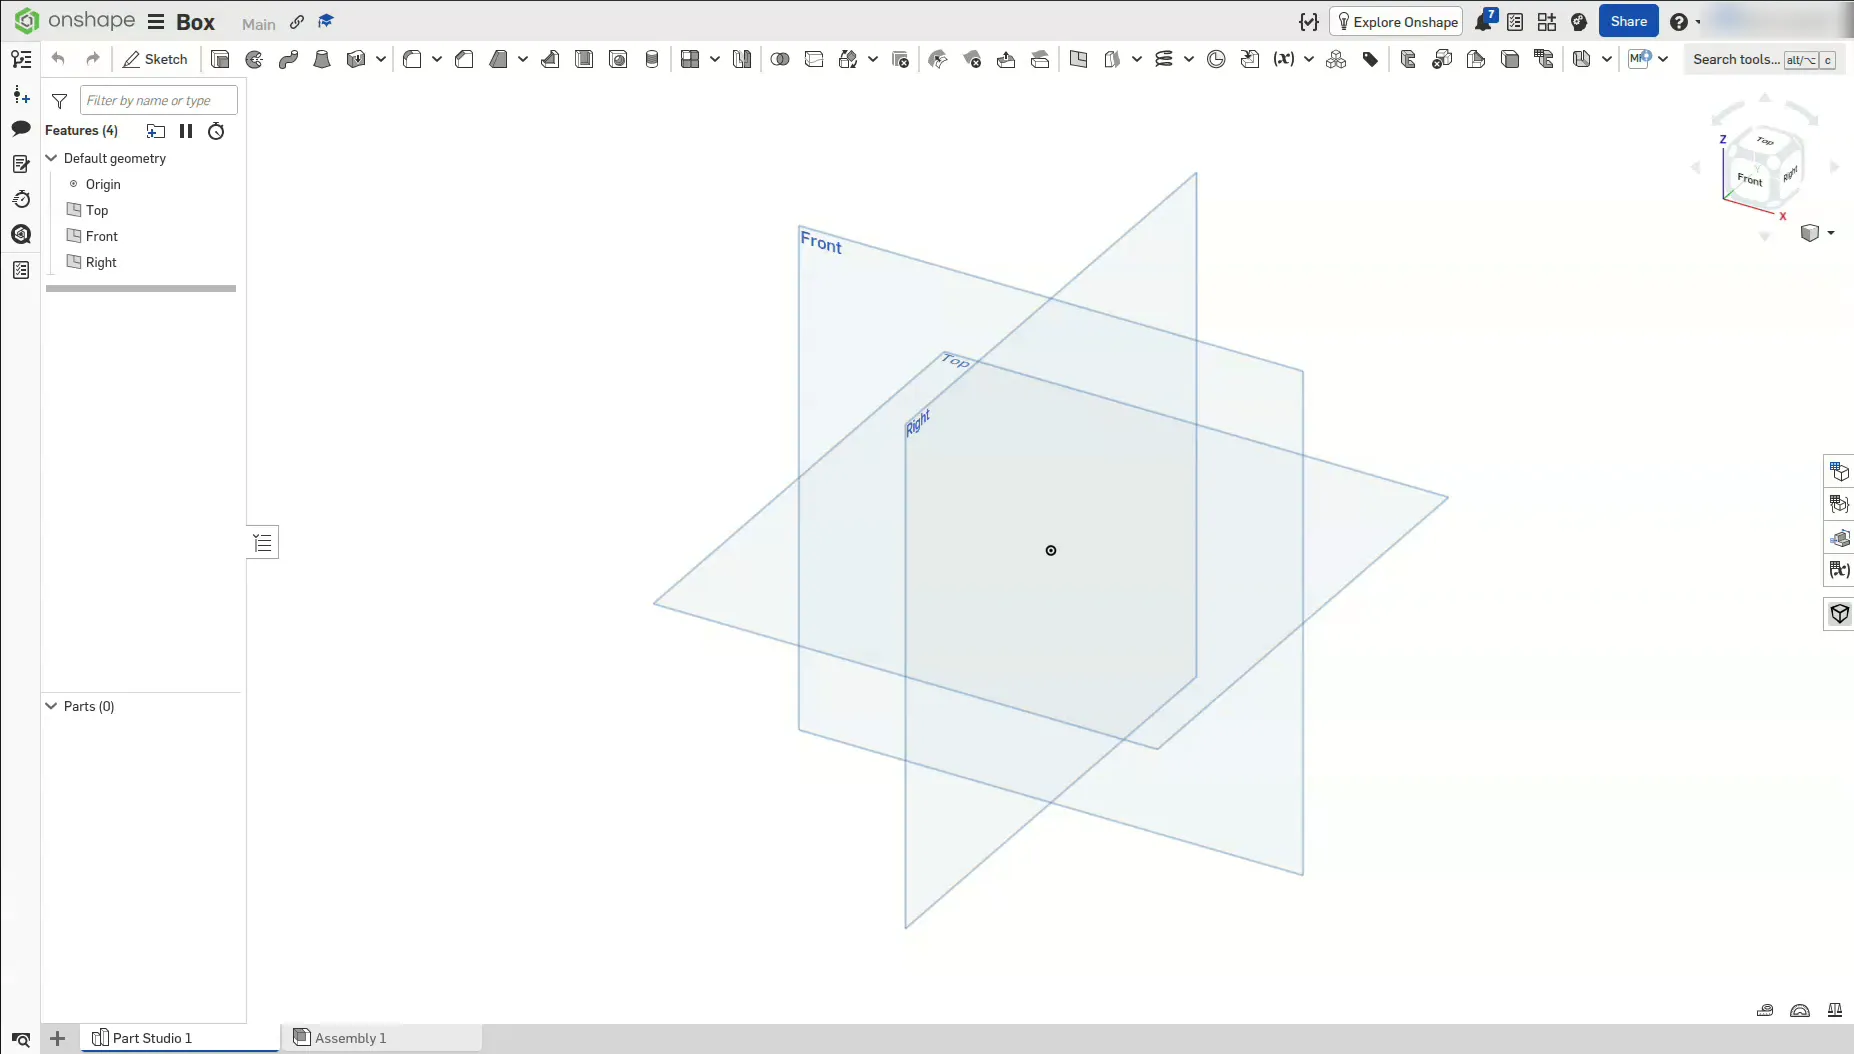
Sign in to Onshape. On your home page, click the blue Create button at the top left and choose Document. In Document name, type Box and click Create. Onshape opens a new Part Studio for your design.
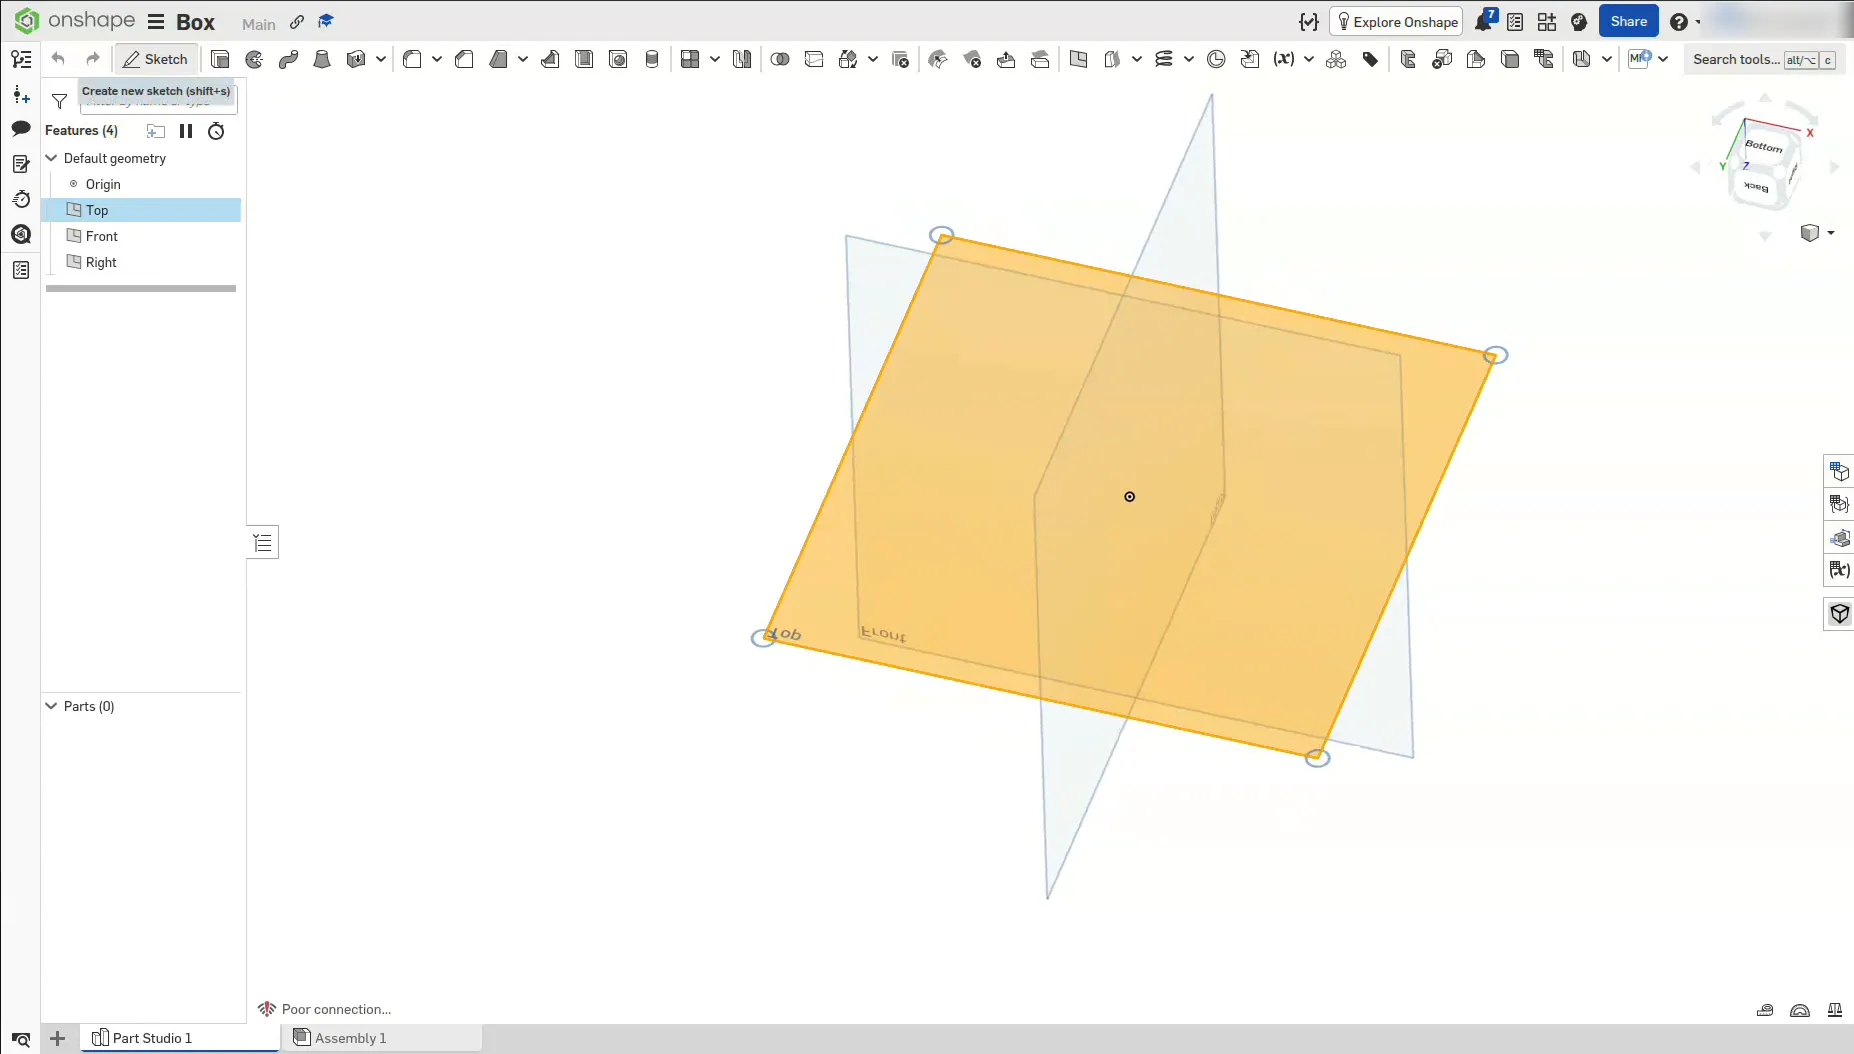
In the middle of the screen you'll see three see-through squares called planes: Top, Front and Right. Every 3D design starts by drawing on one of them. Hold the right mouse button and drag to spin around them, and use the scroll wheel to zoom.
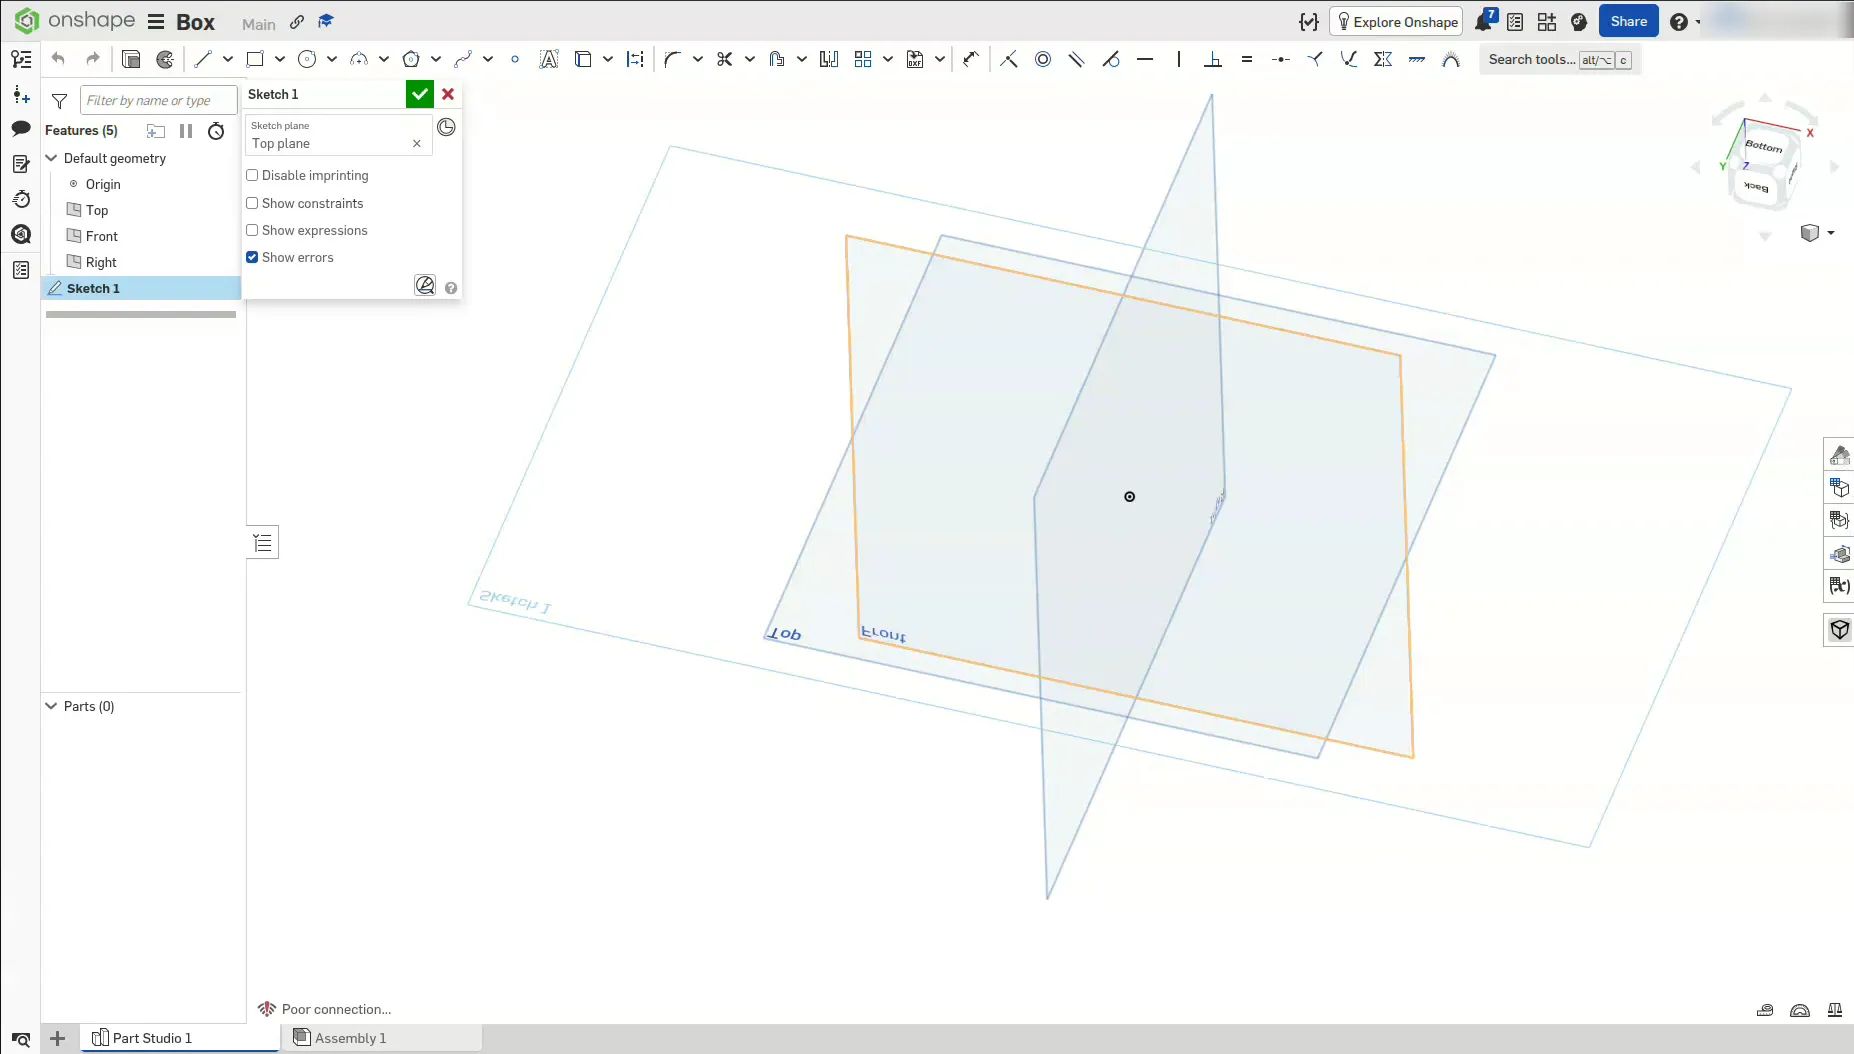
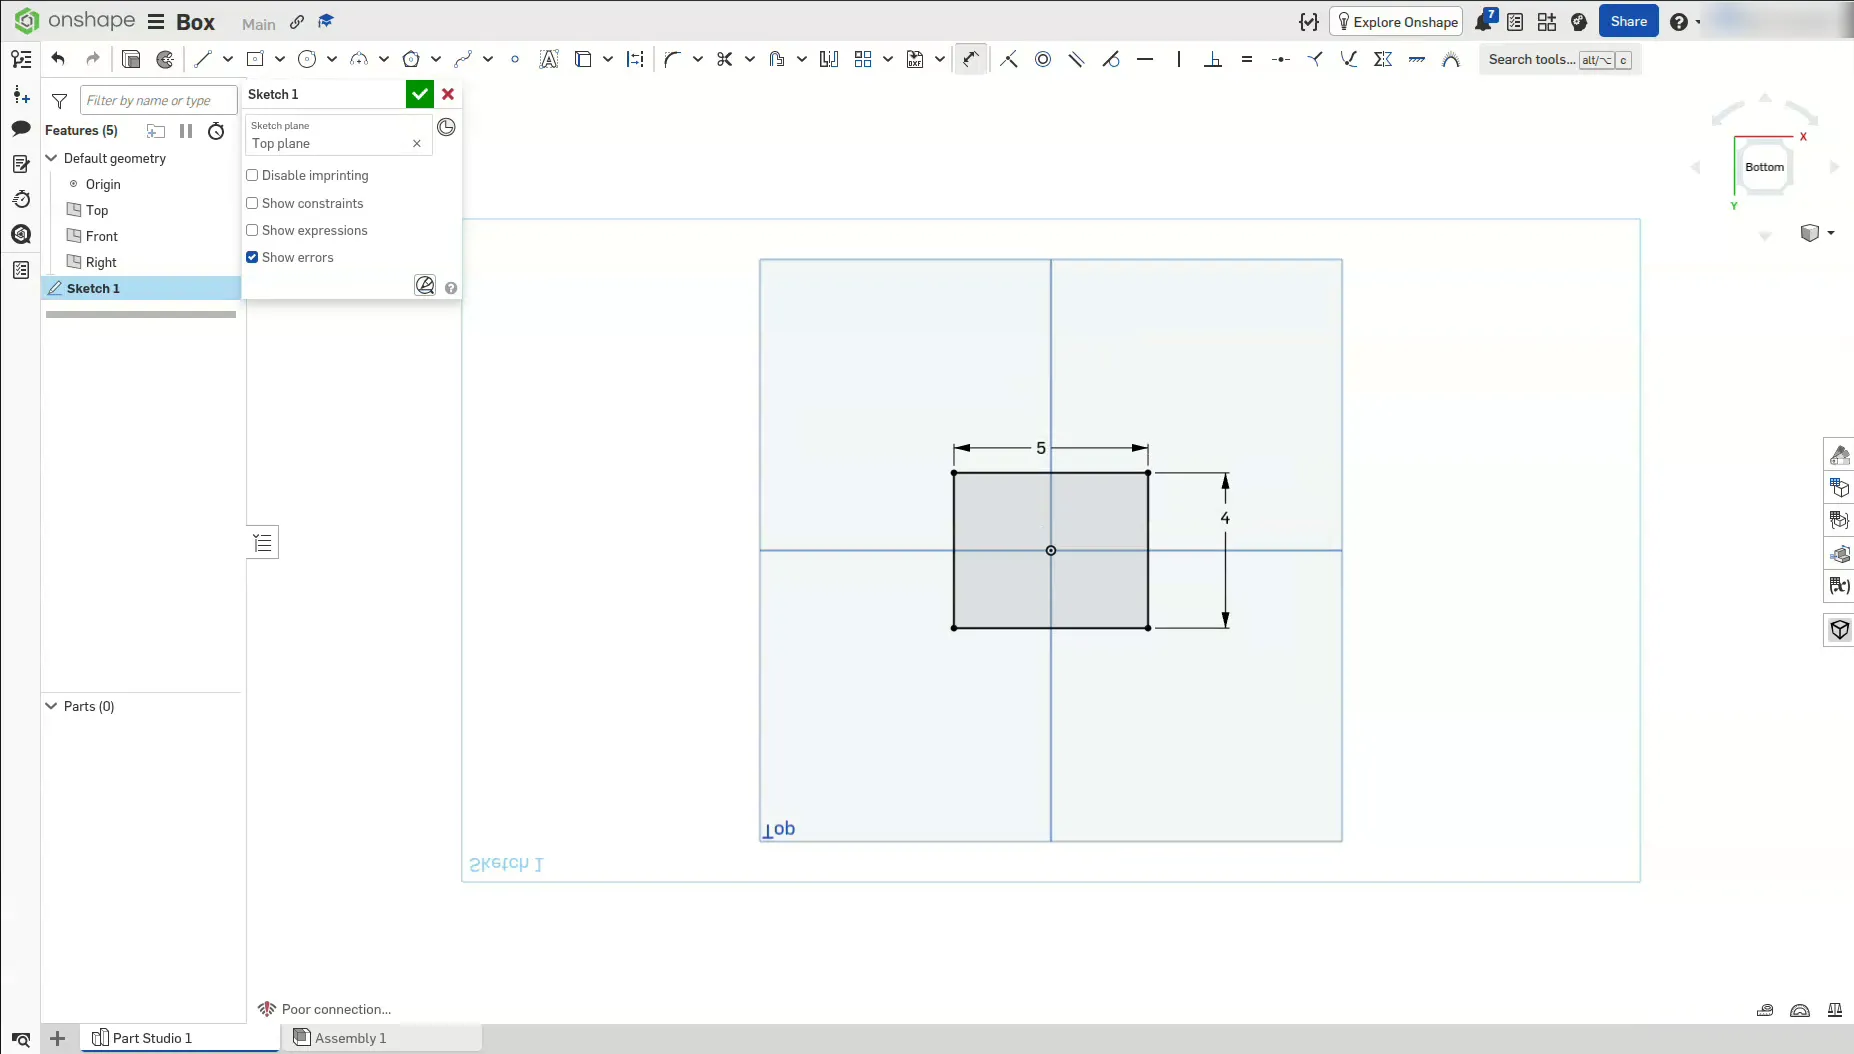
Click Top in the feature list on the left (it turns orange). Then click the Sketch button at the top left of the toolbar. A "Sketch 1" box opens with Top plane selected. To look straight down at your sketch, press N or click "Top" on the view cube.
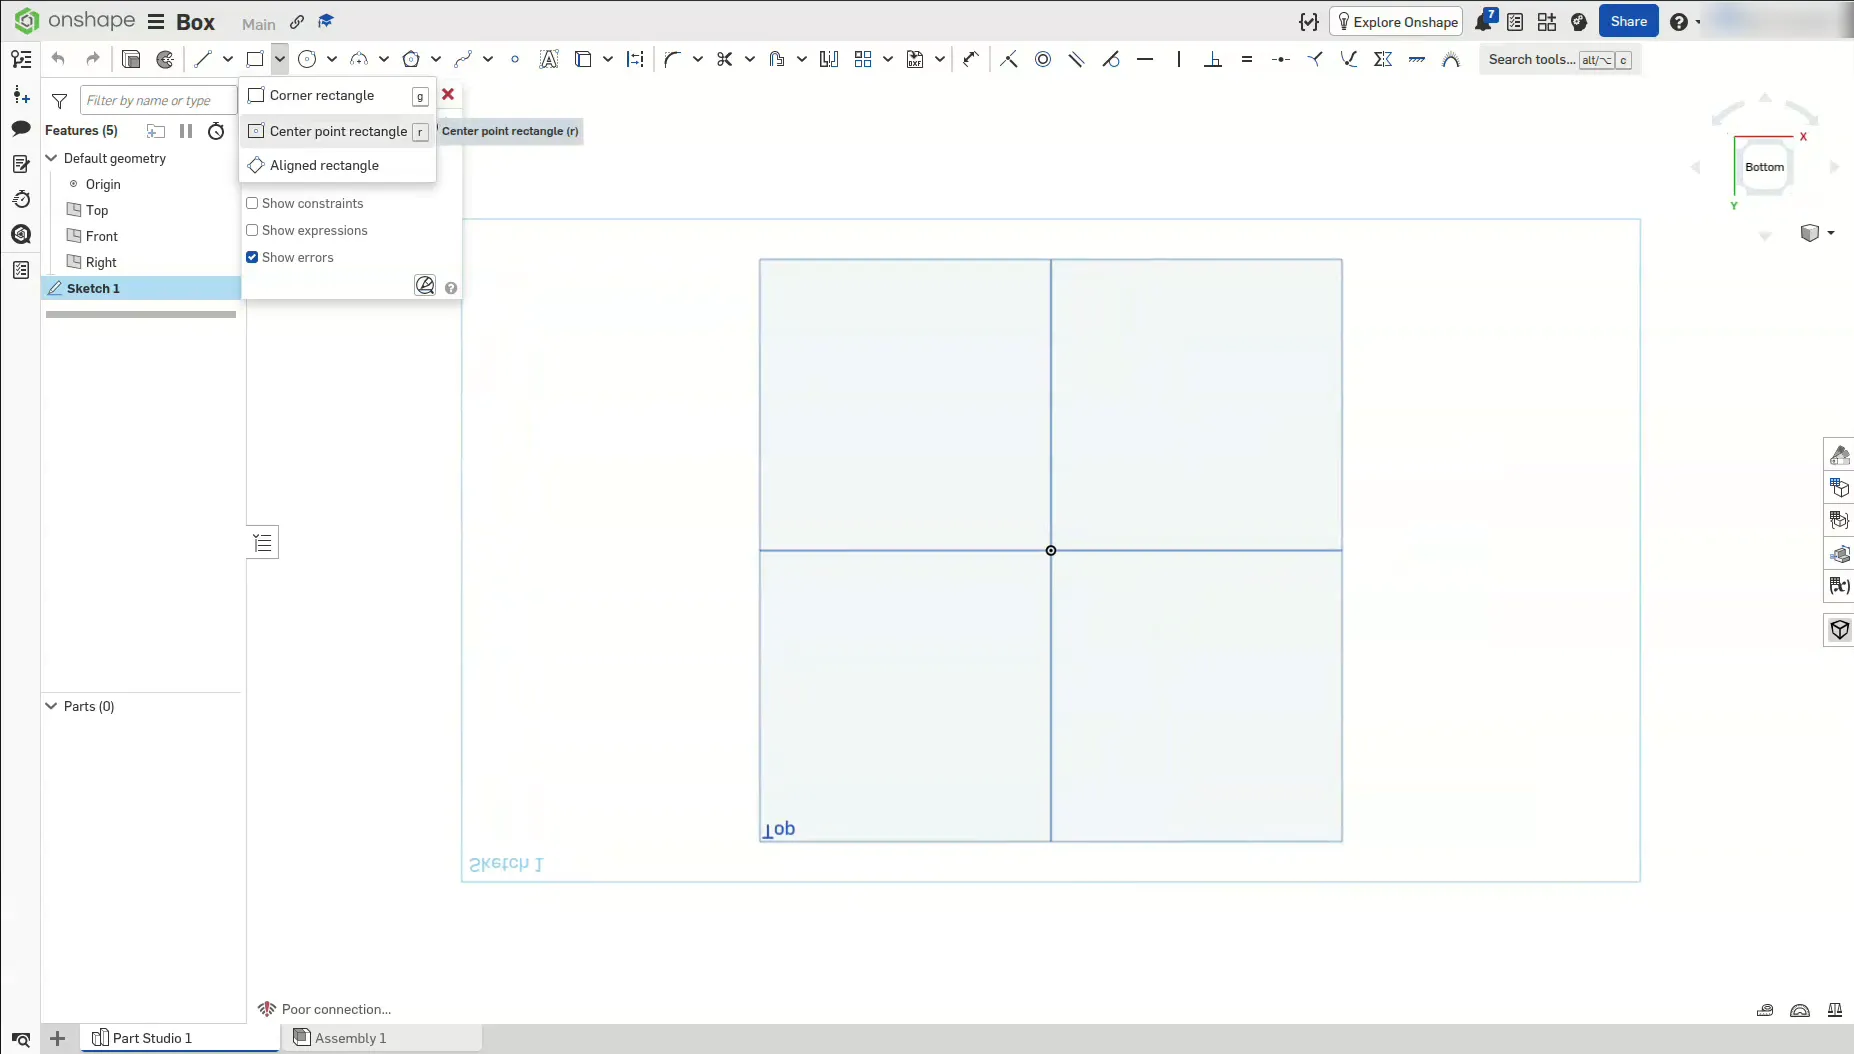
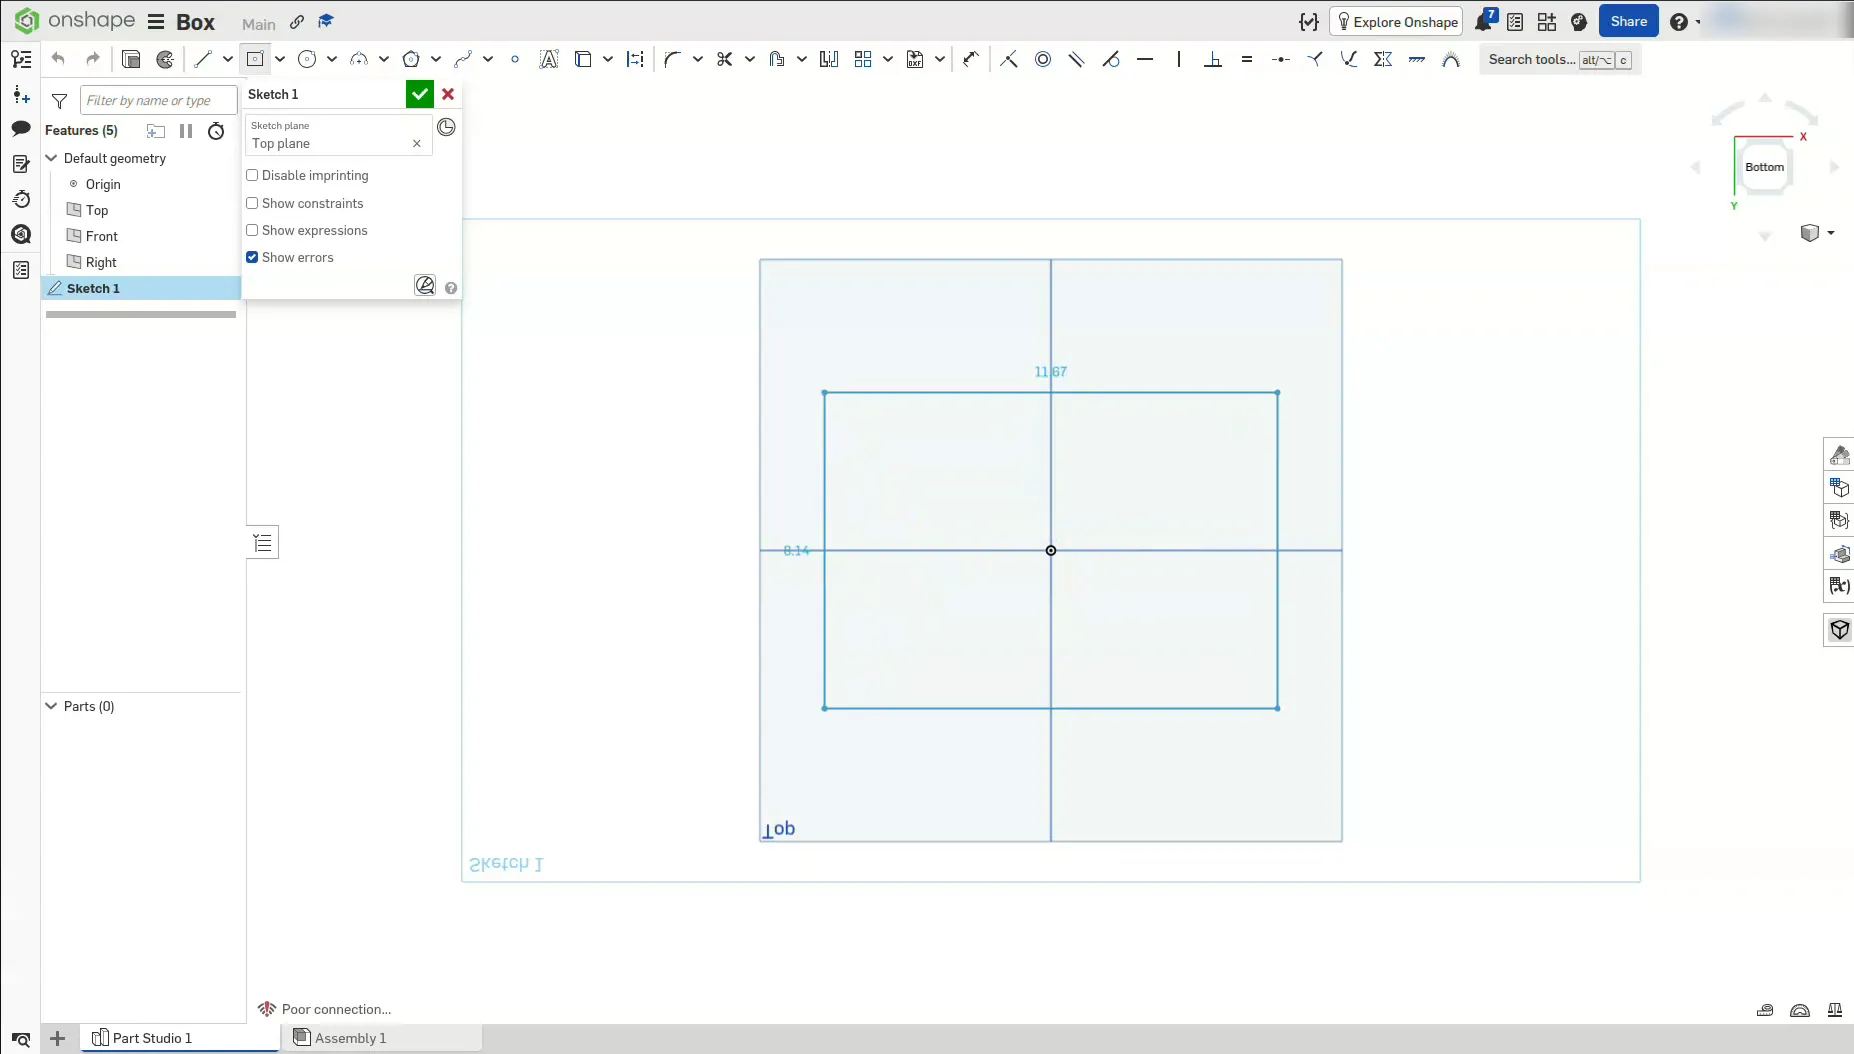
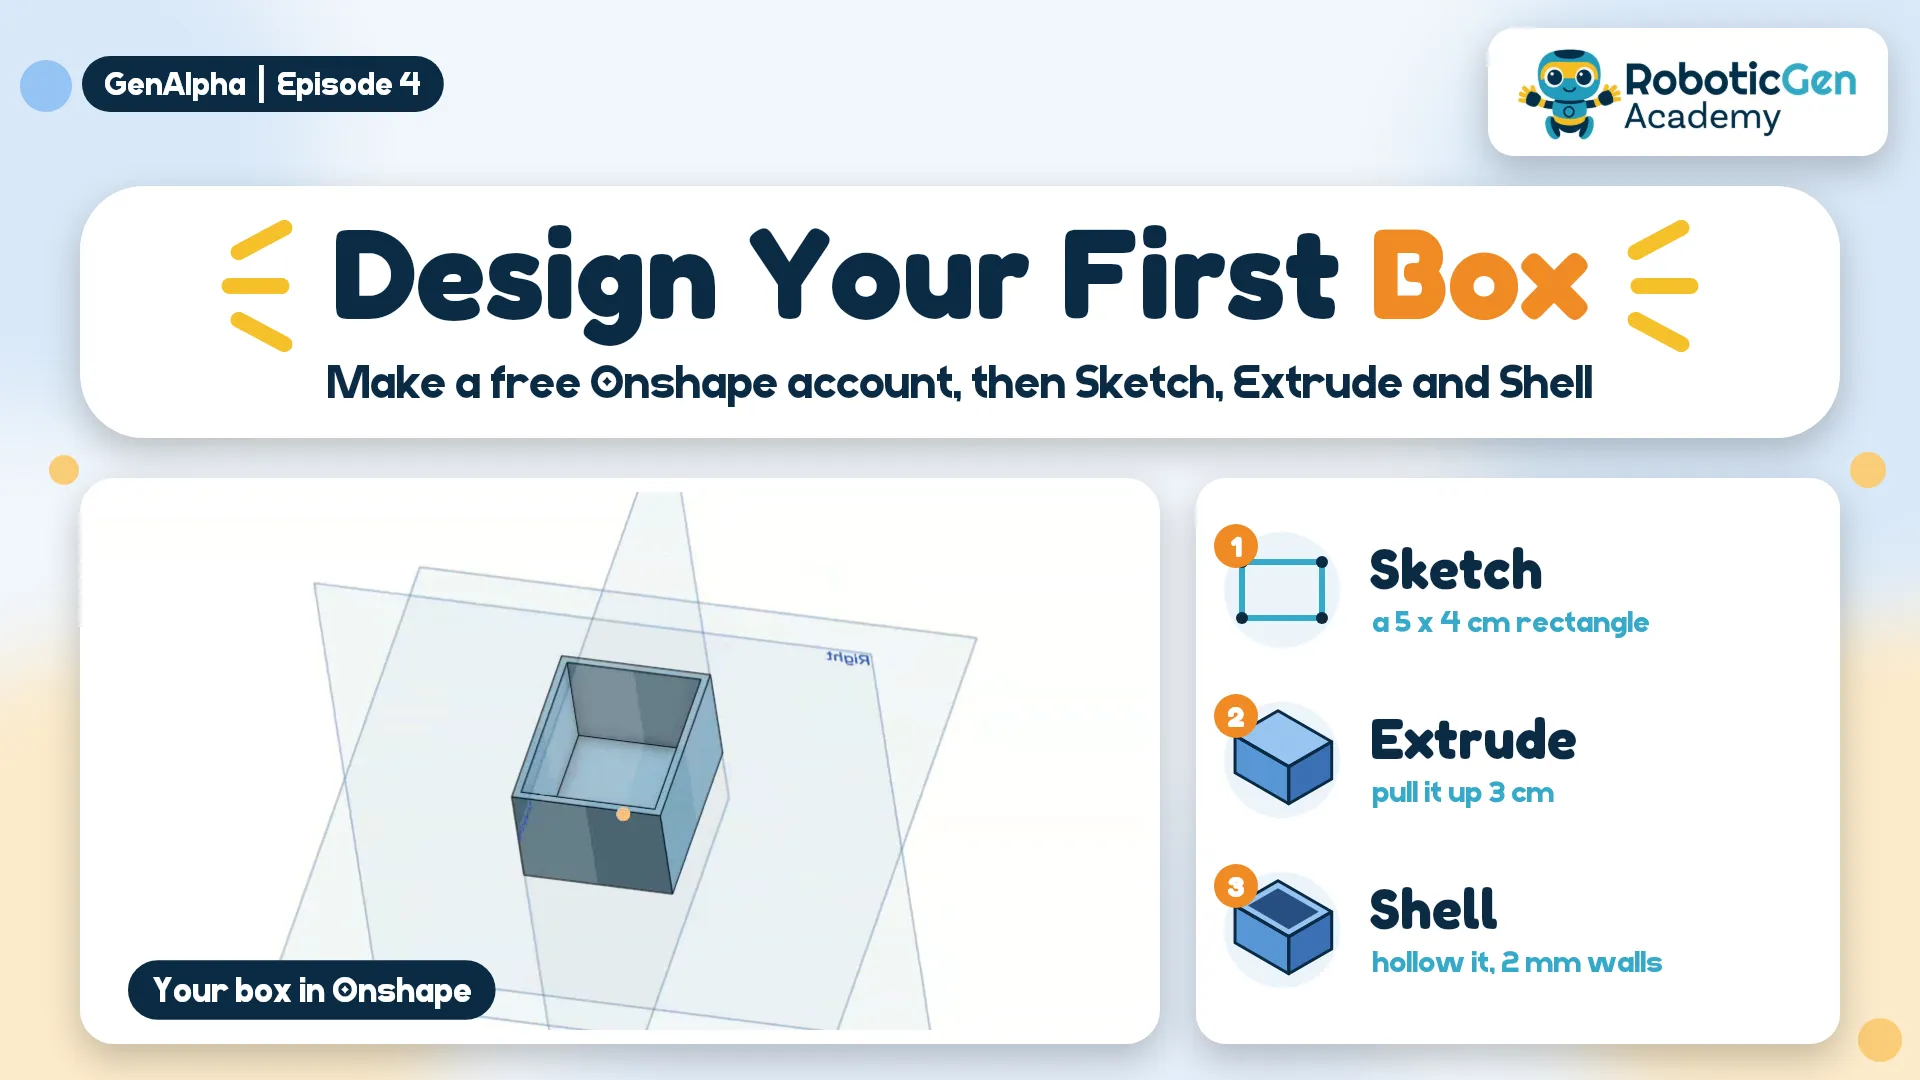
Click the small arrow next to the rectangle tool and choose Center point rectangle. Click on the origin (the dot in the middle) to start, move the mouse outwards, and click again to finish. Your rectangle grows evenly from the centre.
Choose the Dimension tool (or press D). Click the top edge, place the number, type 5 cm and press Enter. Then click the side edge, type 4 cm and press Enter. Click the green tick to finish the sketch.
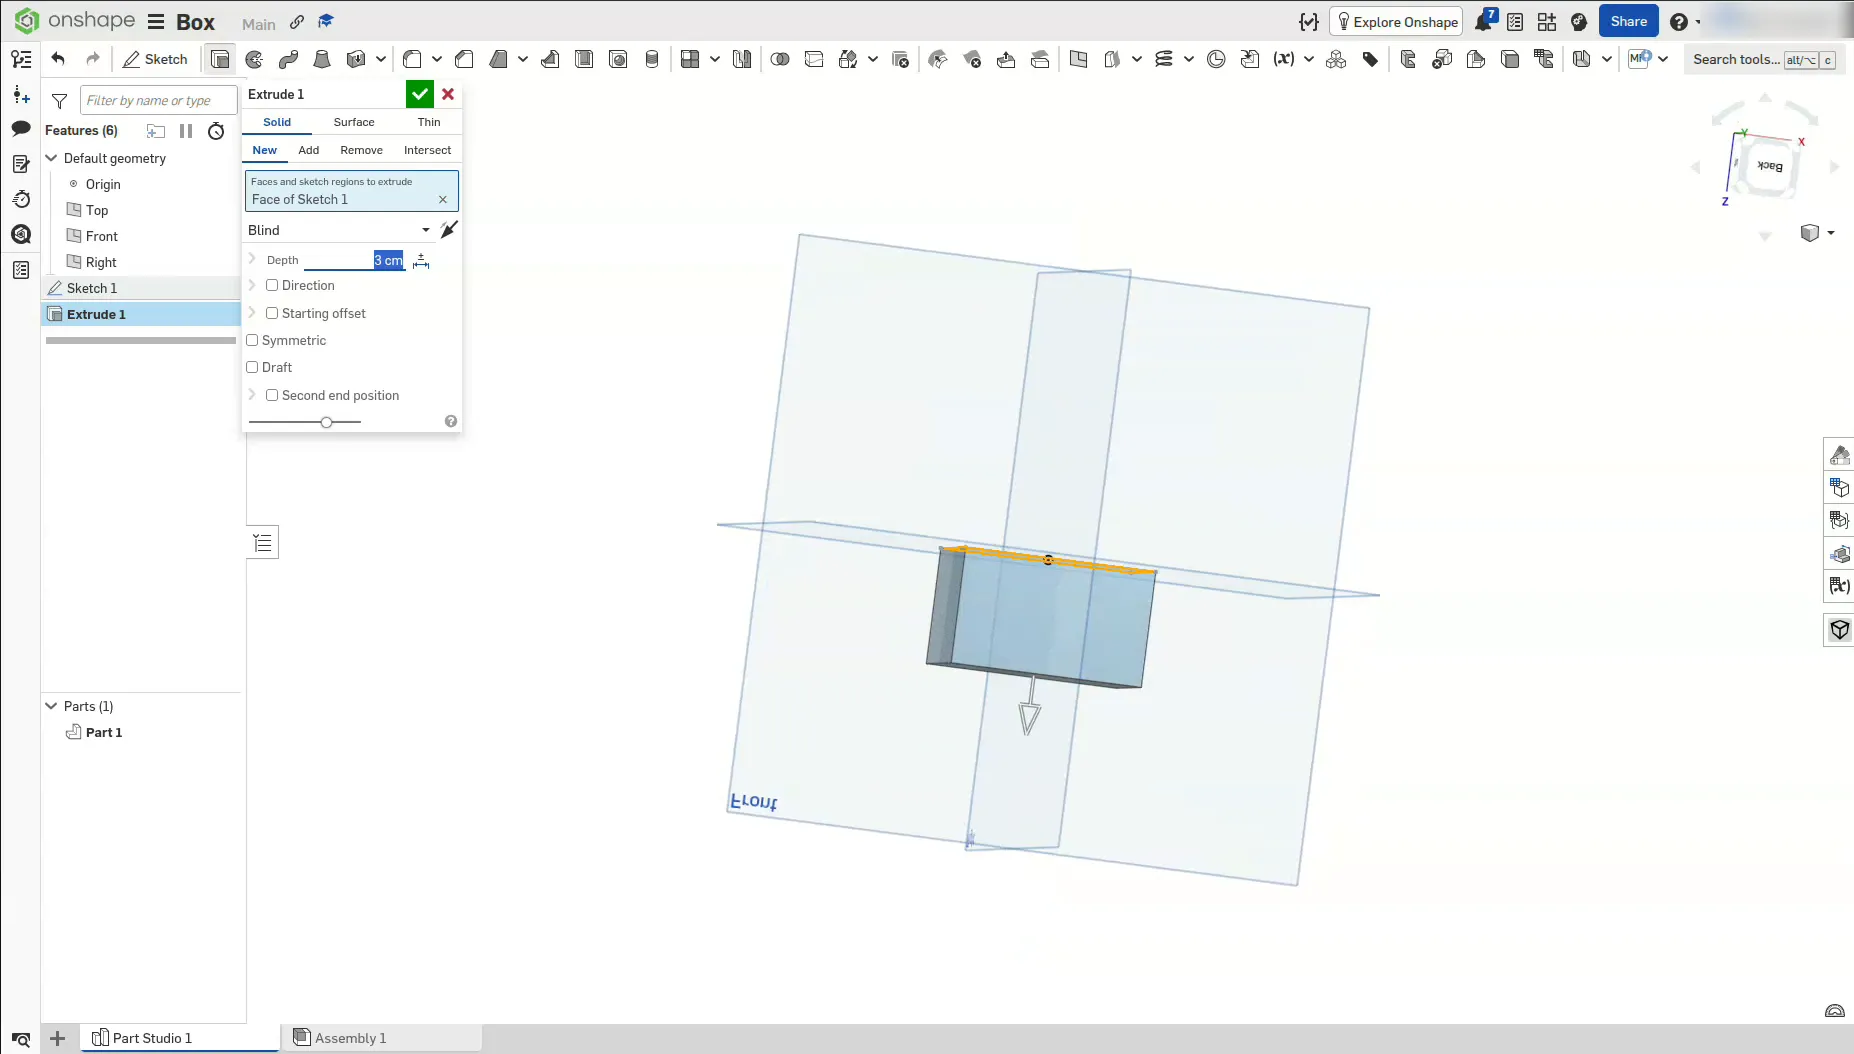
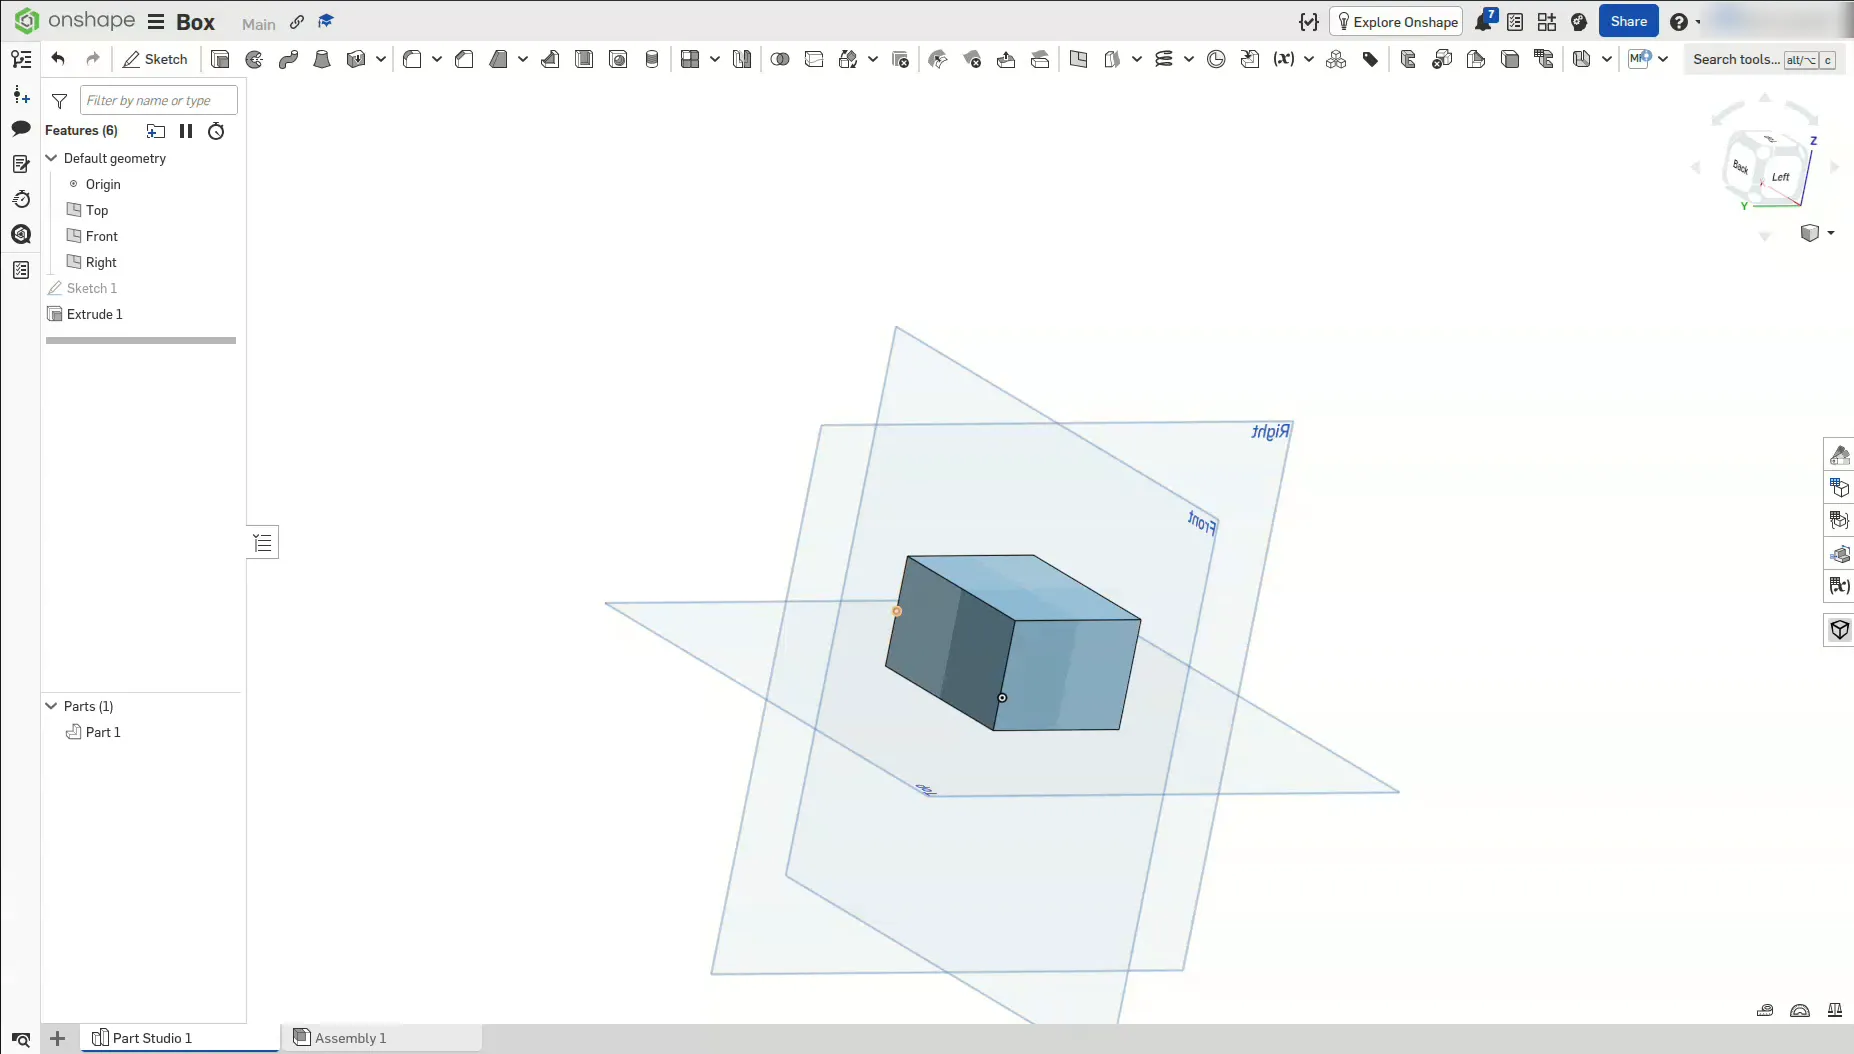
Click the Extrude tool (or press Shift + E) and select the rectangle face. Change Depth to 3 cm and click the green tick. Your flat rectangle is now a solid 5 × 4 × 3 cm block.
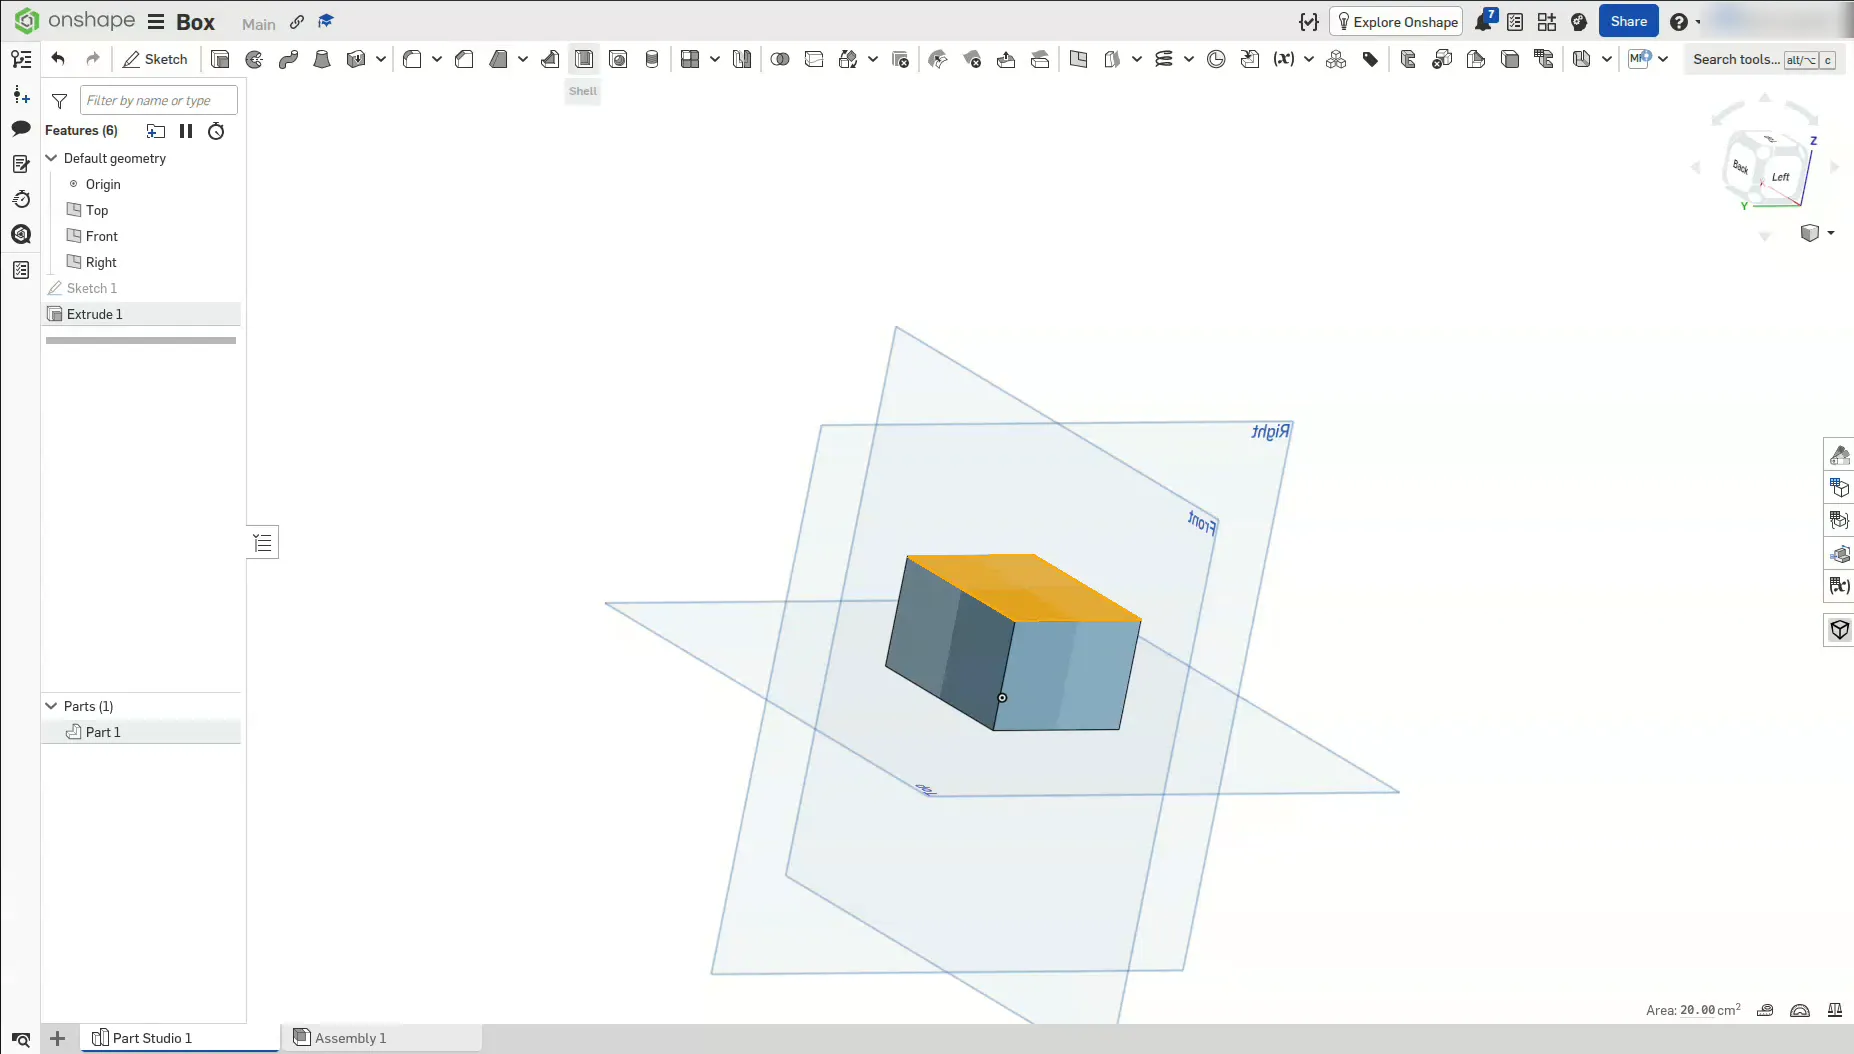
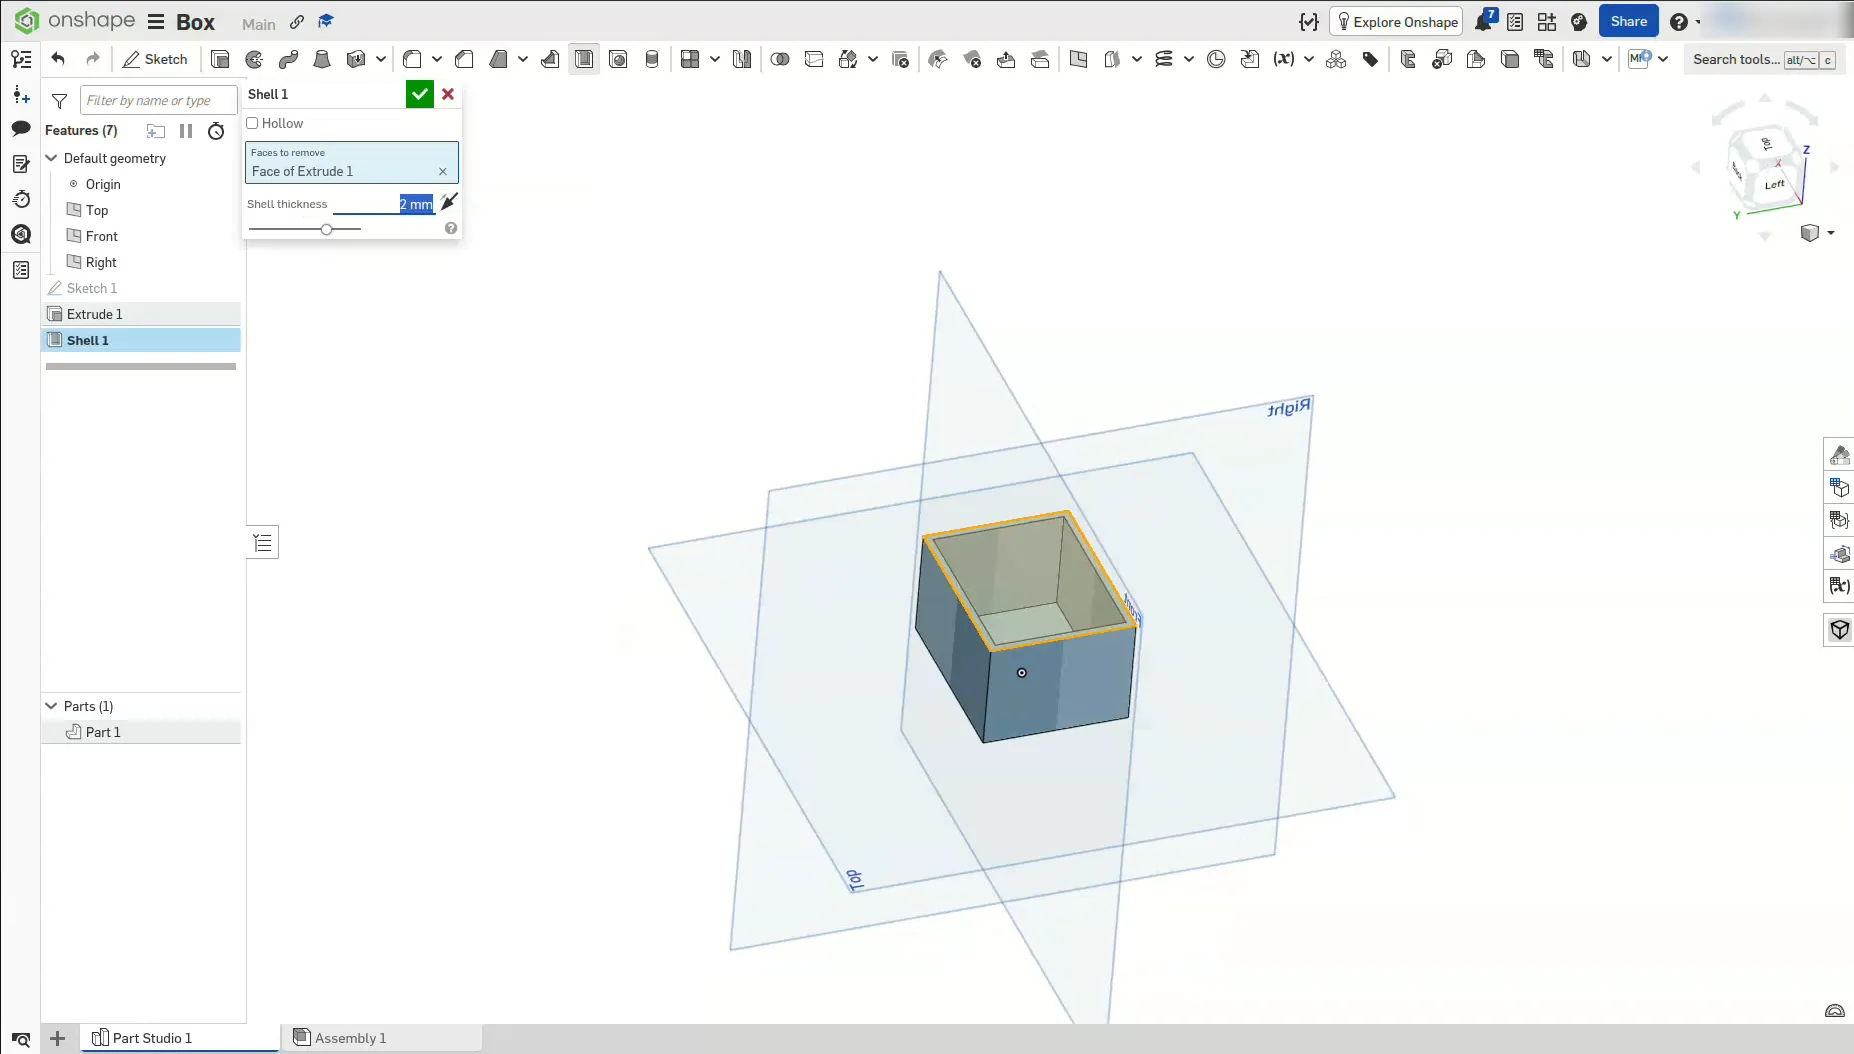
Click the Shell tool in the toolbar. Click the top face of the block, which is the face that gets removed to make the opening. Set Shell thickness to 2 mm and leave Hollow unticked. Click the green tick.
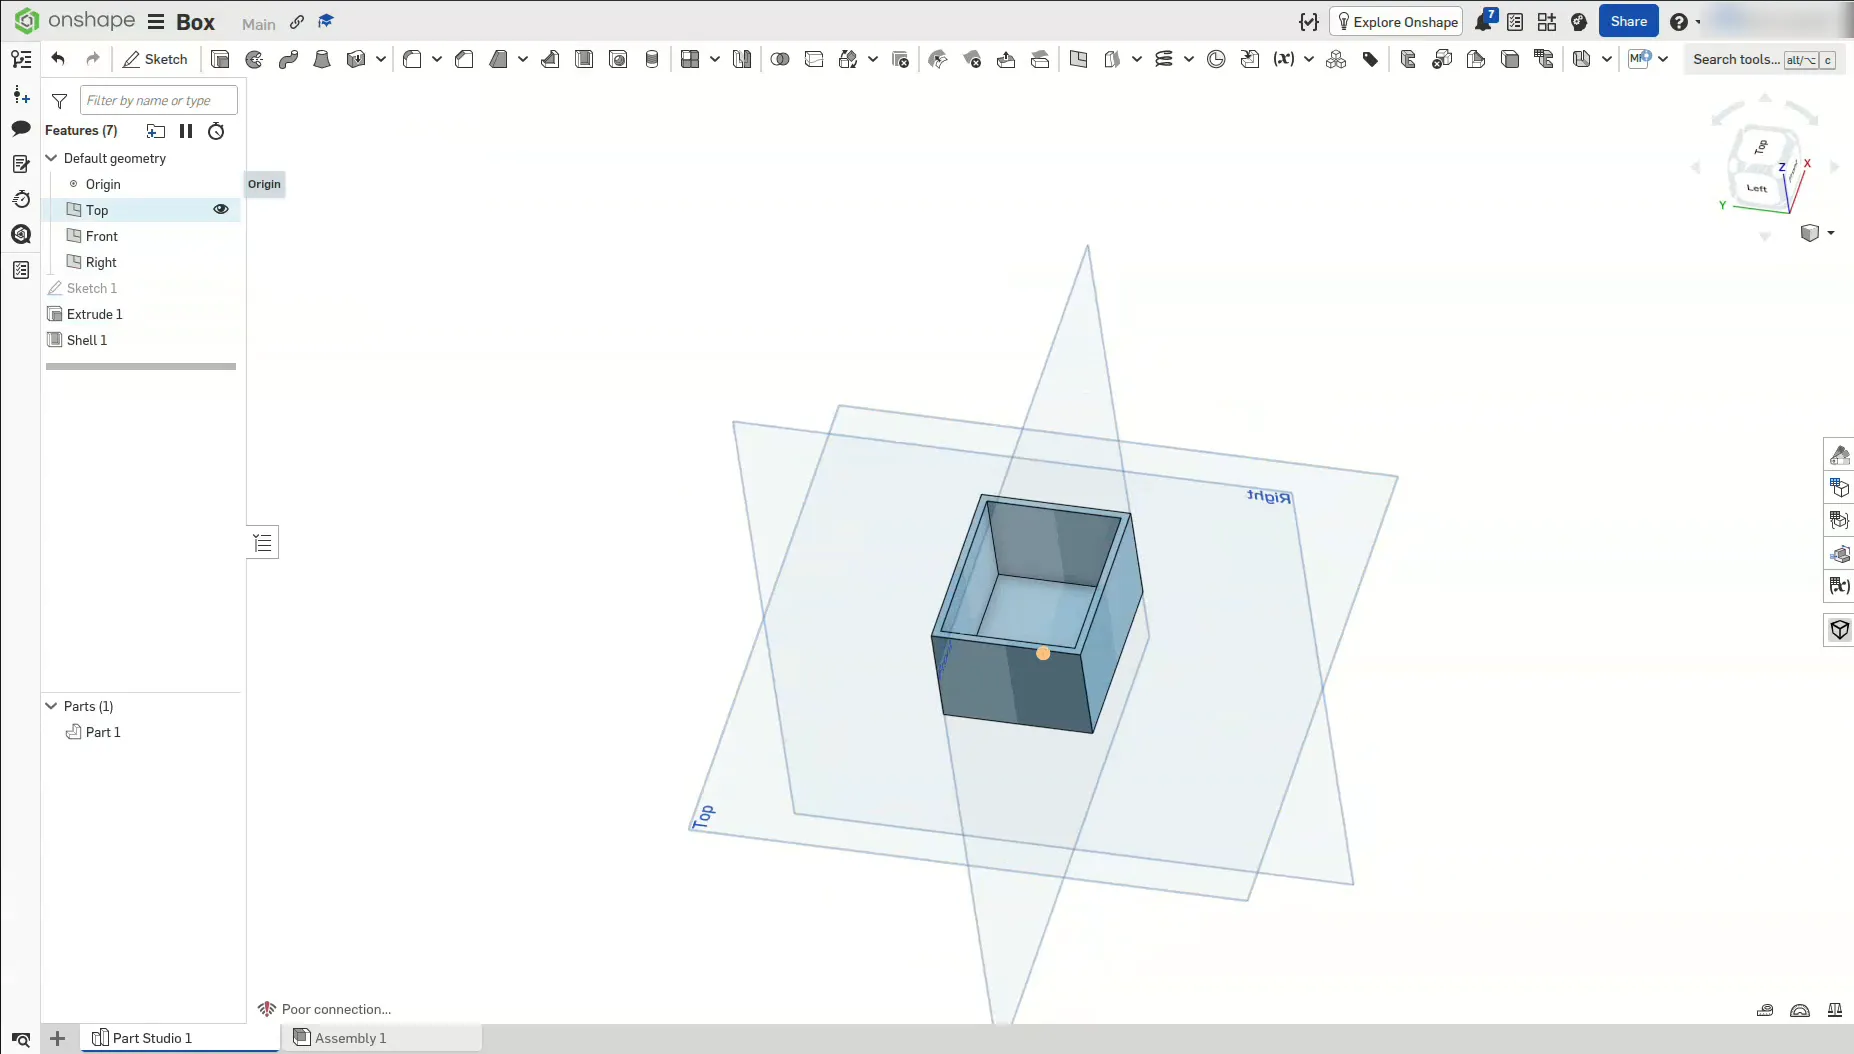
Spin your model around. You now have a hollow box with 2 mm walls and an open top. Onshape saves your work by itself. To 3D print it, right-click Part 1 under Parts, choose Export, and pick STL
Challenge: try a different size, add a lid, or use Fillet to round the corners!