Back to homeHome
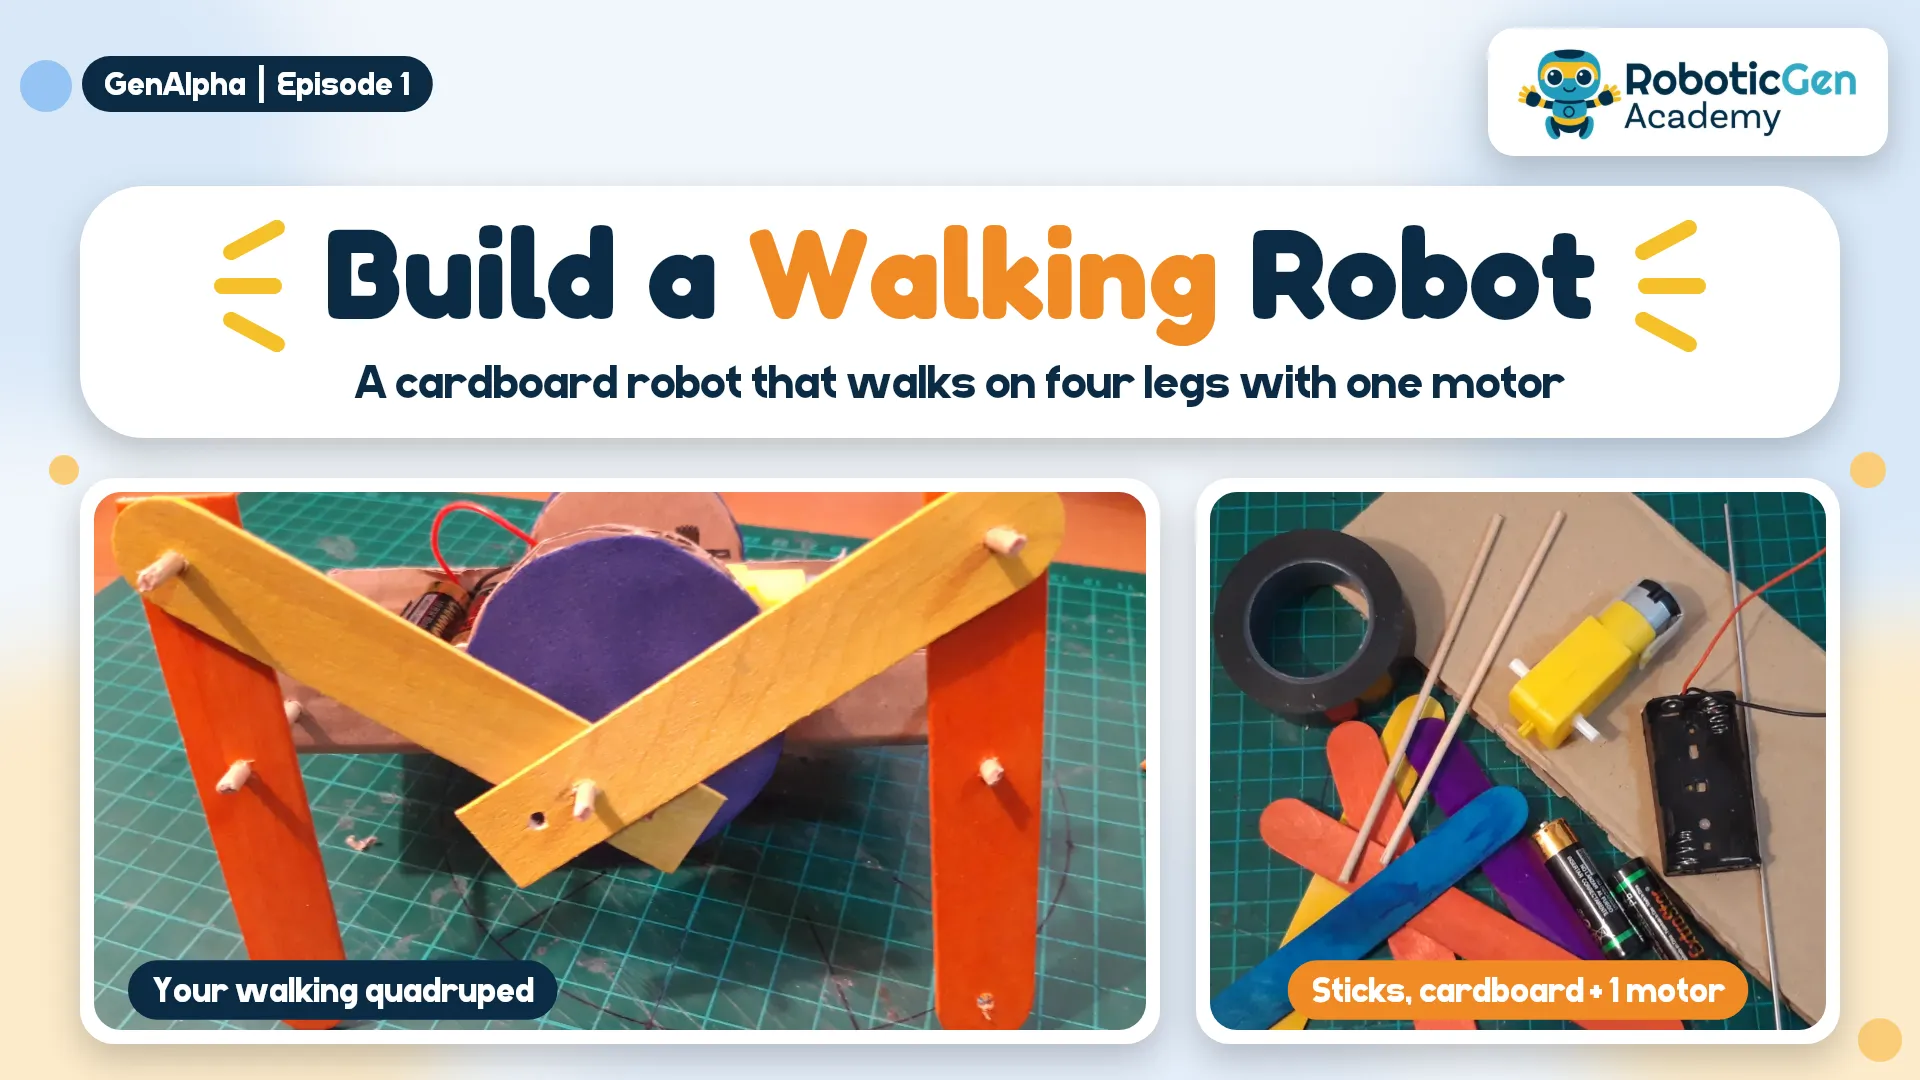
Build a Walking Robot: a cardboard quadruped robot with orange and yellow ice cream stick legs, next to its materials
Robotics

Quadruped Robot - GenAlpha E01

Dogs, cats and horses walk on four legs. Can a robot? Build a small cardboard robot with ice cream stick legs that walks by itself, powered by just one motor and two AA batteries.

  • quadruped
  • walking robot
  • robot dog
  • dc motor
  • cardboard
  • ice cream sticks
  • mechanism
  • recycled materials
  • battery
  • gen alpha
  • ODOdil Janandith
    Oct 26, 20261 views
    Download PDF

    Supplies and tools

    • 8 ice cream sticks
    • Wooden rods (barbecue sticks)
    • 1 yellow dual-shaft gear motor (a motor that spins on both sides)
    • Corrugated cardboard (from an old box)
    • Insulating tape
    • Glue
    • A ruler and a pencil
    • 2 AA batteries and a battery holder
    • 1 switch (if you have one)
    • A craft knife and a small drill or skewer for the holes (for an adult to use)

    Comments (0)

    Sign in to leave a comment.

      Browse projects

      Published builds from the RoboticGen community — featured picks first.

      Sort by
      Featured firstNewestMost viewedMost starred
      Featured onlyAllRoboticsElectronicsIoTCoding & SoftwareAI / MLDrones3D PrintingSensors & AutomationCompetitionsOther

      Step 1: Watch the episode

      Step 2: Can a robot walk like a dog?

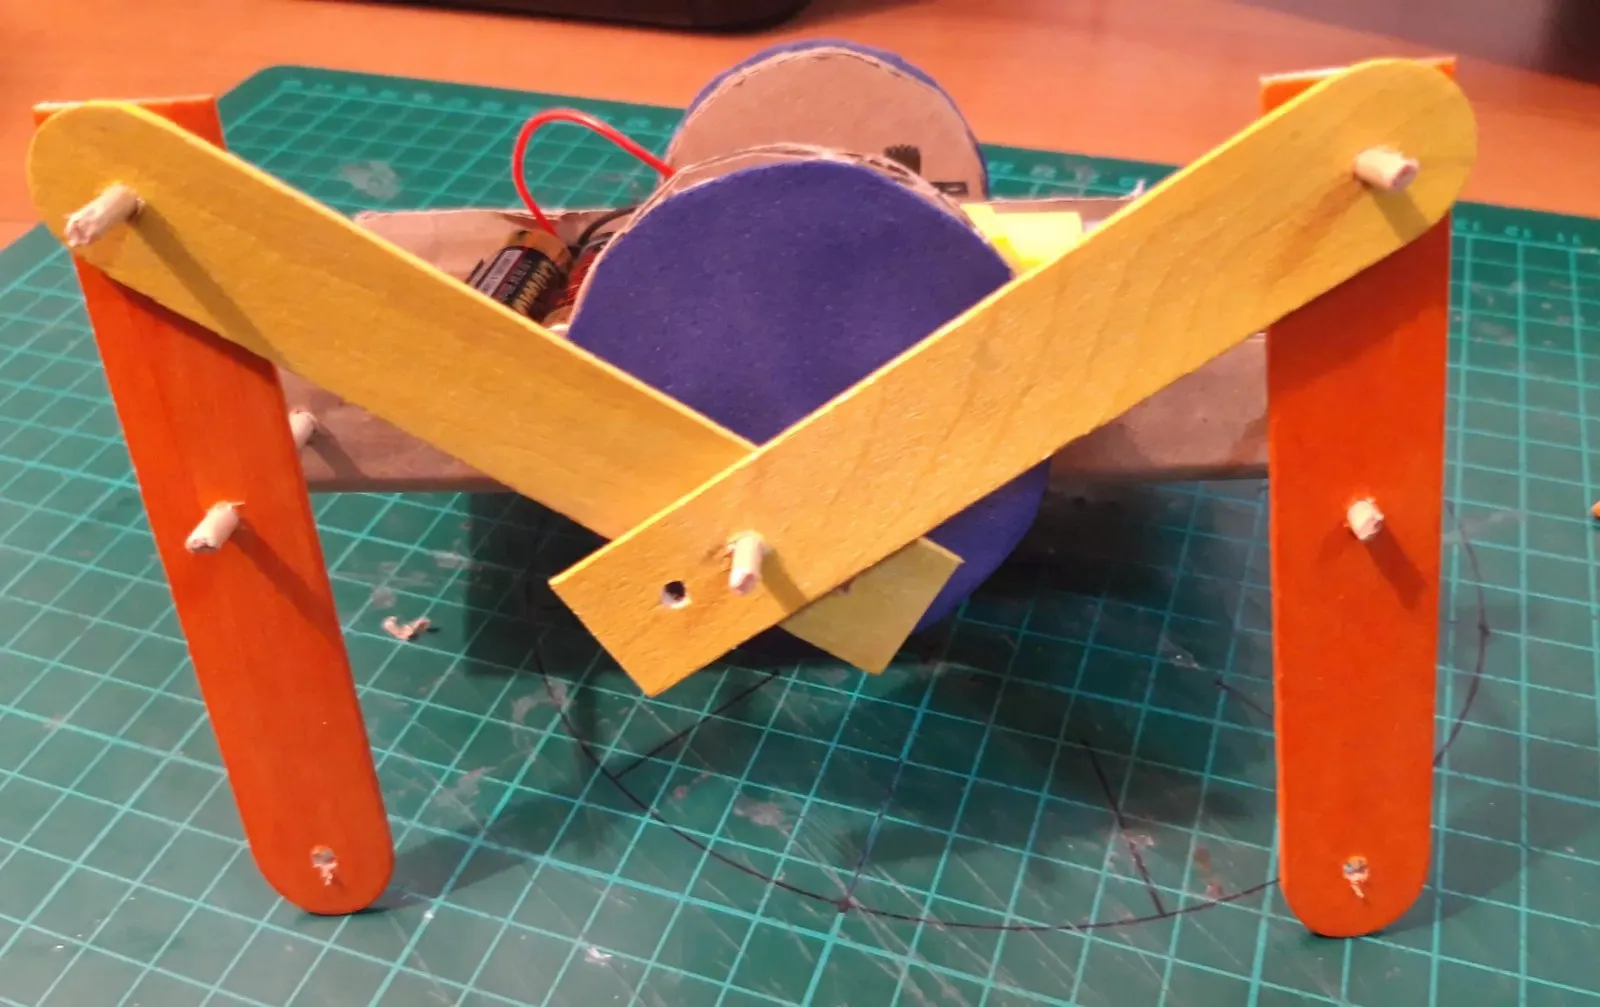
      The finished quadruped robot: orange and yellow ice cream stick legs on a cardboard body with a purple wheel

      Step 3: Get your materials and stay safe

      The materials: ice cream sticks, barbecue sticks, a yellow gear motor, a battery holder, AA batteries, insulating tape and cardboard

      Step 4: Make the legs

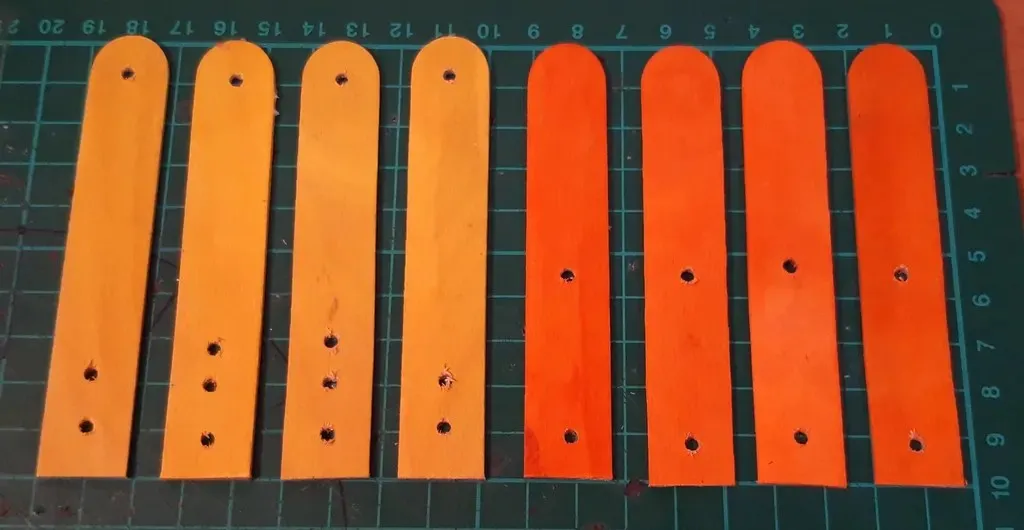
      Eight 10 cm ice cream stick pieces with holes drilled in them

      Step 5: Make the wheels

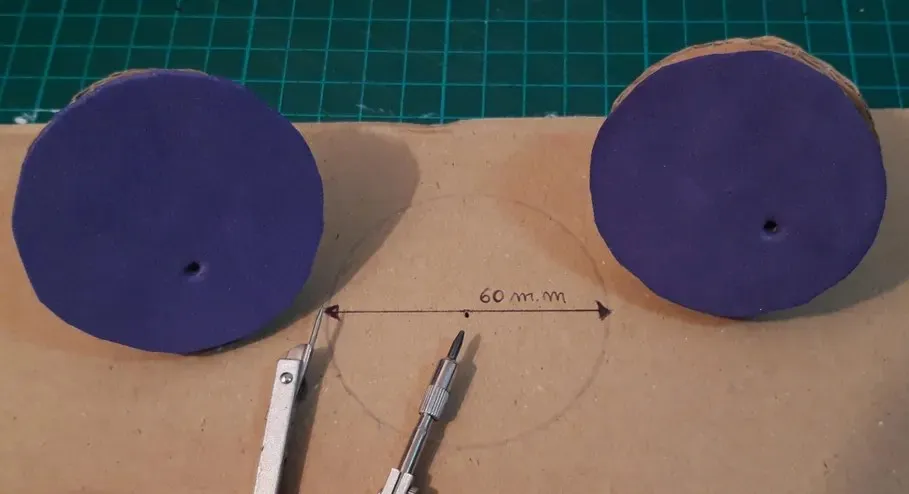
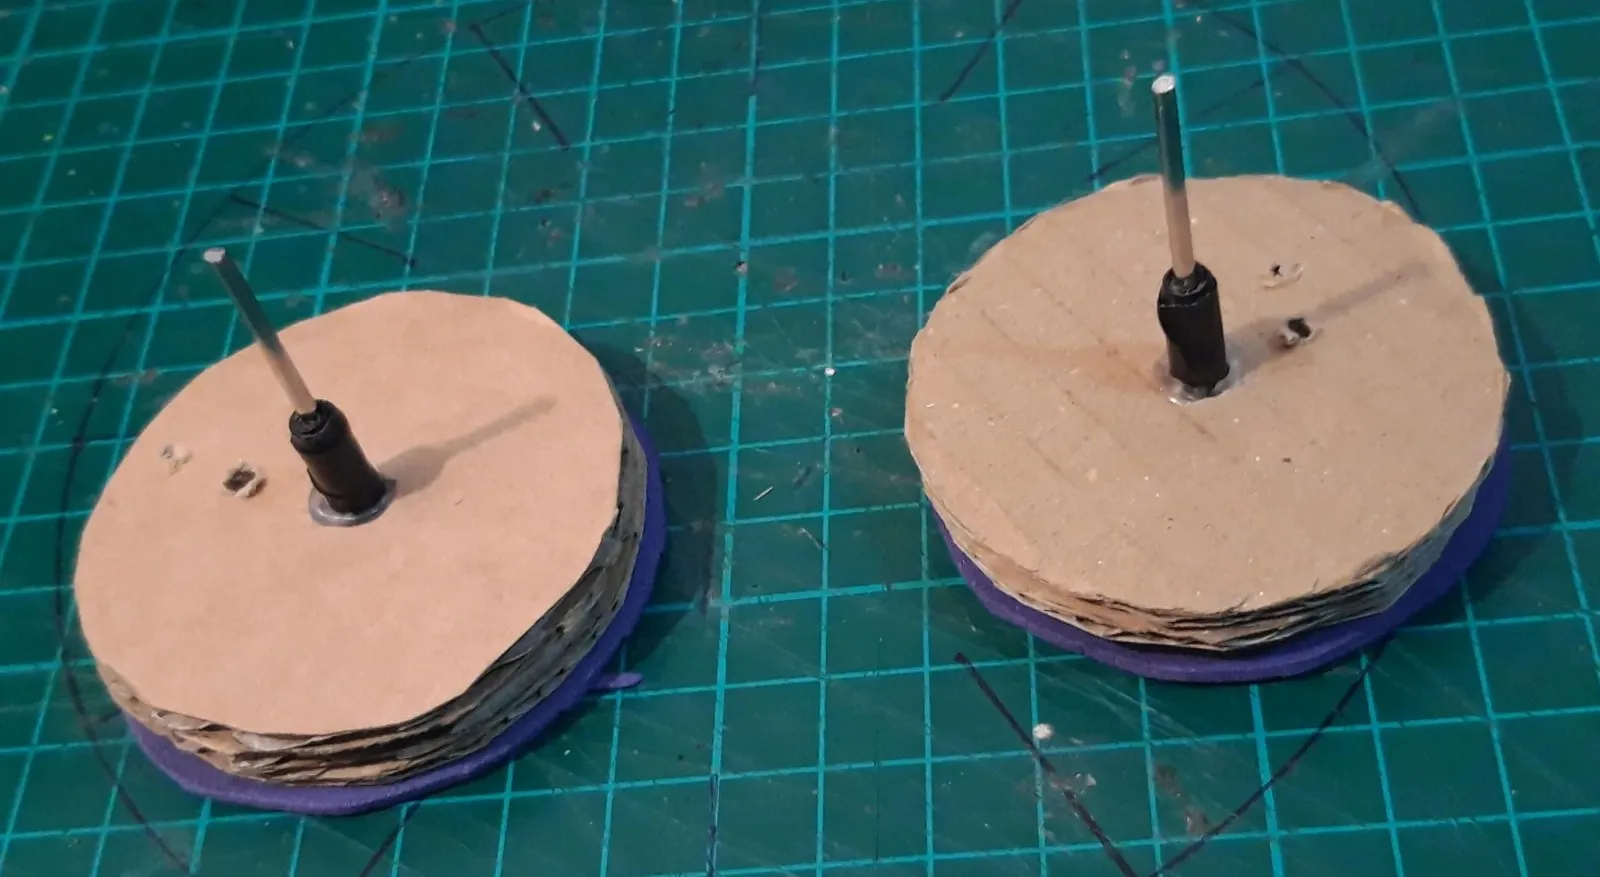
      Two thick cardboard wheels, 12 cm acrossA wooden rod taped to each wheel

      Step 6: Make the body

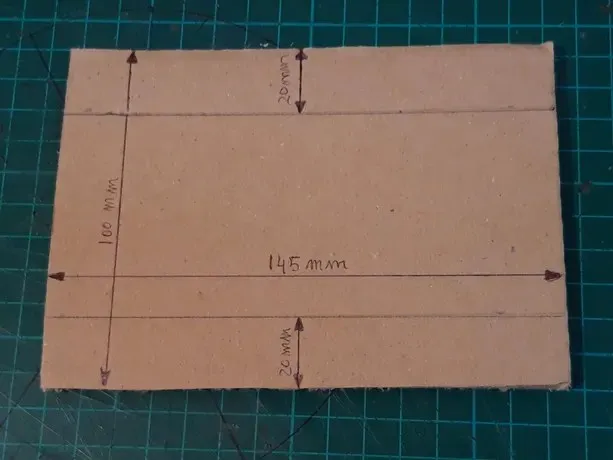
      The body drawn on cardboard: 145 mm by 100 mm with fold lines 20 mm from each long edgeThe folded cardboard body with two wooden rods pushed through it

      Step 7: Add the motor

      The battery holder and yellow motor glued in the middle of the bodyA wheel pushed onto each motor shaft

      Step 8: Add the legs and make it walk!

      The legs pinned to the wheels and body, ready to walk

      Step 9: Your turn: build it and submit your build!

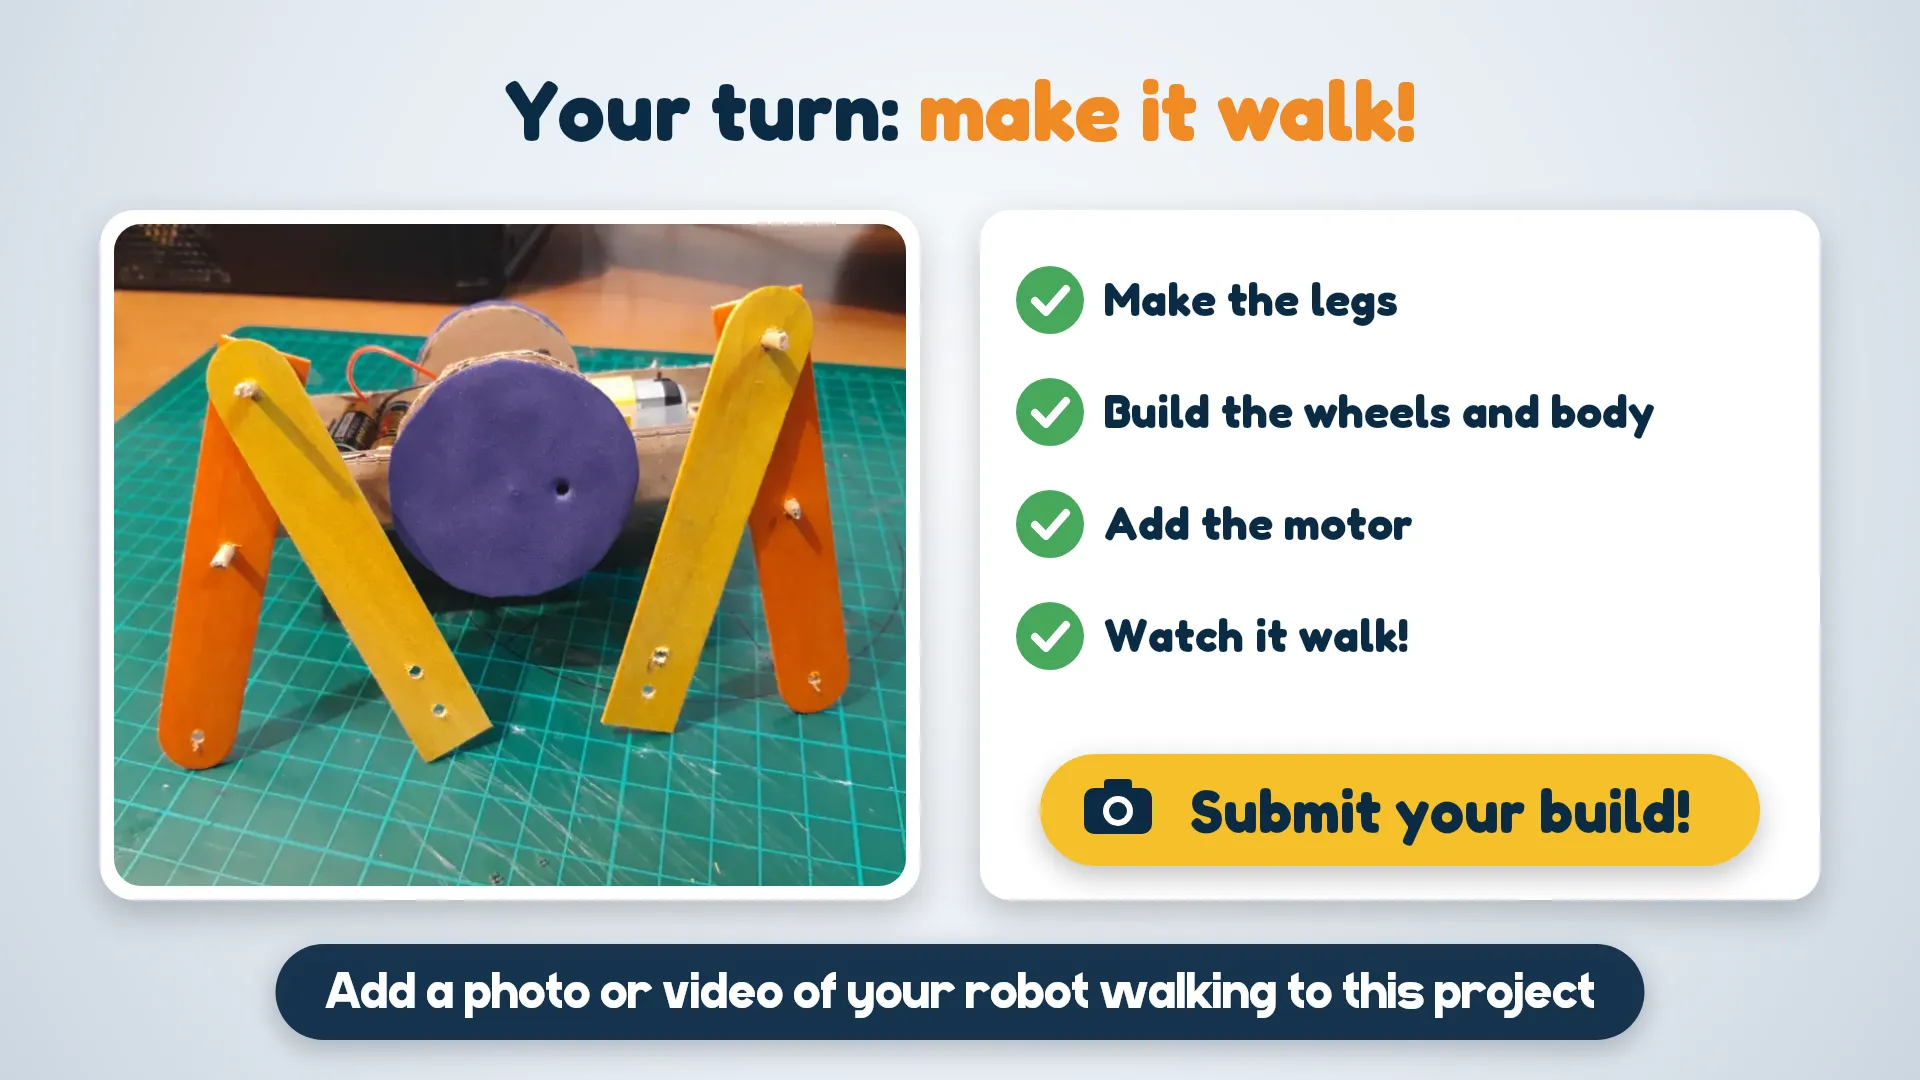
      Your turn checklist: make the legs, build the wheels and body, add the motor, watch it walk, then submit your build

      This project is from Gen Alpha Episode 1 on Ahasa TV. The quadruped robot part starts at 19:30: jump straight to it here. Watch it walk, then build your own!

      The Master was reading a book about animals. "Look, Obo! Dogs and cats walk on four legs," he said.

      Obo: "Can a robot walk like a dog?"

      The Master smiled. "Let's find out. We will build one together!"

      Your mission: build a small robot that walks on legs. One motor makes it move. Can you work out how?

      Do you know? Animals with four legs are called quadrupeds. Dogs, cats and horses are quadrupeds. A battery stores energy, and a motor uses that energy to spin round and round. In this robot, the spinning moves the legs. Watch closely to see how!
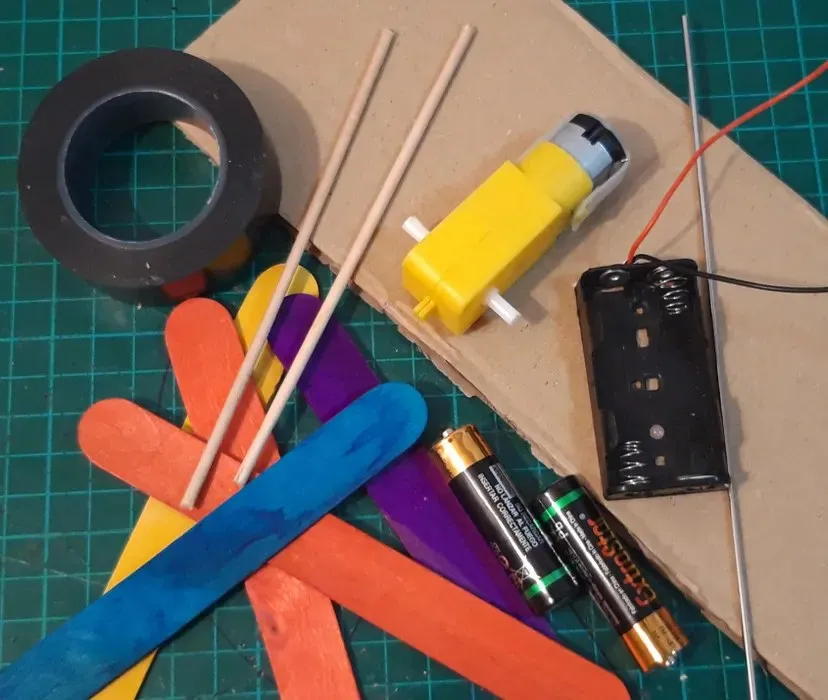
      Collect everything in the list at the top. Ask an adult to help you, and stay safe:

      • We only use small batteries. Never touch wall sockets.
      • Sticks and rods can be sharp. An adult does all the cutting and makes the holes.
      • The motor can get warm. If it feels hot, switch it off and tell an adult.
      • If you use hot glue, only an adult uses it.

      An adult cuts 8 pieces from ice cream sticks, like in the photo. Each piece is 10 cm long.

      • 4 orange sticks: each has 2 holes, one in the middle and one at the bottom.
      • 4 yellow sticks: each has 1 hole at the top and a few holes at the bottom.

      Count the holes. Why do you think the yellow sticks have extra holes?

      1. An adult draws and cuts some cardboard circles. Each one is 12 cm across (6 cm from the middle to the edge).
      2. Glue the circles on top of each other to make a thick wheel. Make 2 wheels.
      3. An adult cuts 2 wooden rods, each 5 cm long.
      4. Wrap insulating tape like in the picture.
      5. Use insulating tape to fix a wooden rod to each wheel, like in the picture.
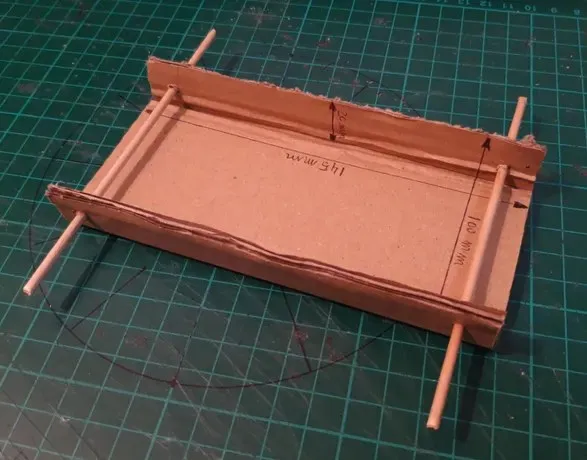
      1. Use a ruler to draw the body on cardboard: a rectangle 145 mm long and 100 mm wide, with a fold line 20 mm in from each long edge (the first picture).
      2. Check that the middle part is big enough for the motor and the battery holder.
      3. An adult cuts it out. Fold up the sides and tape the corners.
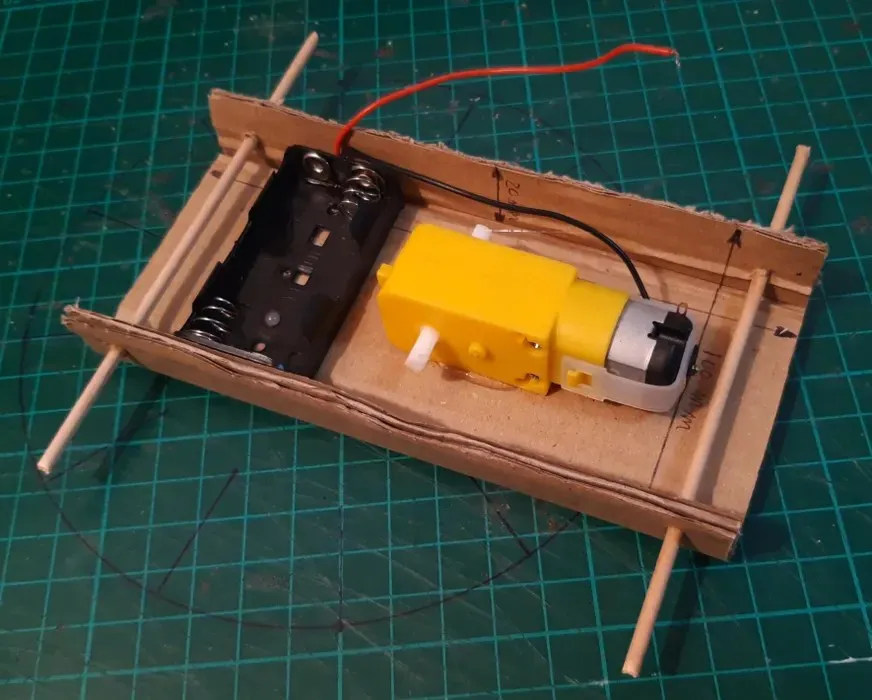
      4. Push 2 wooden rods (12 cm long) through the body, like in the second picture.
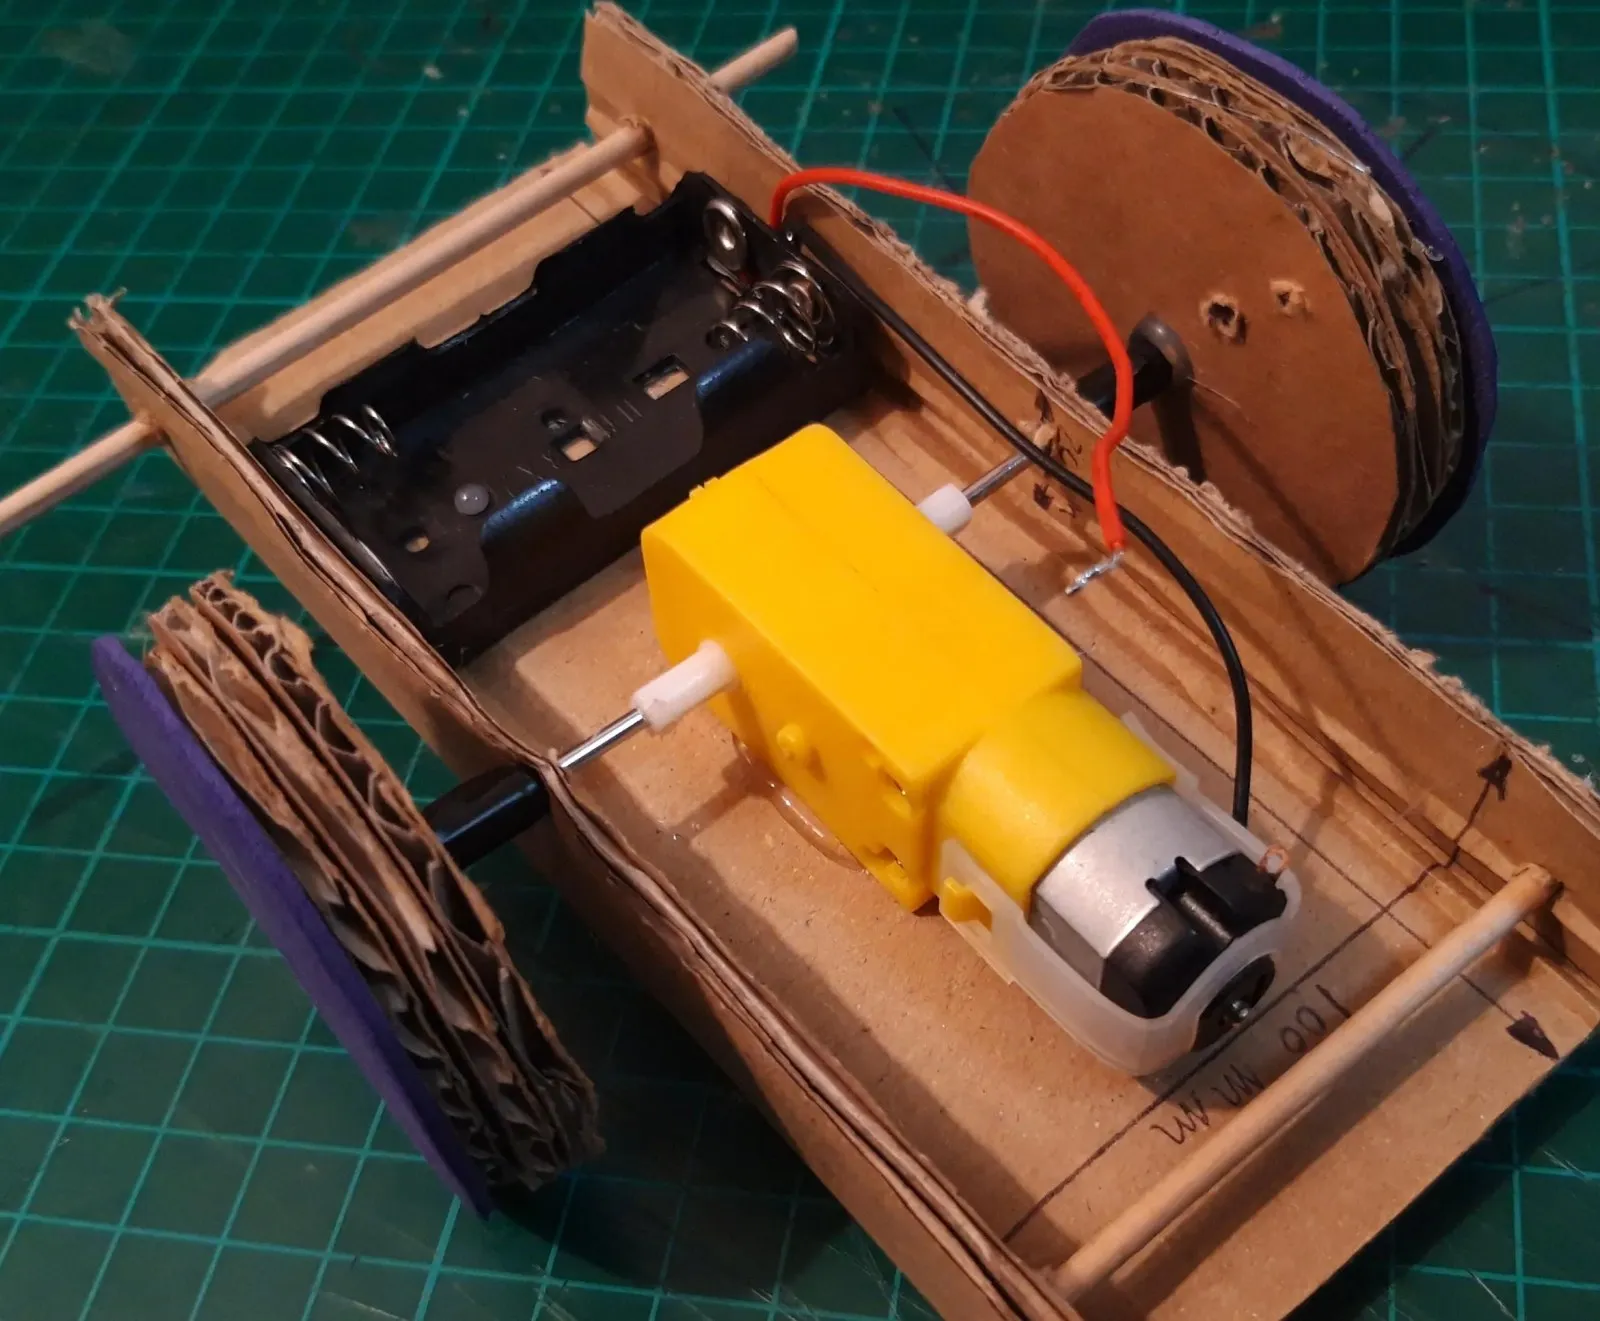
      1. Glue the battery holder and the motor in the middle of the body.
      2. Push a wheel onto each shaft of the motor. A shaft is the part that sticks out and spins.

      Got a switch? An adult can add it now, so you can turn the robot on and off.

      1. An adult cuts tiny pieces of wooden rod. These are pins.
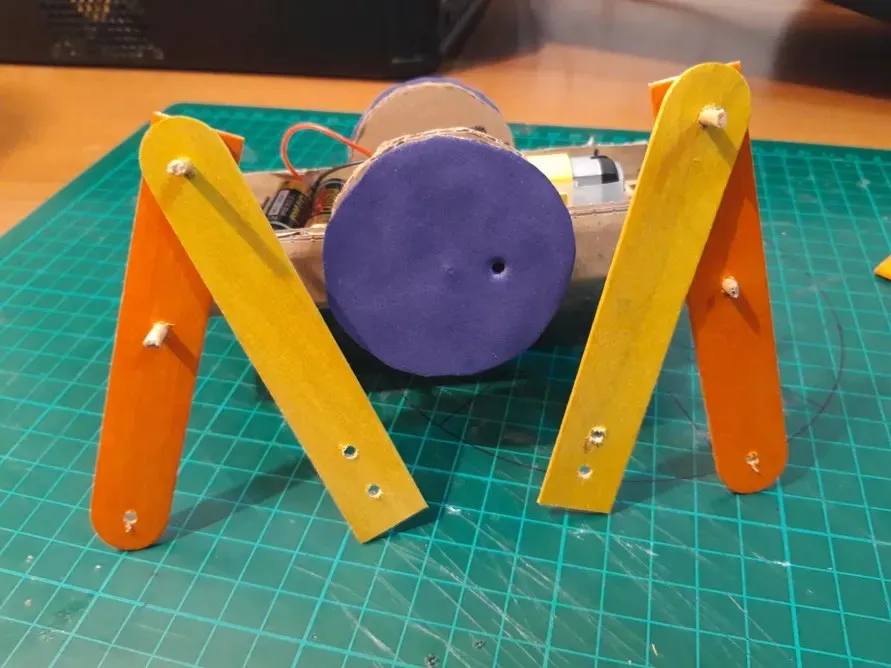
      2. Use the pins to join the yellow and orange sticks together.
      3. Use one more pin to join each yellow stick to a wheel.
      4. Turn a wheel slowly with your hand. What do the legs do?
      5. An adult puts in the batteries. Then flip the switch (or connect the wires if you have no switch) and watch your robot walk!

      The wheel goes round and round, but the legs swing back and forth. A wheel that turns spinning into a back-and-forth push like this is called a crank, just like the pedals on a bicycle.

      Now it's your turn:

      1. Make the legs.
      2. Build the wheels and the body.
      3. Add the motor.
      4. Watch it walk!

      Then submit your build: click I built this at the top of this project and add a photo or short video of your robot walking. Write one sentence about what you learned.

      Challenges:

      • Join the yellow stick to a different bottom hole. Do the steps get longer or shorter?
      • Make a track with tape on the floor. Which robot gets to the end first?
      • Turn your robot into an animal with paper ears and a tail. Keep them away from the wheels!
      • Where is your robot walking to? Tell or draw its story.
      Featured
      Other
      Build The Spiral - GenAlphaE05
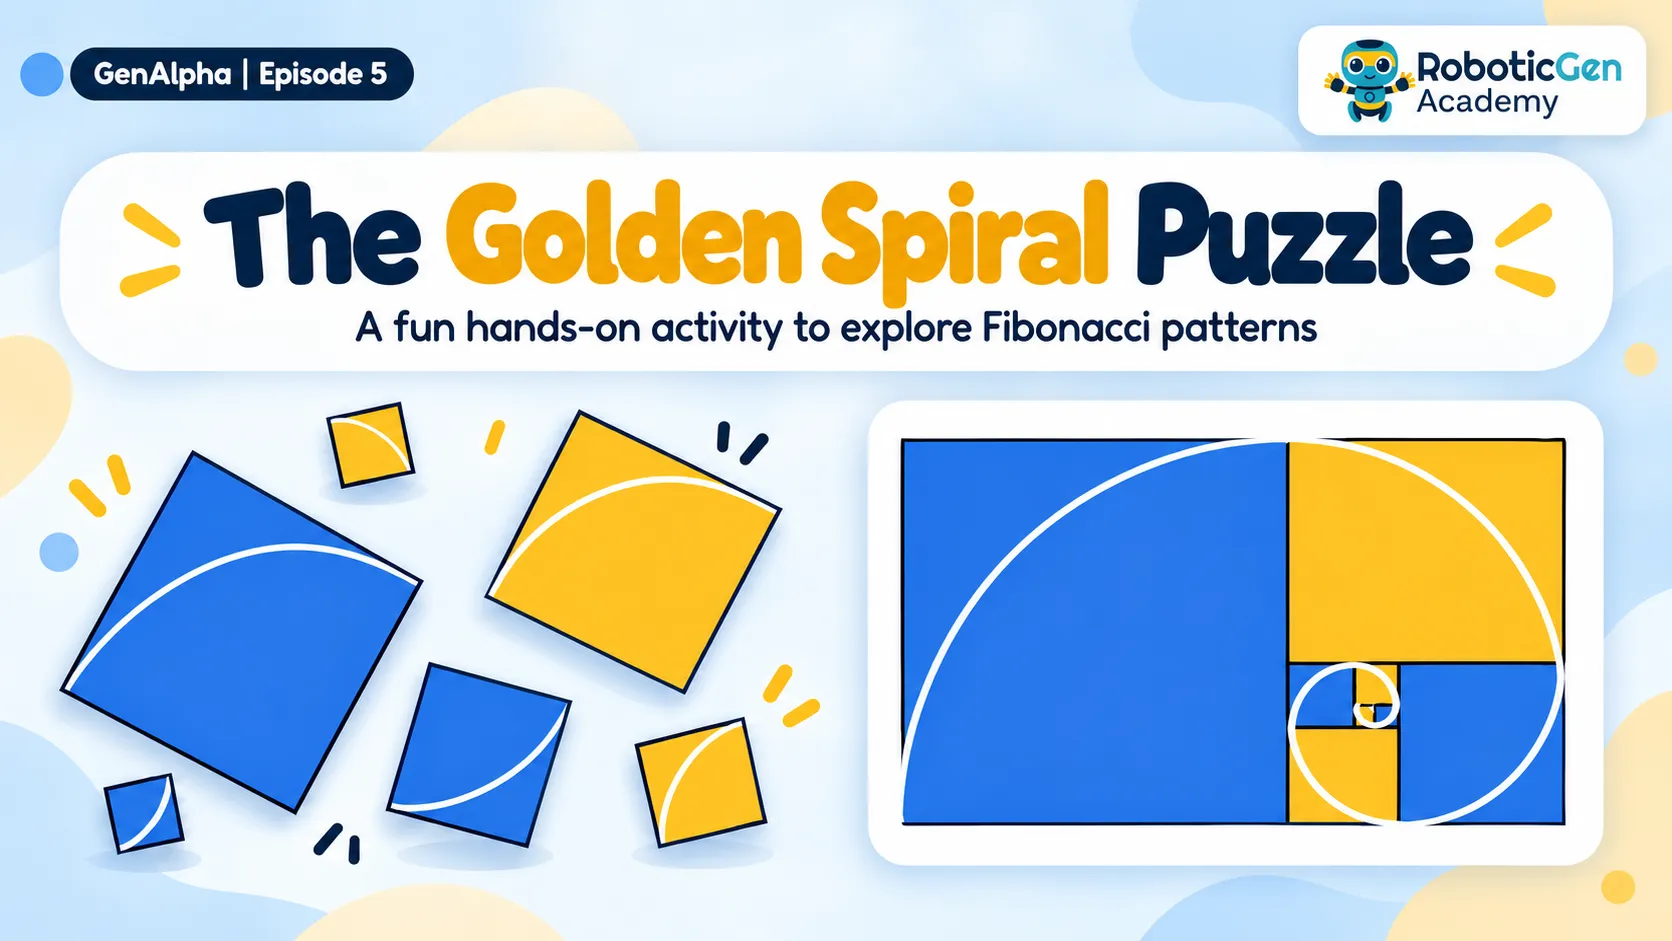
      The Golden Spiral Puzzle is a fun, hands-on activity that introduces students to the Fibonacci sequence and geometric patterns. Students repeatedly draw the largest possible square within the remaining rectangle, using its shorter side as a guide. They then connect quarter-circle curves to form a spiral. Finally, students colour and number the squares, exploring the relationship between mathematics, geometry, and patterns found in nature.
      by Nimantha Adikaram
      Likes:0Stars:0Views:4
      Featured
      3D Printing
      The Fibonacci Gauge - GenAlpha E05
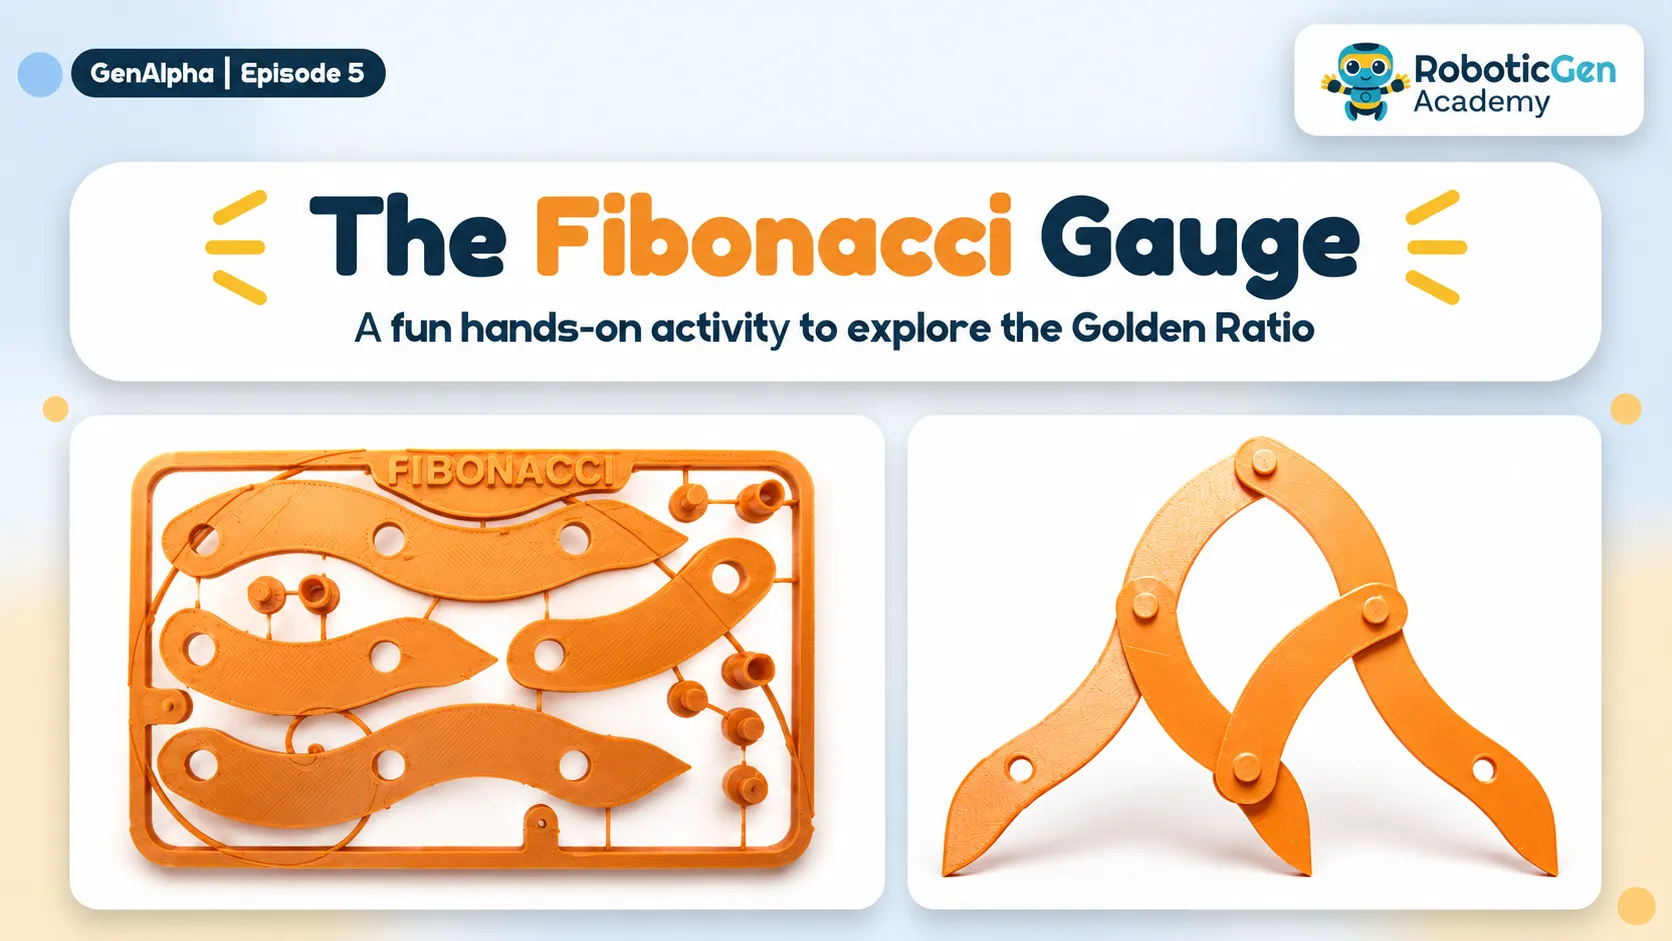
      The Fibonacci Gauge is a hands-on STEAM activity that introduces students to the Fibonacci sequence, the Golden Ratio (1.618), and mathematical proportions. Students assemble a movable measuring tool using interconnected arms and pivot joints. By opening and closing the gauge, they can explore how the Golden Ratio remains approximately constant and compare proportions in everyday objects such as books, smartphones, and picture frames.
      by Nimantha Adikaram
      Likes:
      Featured
      Other
      Starshade - GenAlpha E02
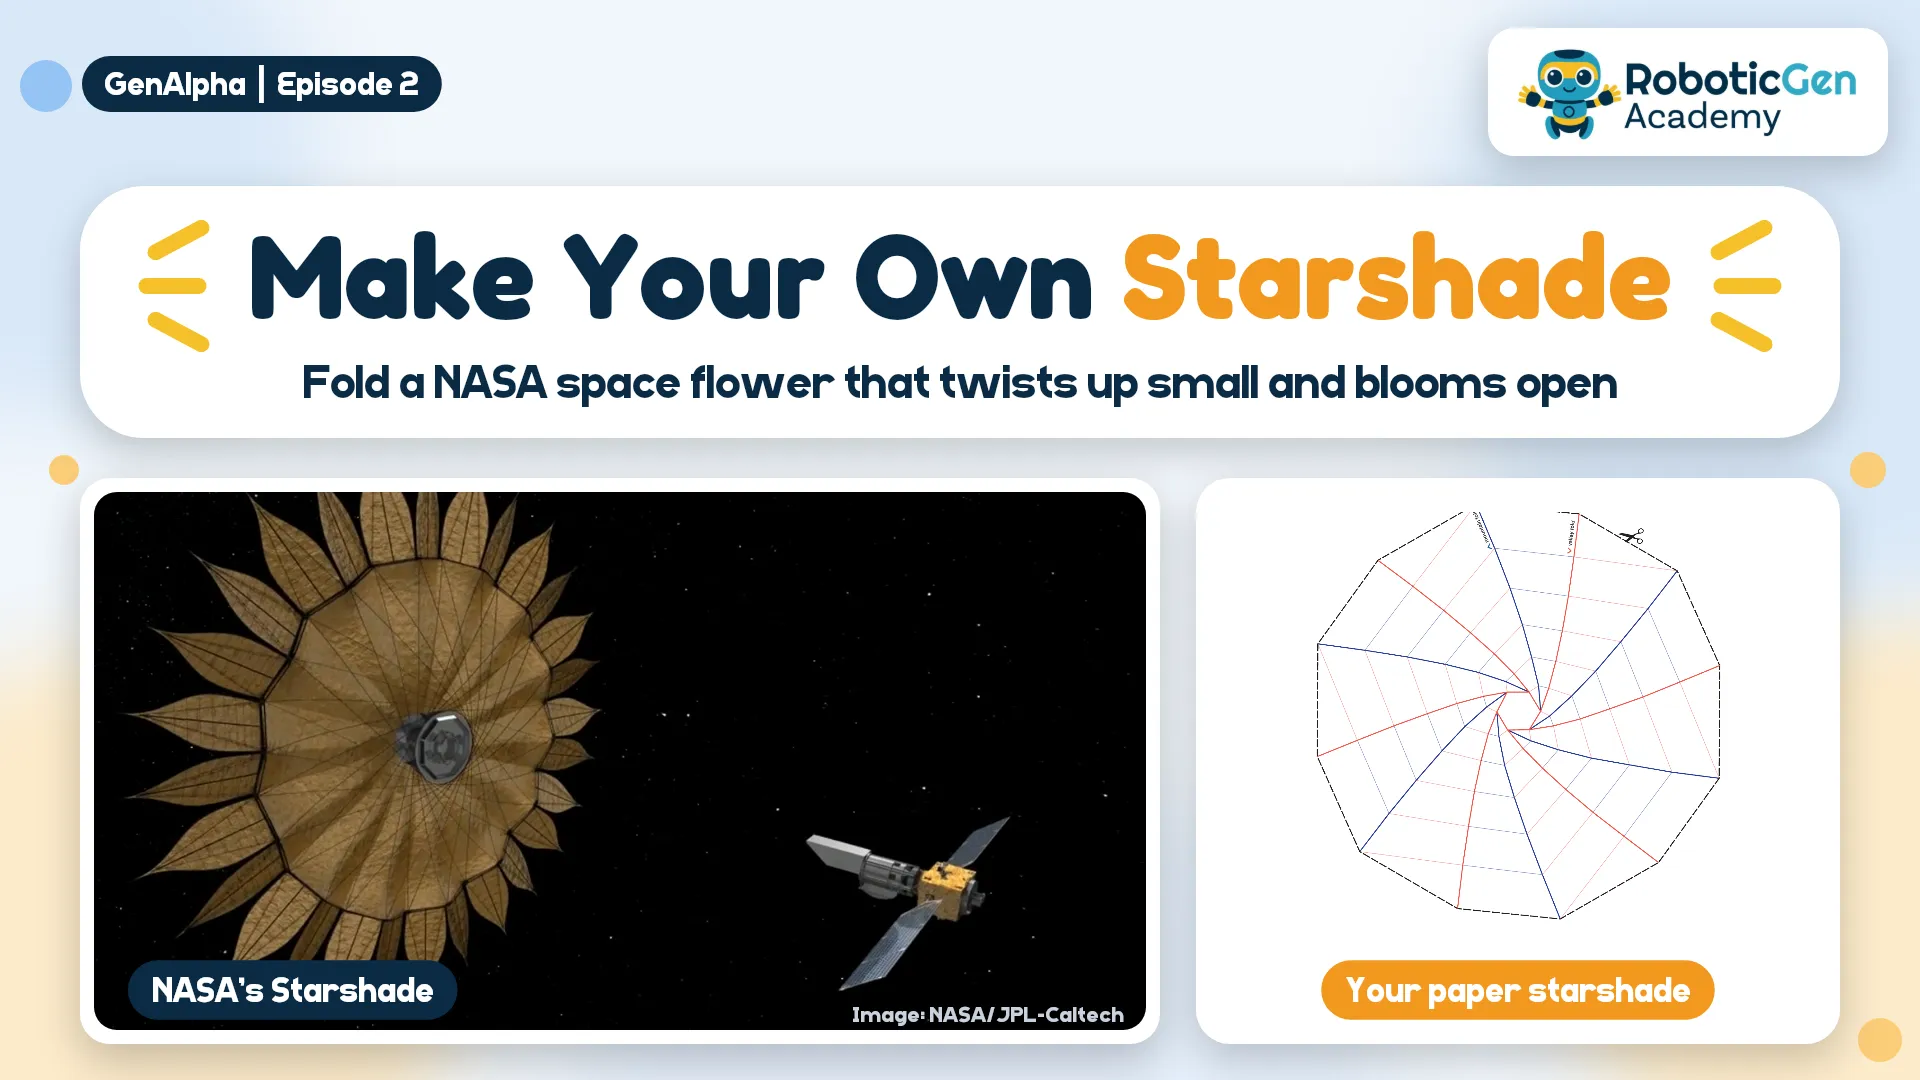
      NASA designed a giant "space flower" that folds up small enough to fit in a rocket, then blooms open to block a star's glare so we can see its planets. Fold your own paper starshade that wraps into a spiral and opens with a twist, then test it with a torch.
      by Odil Janandith
      Likes:0
      Featured
      Robotics
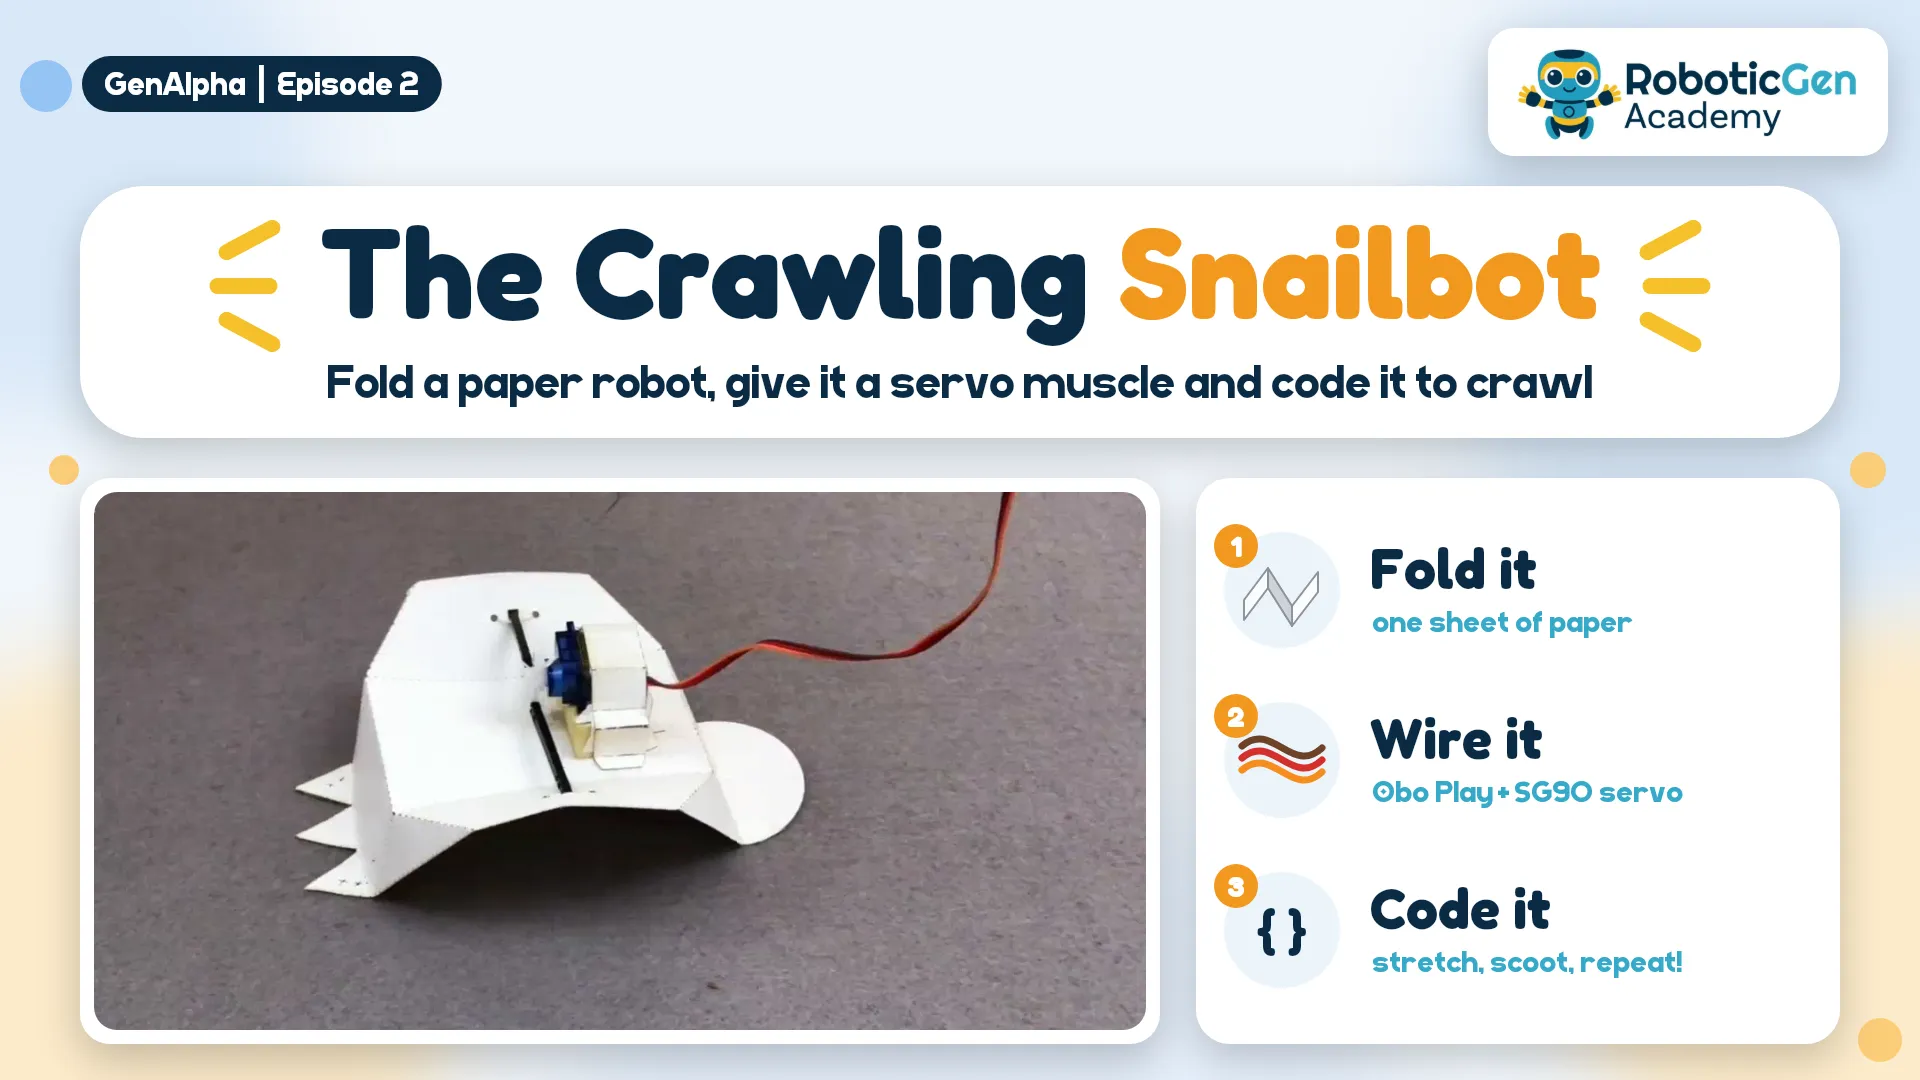
      Snailbot - GenAlpha E02
      Cut and fold a paper Snailbot, make it crawl by hand, then give it a brain and a muscle. An Obo Play (ESP32) tells an SG90 servo what to do, and a few lines of code make the snail crawl by itself.
      by Odil Janandith
      Likes:0Stars:
      Featured
      3D Printing
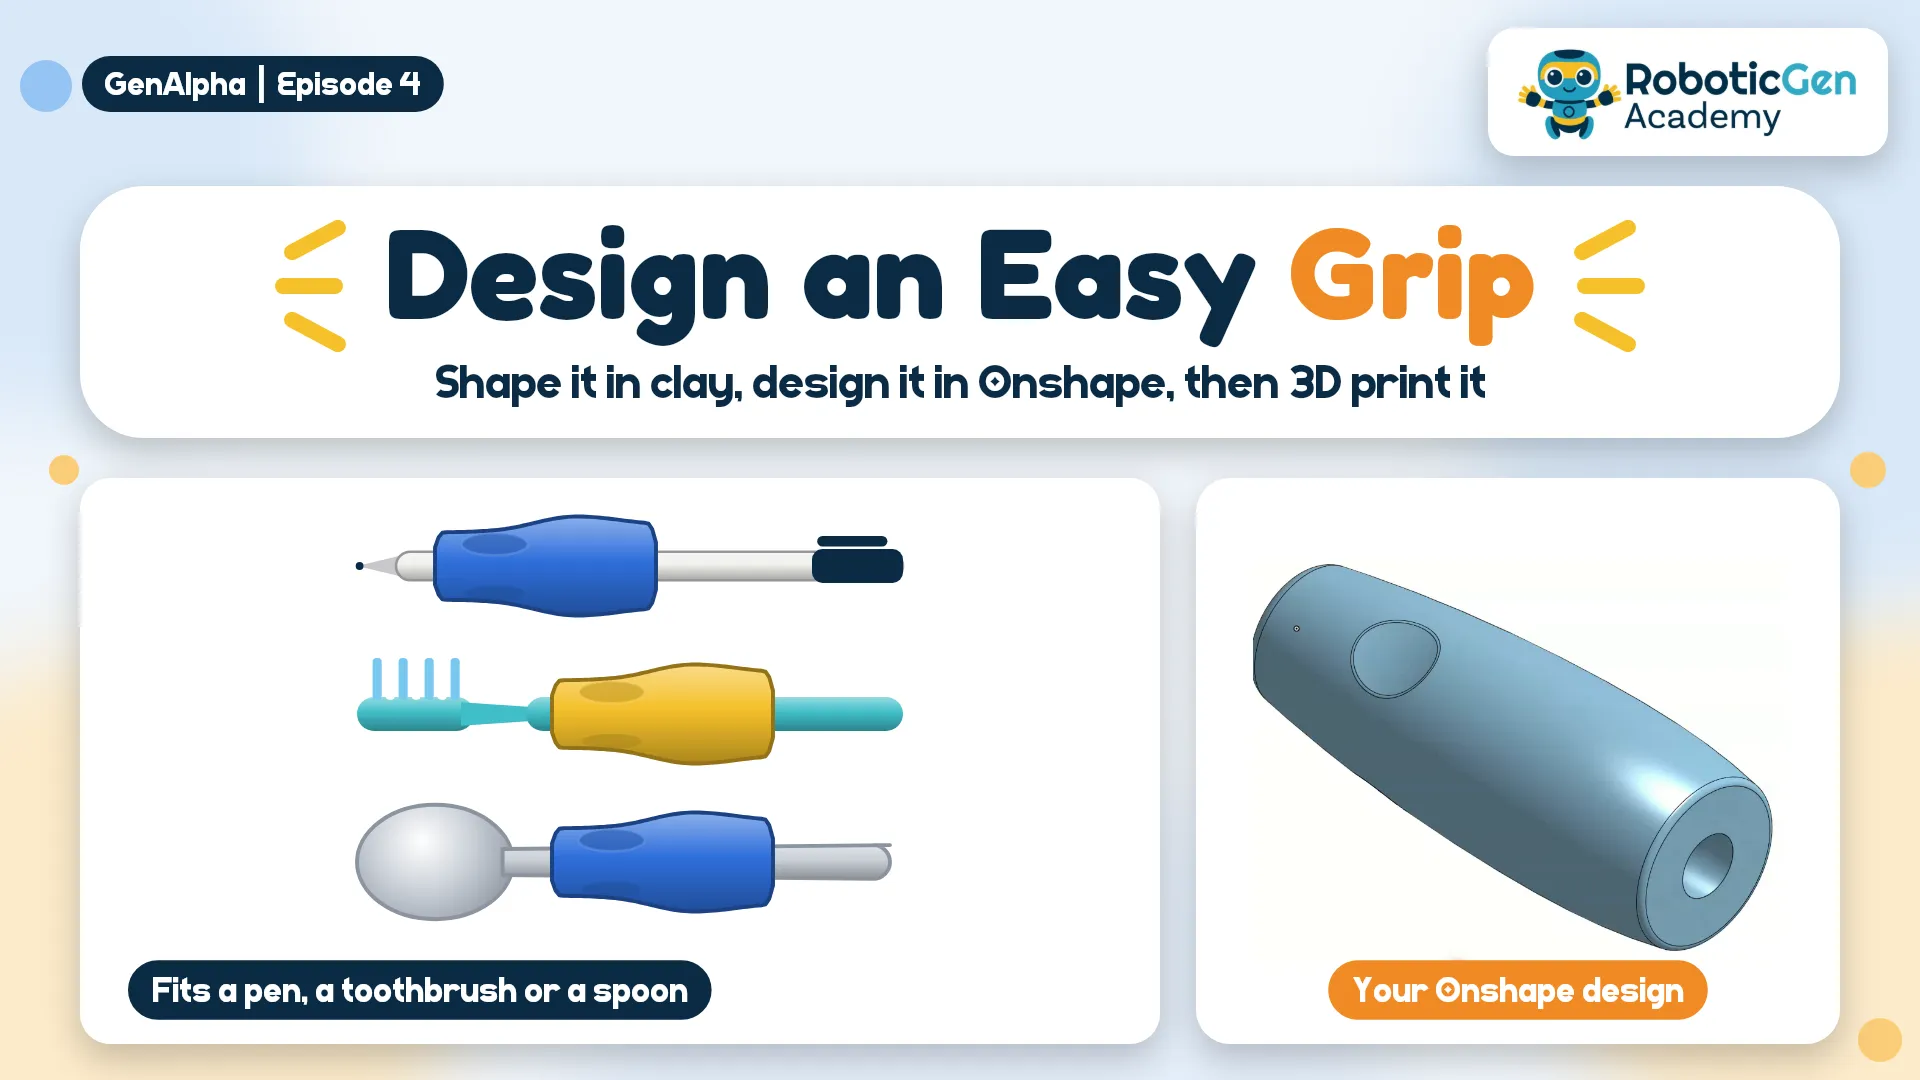
      Easy Grip - GenAlpha E04
      Some people have stiff or sore hands and find thin pens, spoons and toothbrushes hard to hold. Shape the perfect grip with Play-Doh, measure it, then design a fat handle with three finger grooves in Onshape and 3D print it.
      by Odil Janandith
      Likes:1Stars:
      Featured
      3D Printing
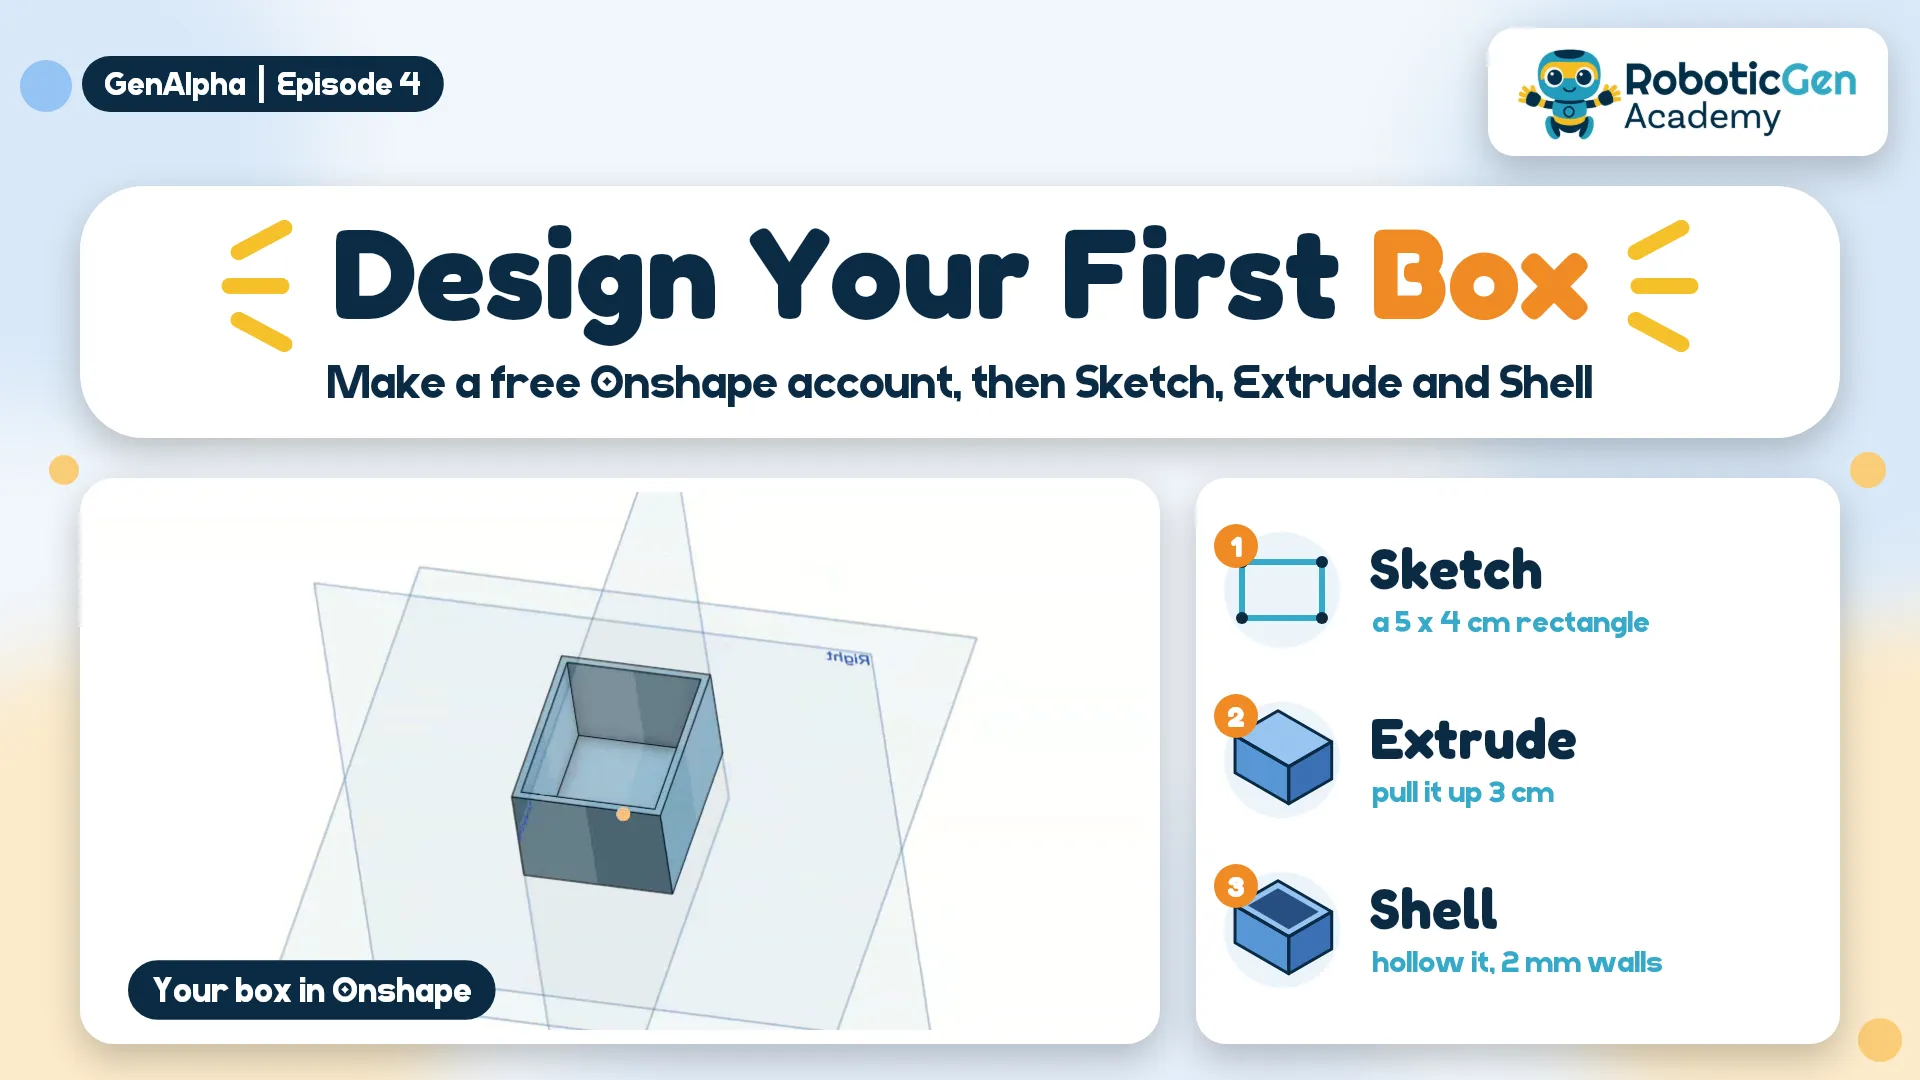
      3D Printed Box - GenAlpha E04
      Make a free Onshape account, then design a hollow 5 × 4 × 3 cm box using just Sketch, Extrude and Shell. It's ready to 3D print and makes a great first CAD project.
      by Odil Janandith
      Likes:1Stars:0
      Featured
      Other
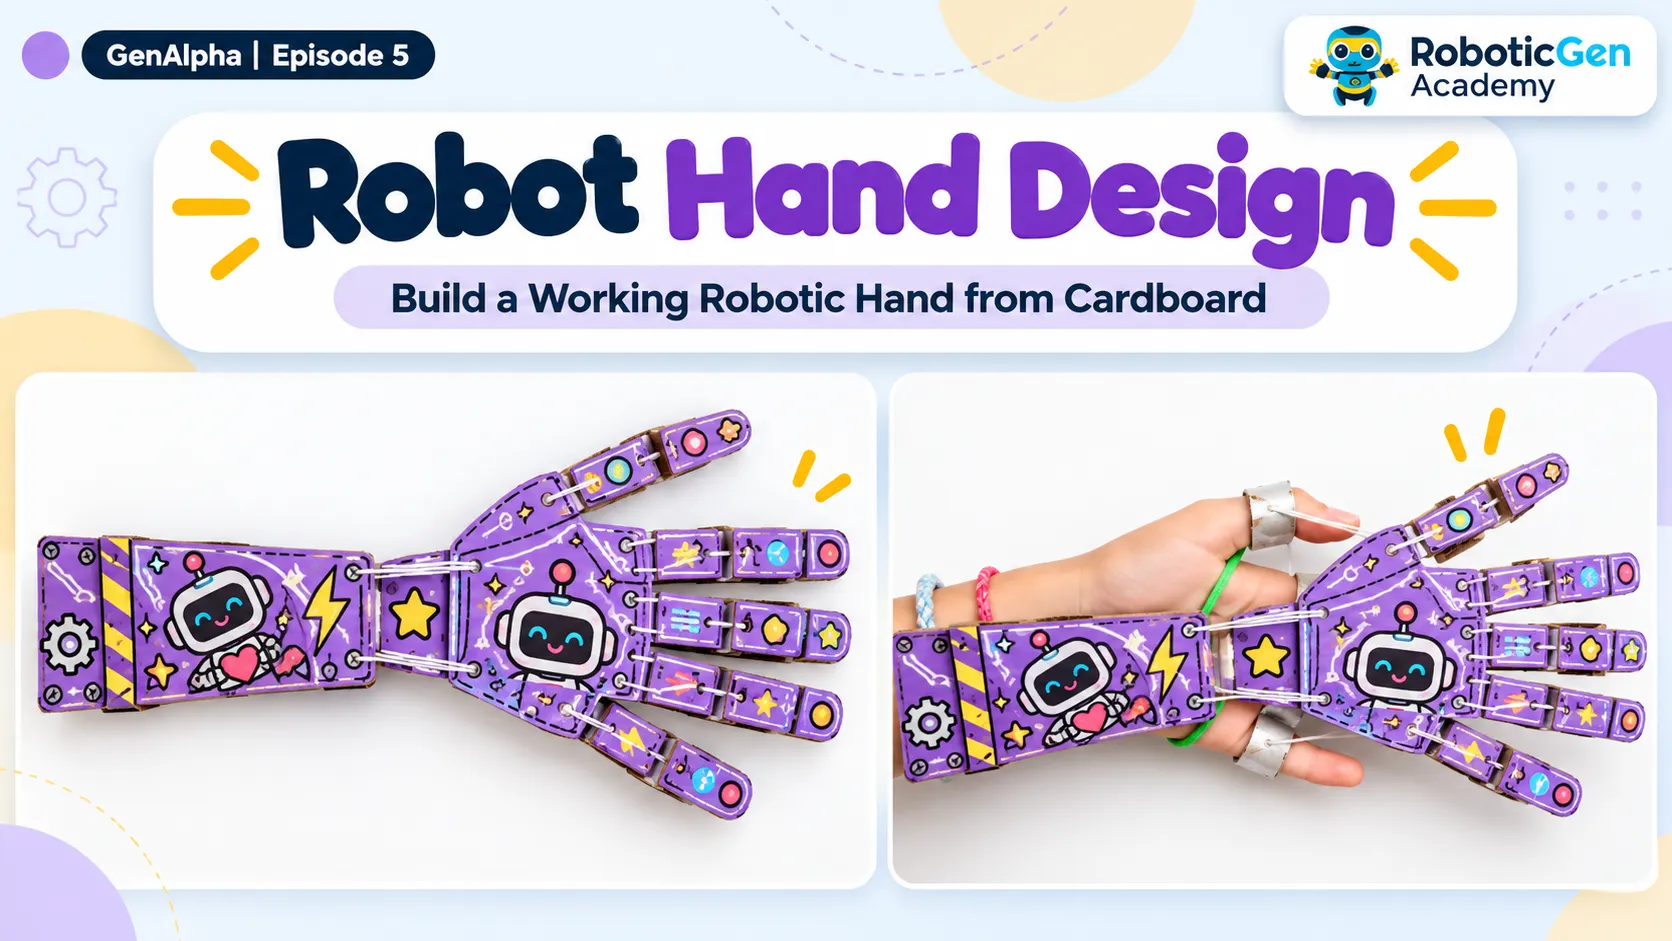
      Robot Hand Design - GenAlpha E03
      This project demonstrates a simple cardboard robotic hand that mimics finger movement using straws and strings. The cardboard forms the hand structure, the straws guide the strings, and pulling the strings bends the fingers like tendons in a real hand. It is a simple way to learn about robotics, joints, and human hand movement.
      by Nimantha Adikaram
      Likes:3
      Robotics
      Quadruped Robot - GenAlpha E01
      Dogs, cats and horses walk on four legs. Can a robot? Build a small cardboard robot with ice cream stick legs that walks by itself, powered by just one motor and two AA batteries.
      by Odil Janandith
      Likes:0Stars:0Views:1
      0
      Stars:0
      Views:6
      Stars:
      0
      Views:2
      0
      Views:1
      0
      Views:6
      Views:6
      Stars:
      1
      Views:16