Published builds from the RoboticGen community — featured picks first.
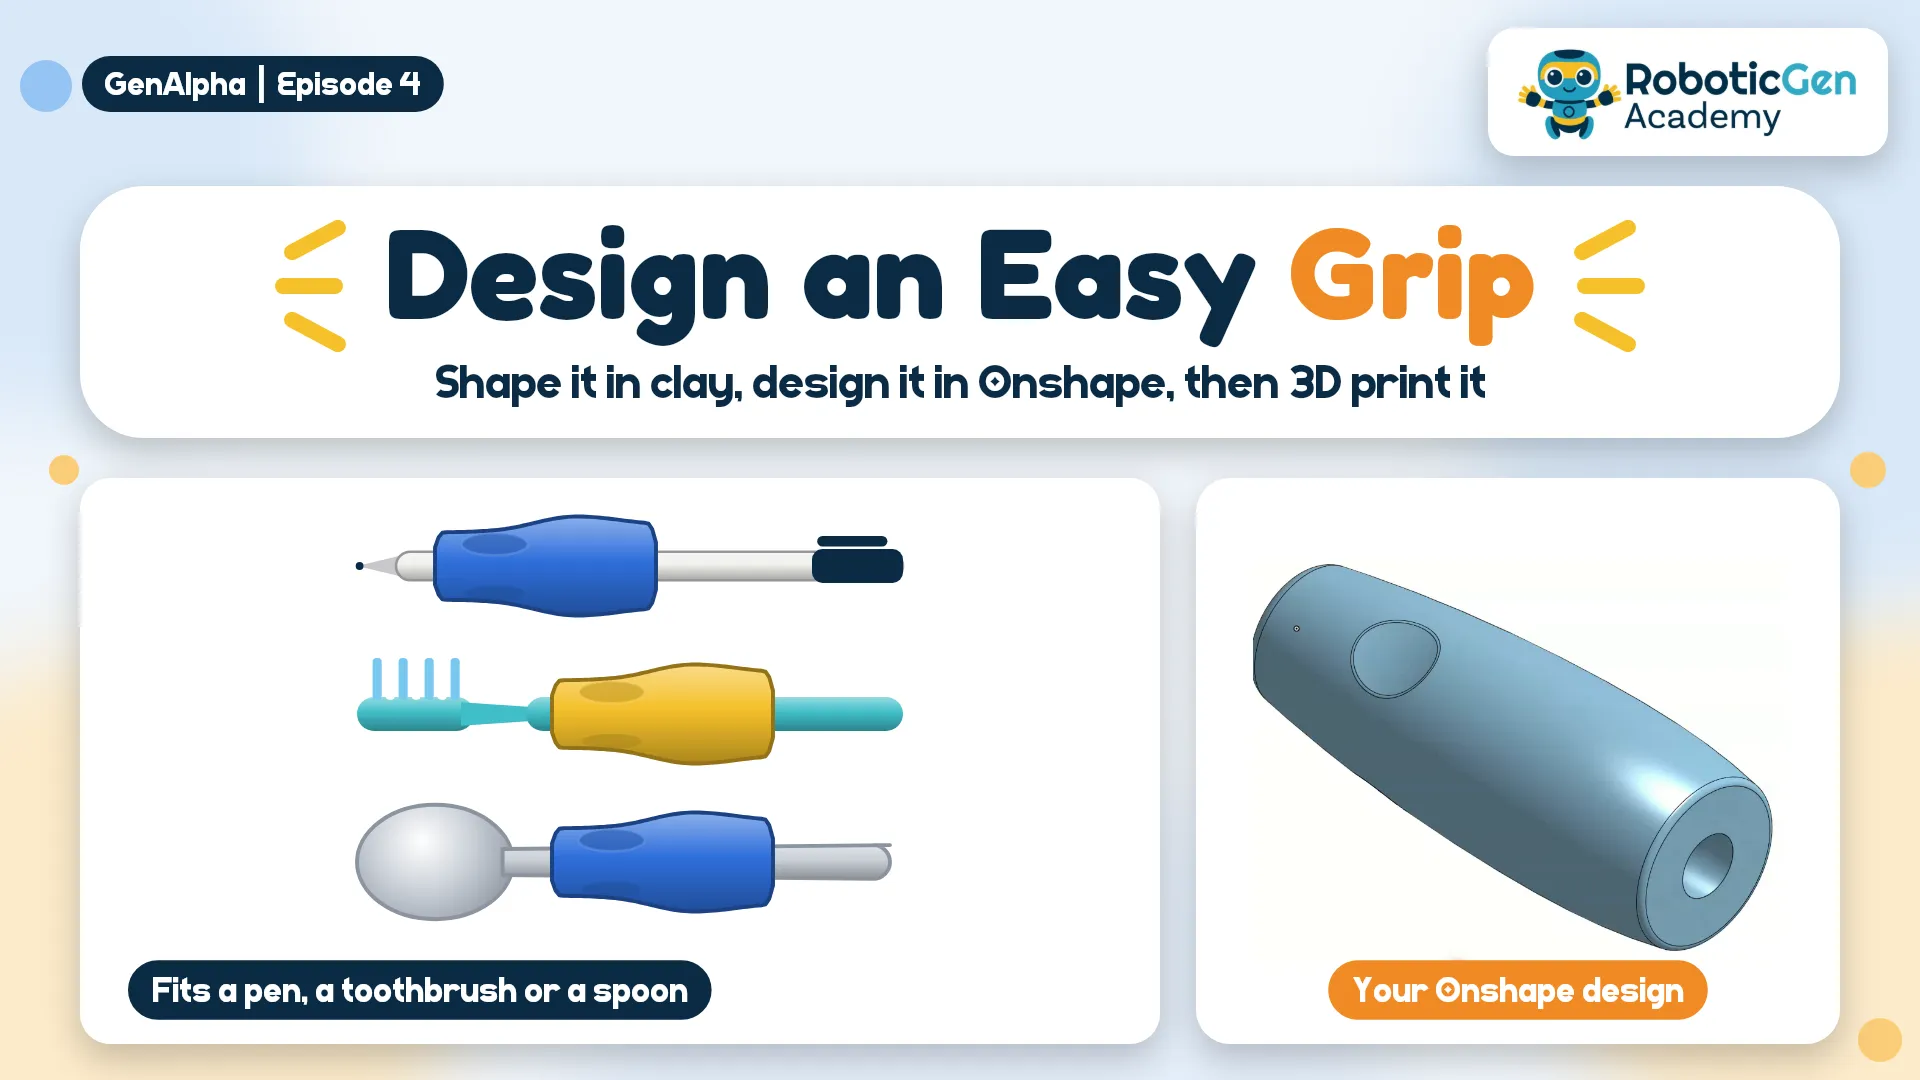
This project is from Gen Alpha Episode 4 on Ahasa TV. Watch the episode to see the Stiff Hands Challenge and how the kids design and 3D print grips that make a pen, a spoon and a toothbrush easier to hold, then follow the steps below to design your own Easy Grip!
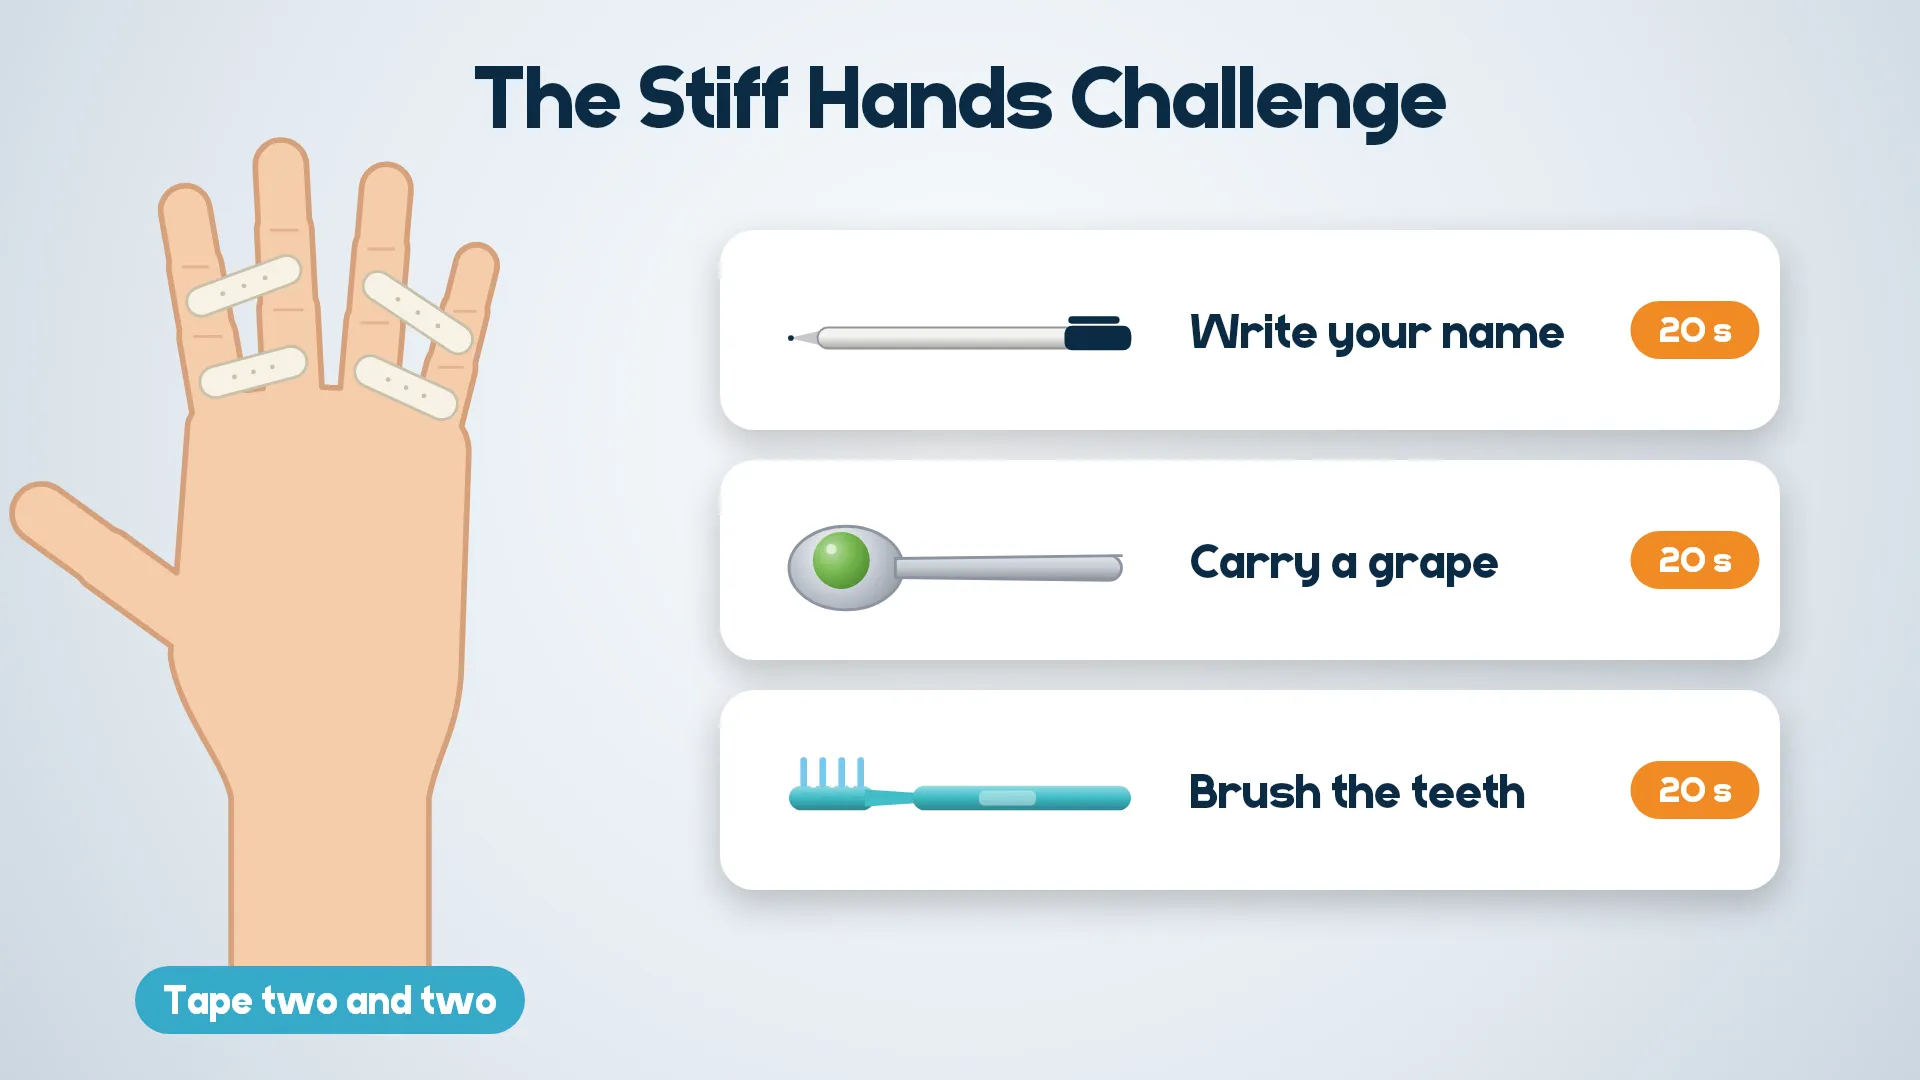
Some people have stiff, sore hands, so holding a thin pen, spoon or toothbrush is hard. Try it yourself: loosely tape two fingers together, then try to write your name, carry a grape on a spoon, and brush your teeth, each in 20 seconds. Not easy!
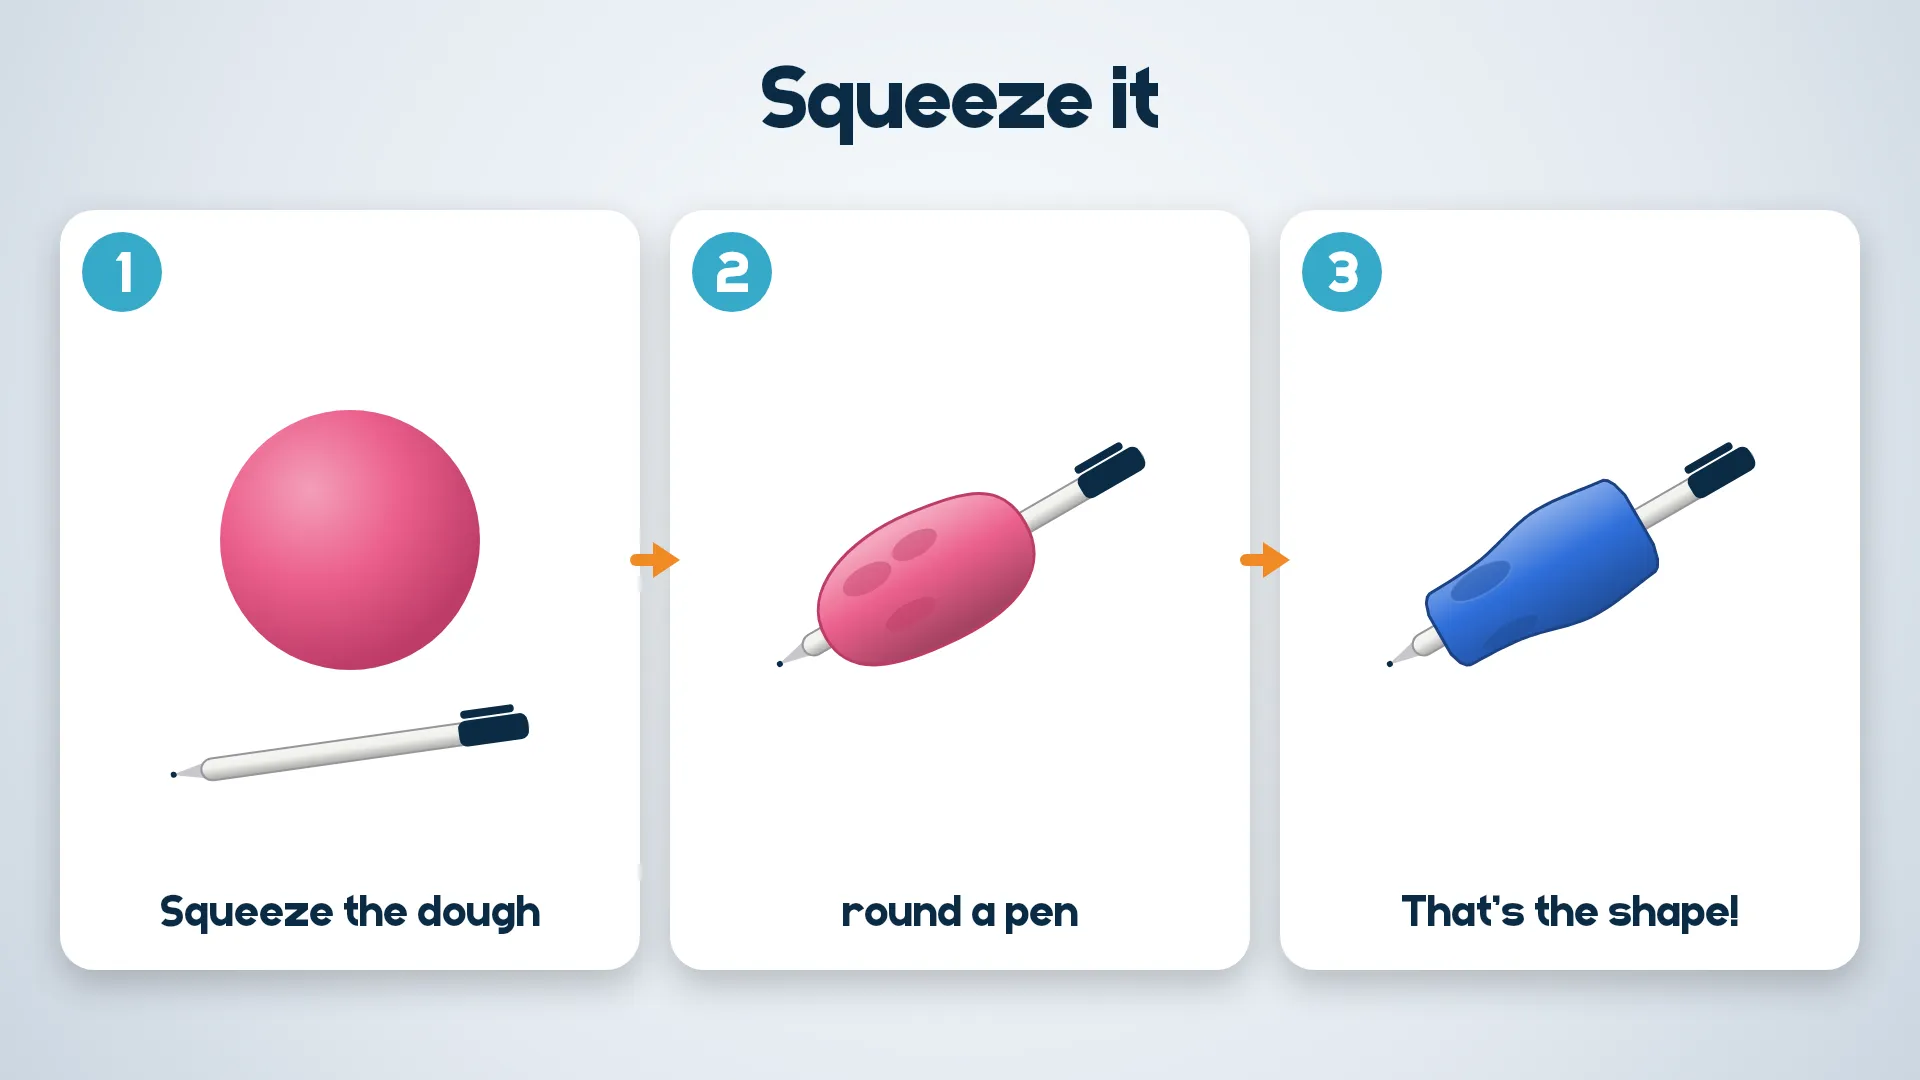
Take a ball of Play-Doh or clay and a pen. With your taped hand, squeeze the dough around the pen until it feels easy to hold. Look at the shape. It's fat, it's round, and it has dents where your fingers press. That's the shape we will design!
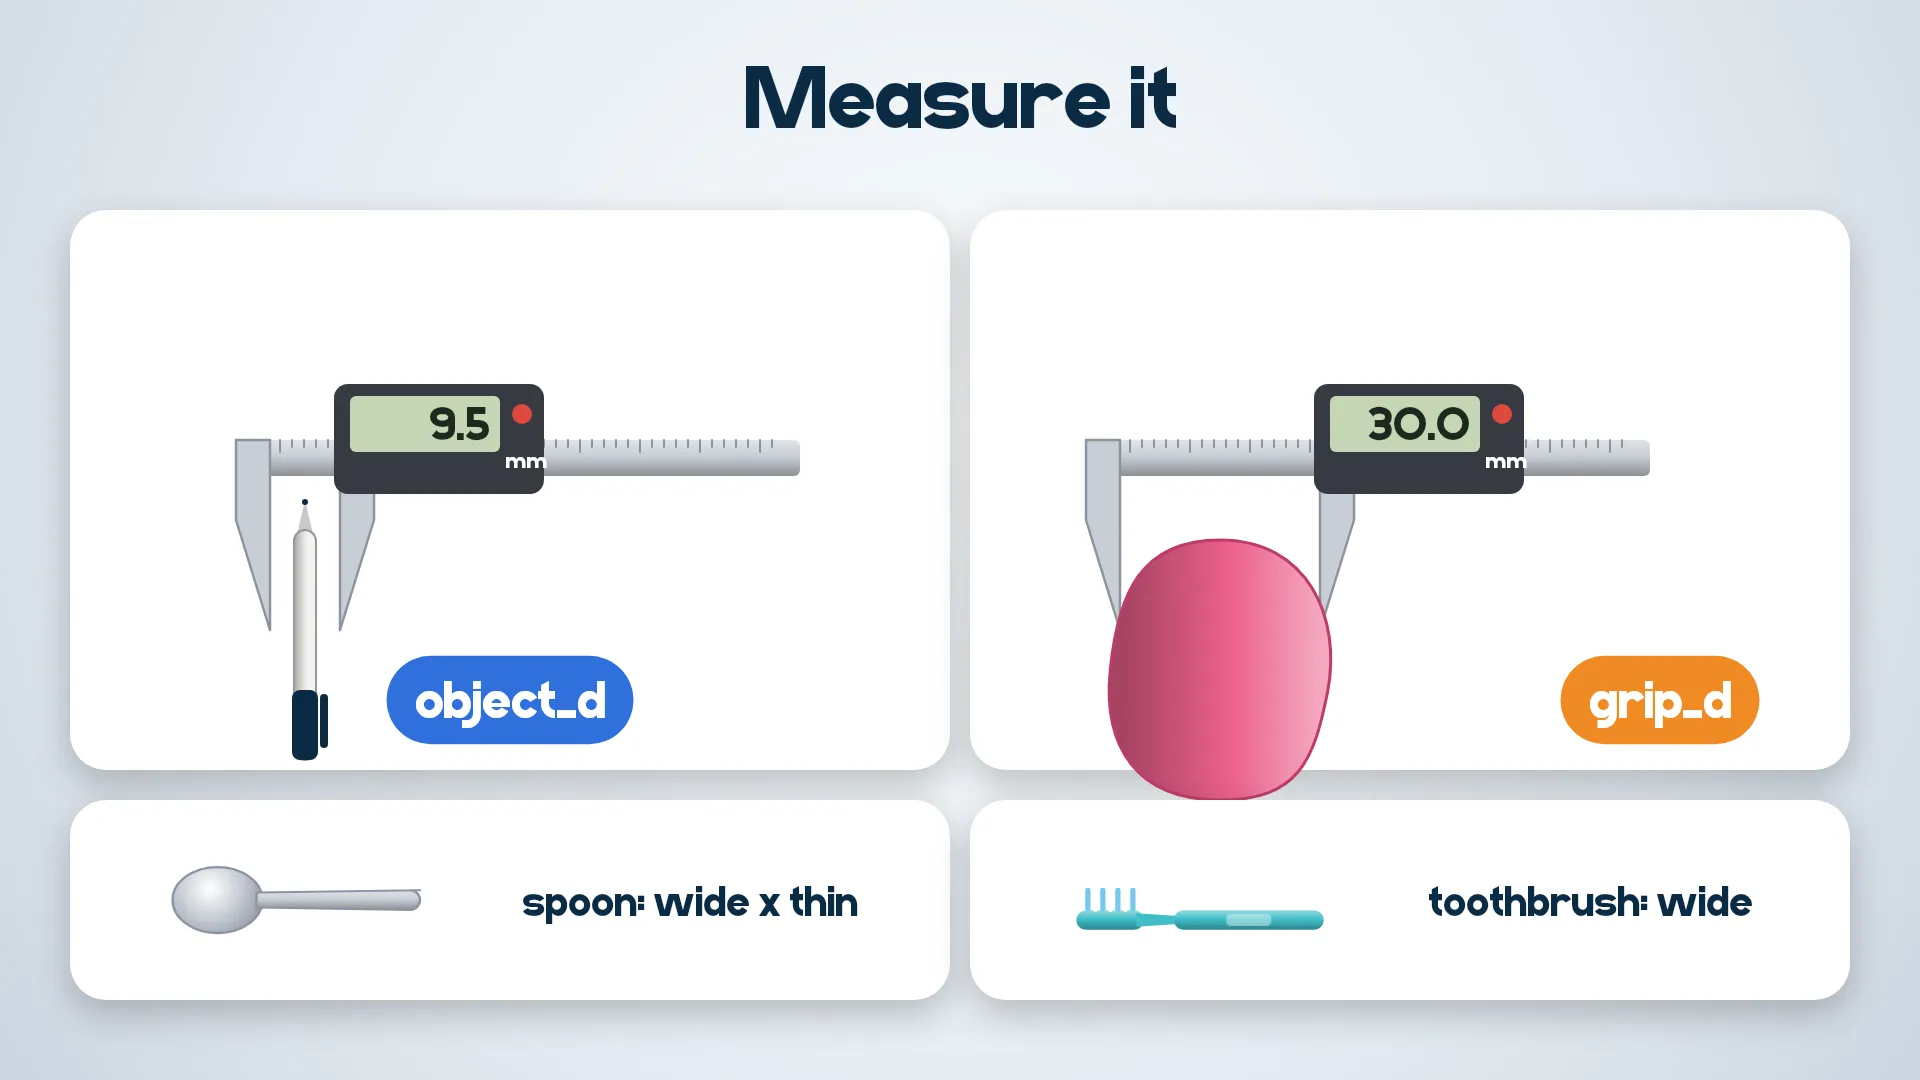
Use calipers (or a ruler) to measure two numbers:
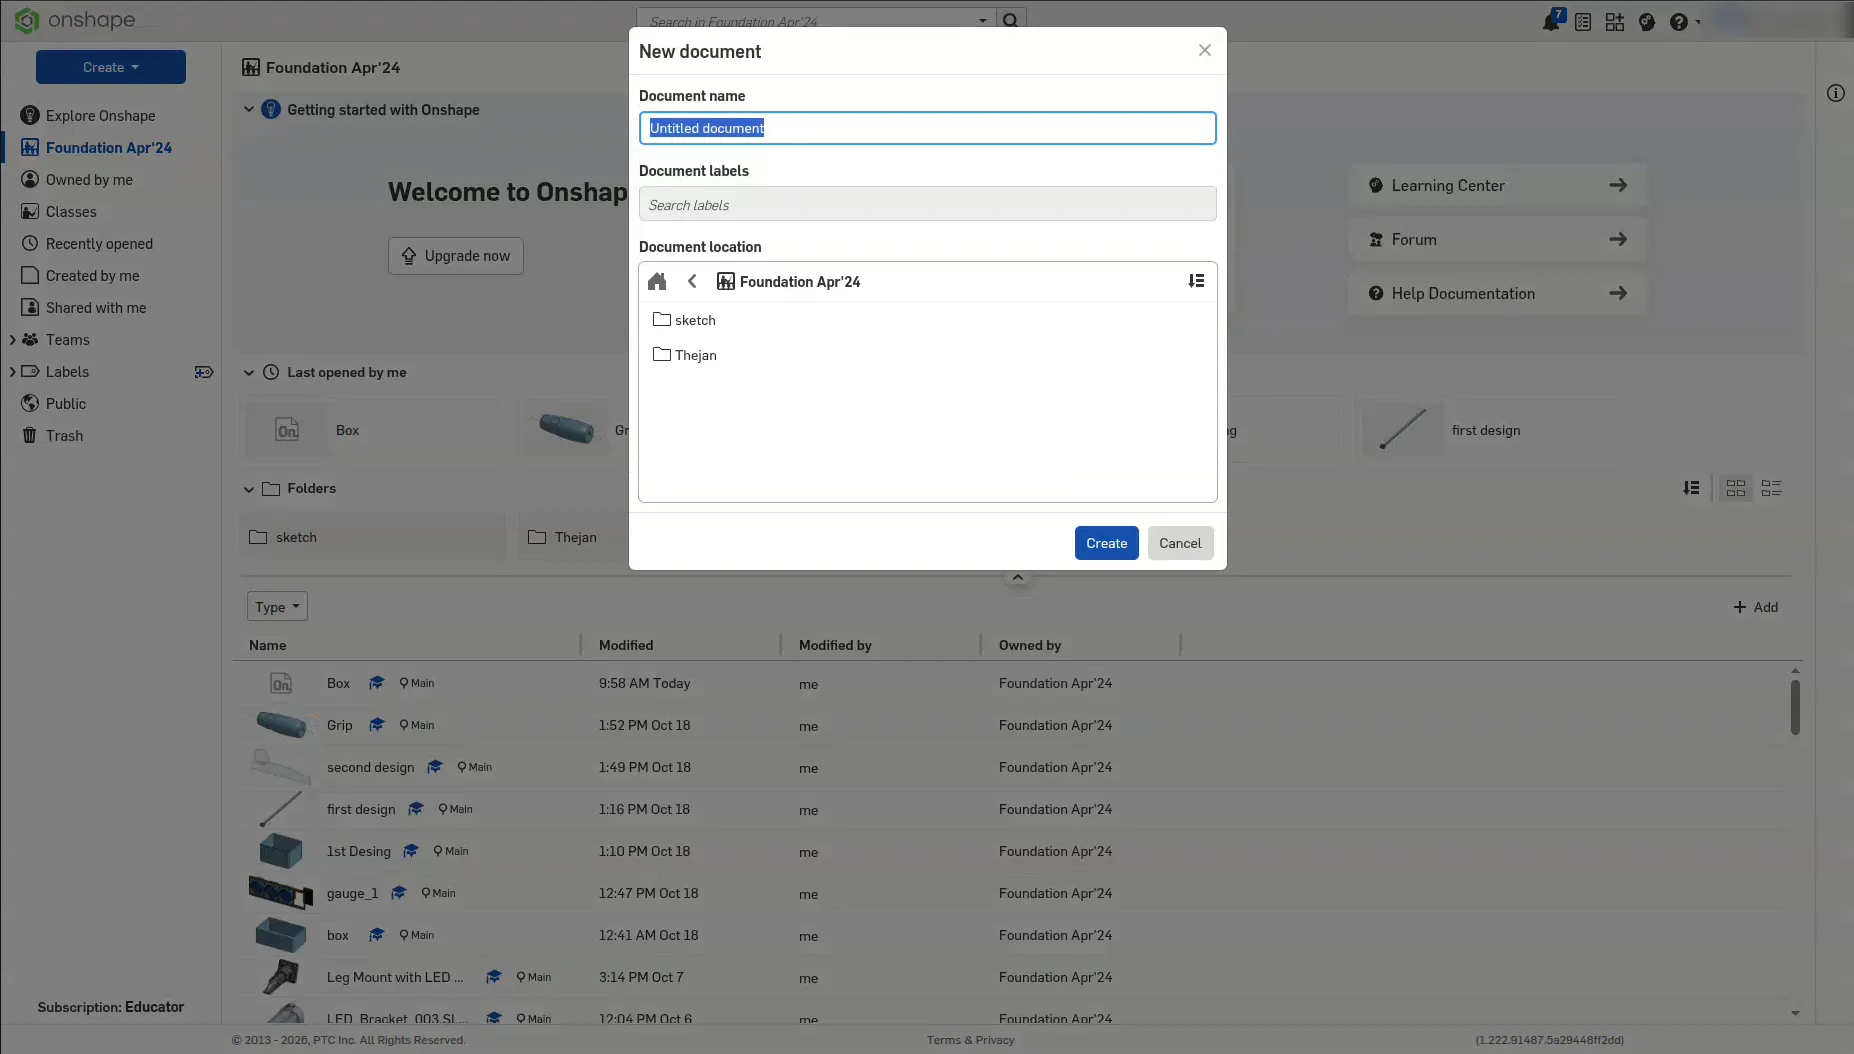
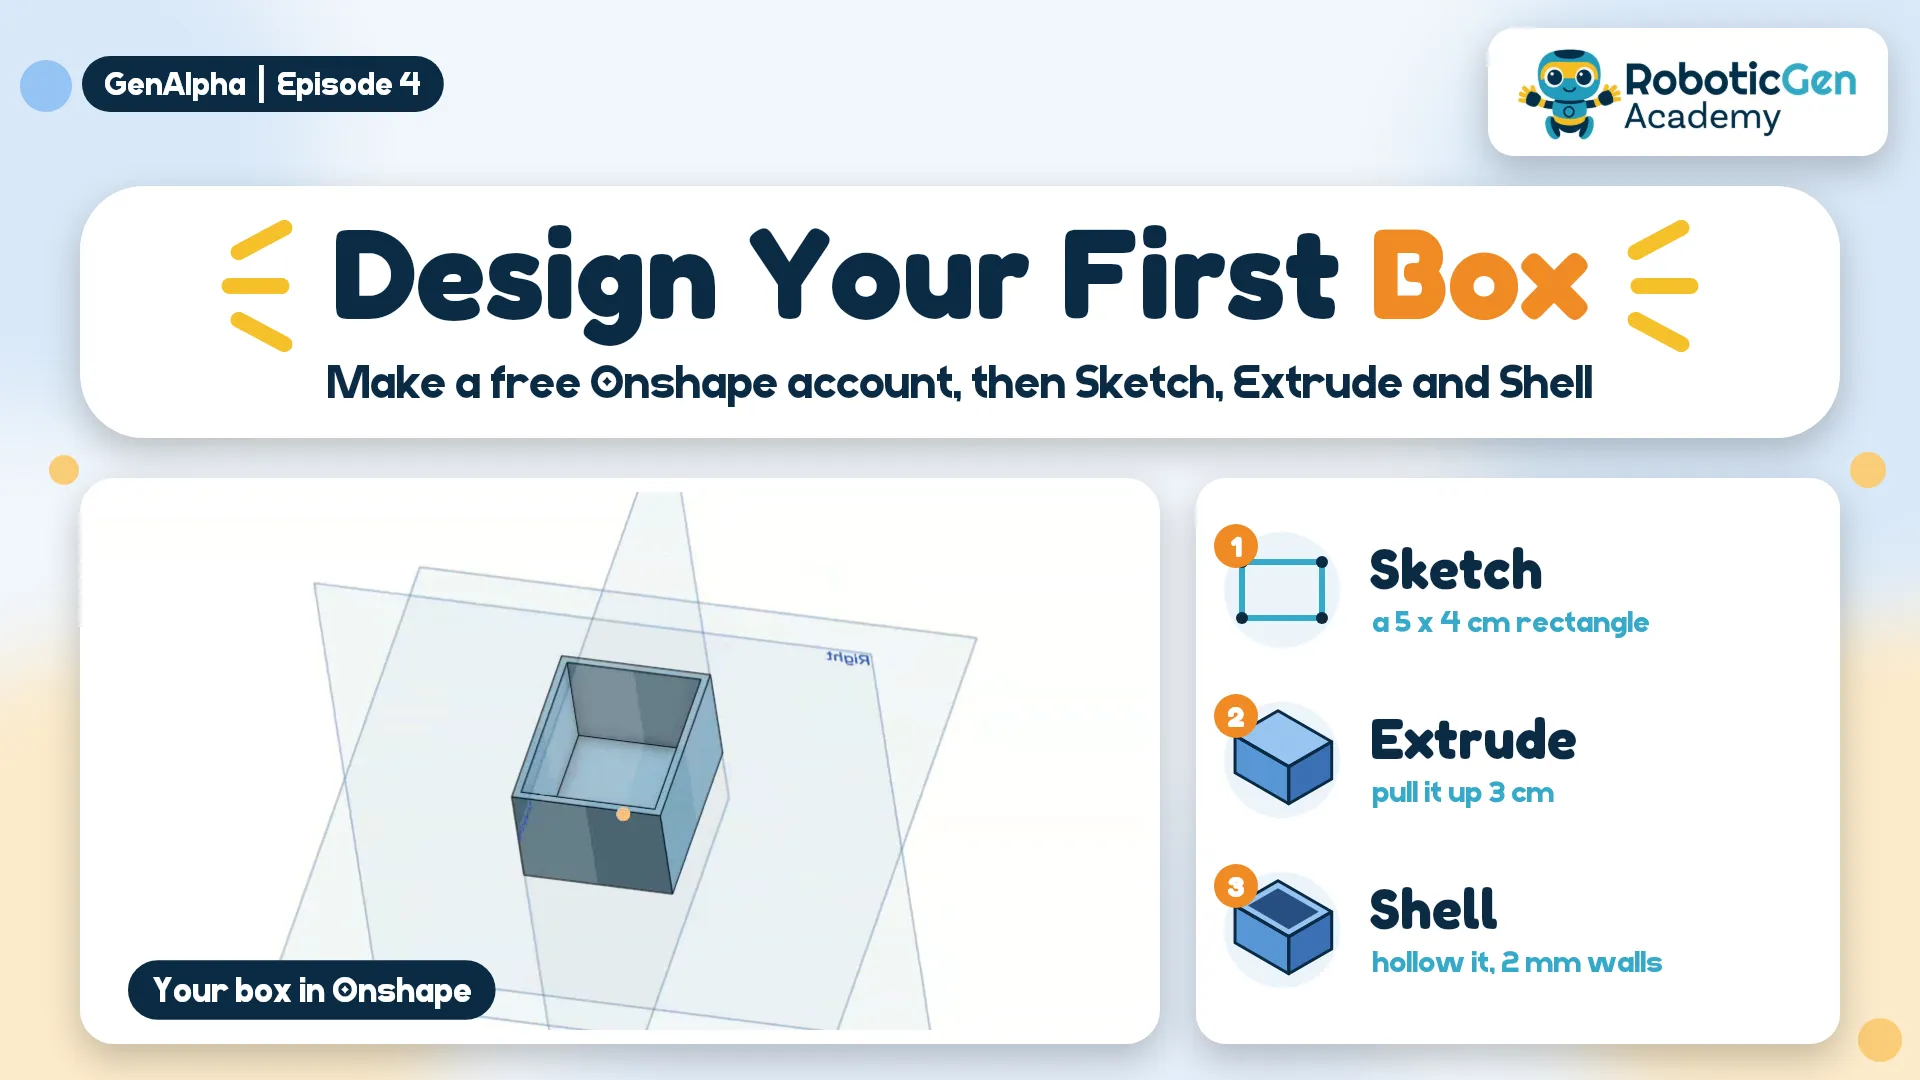
Sign in to Onshape. Click the blue Create button, choose Document, type Grip as the name and click Create.
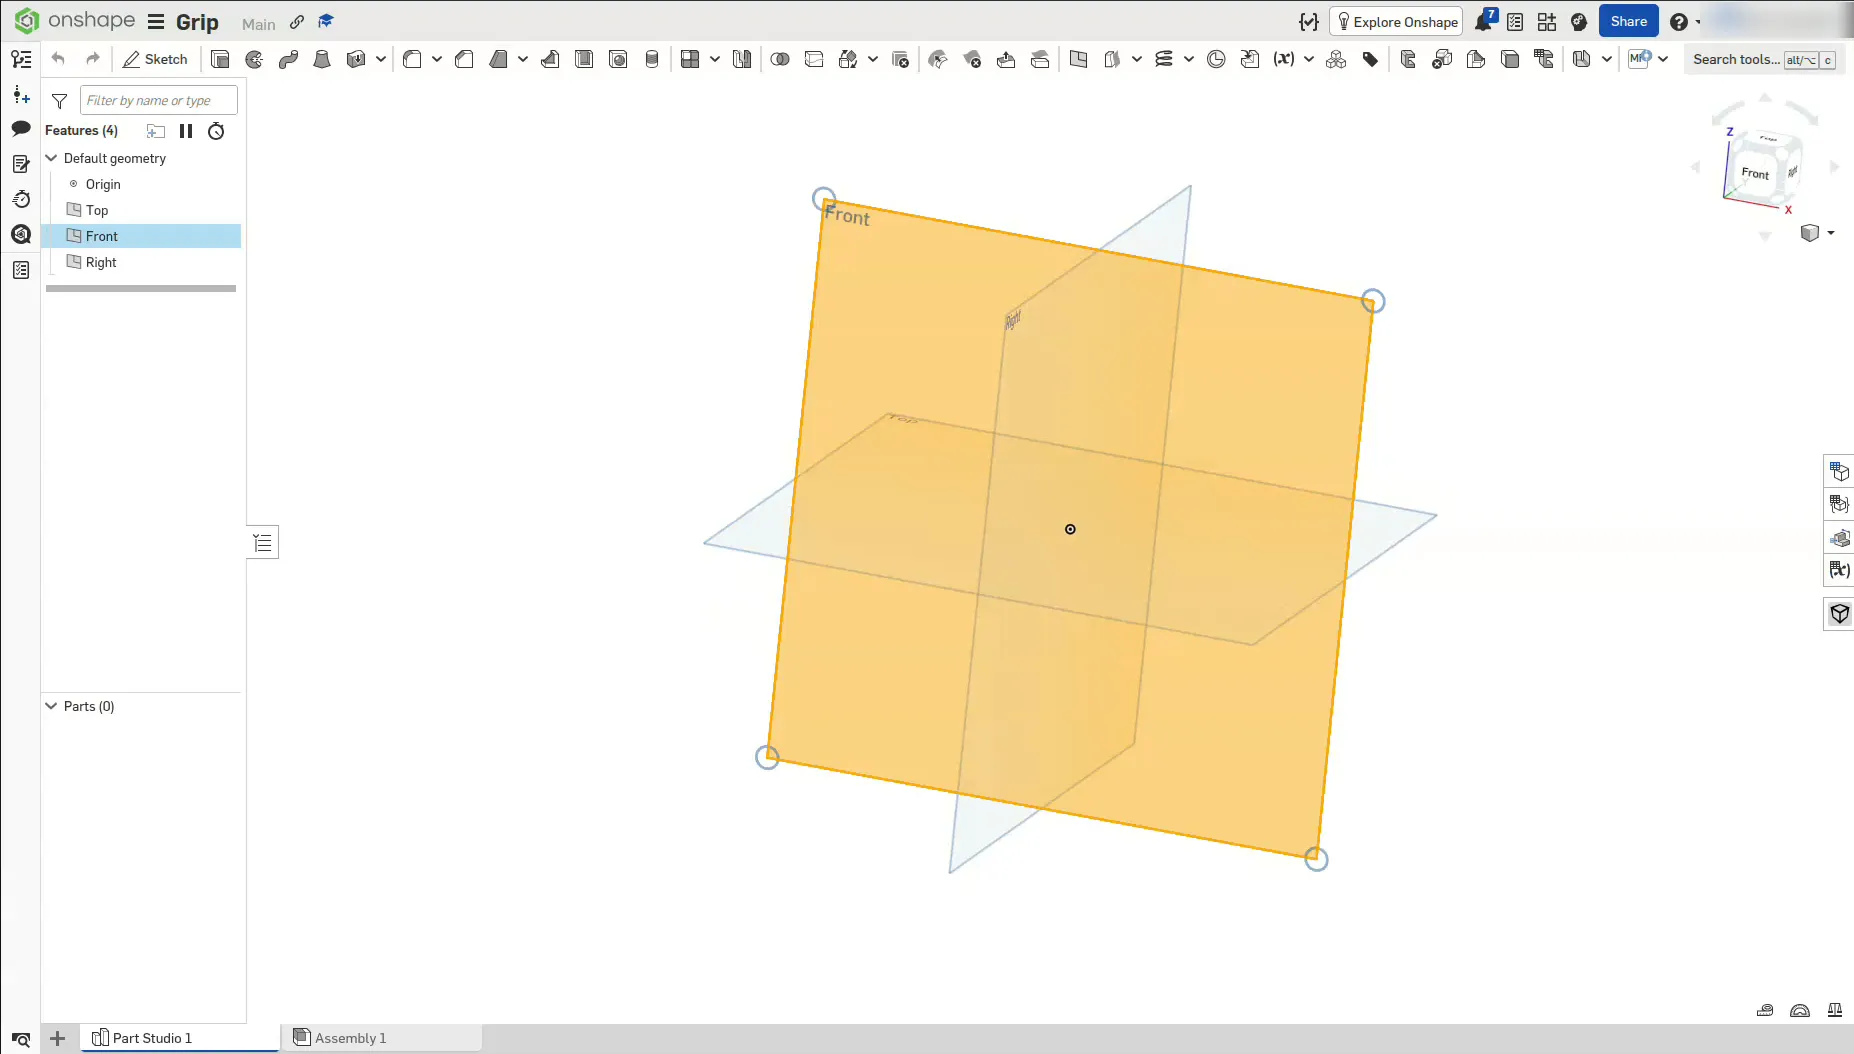
Click Front in the feature list on the left (it turns orange), then click Sketch. Press N to look straight at the plane.
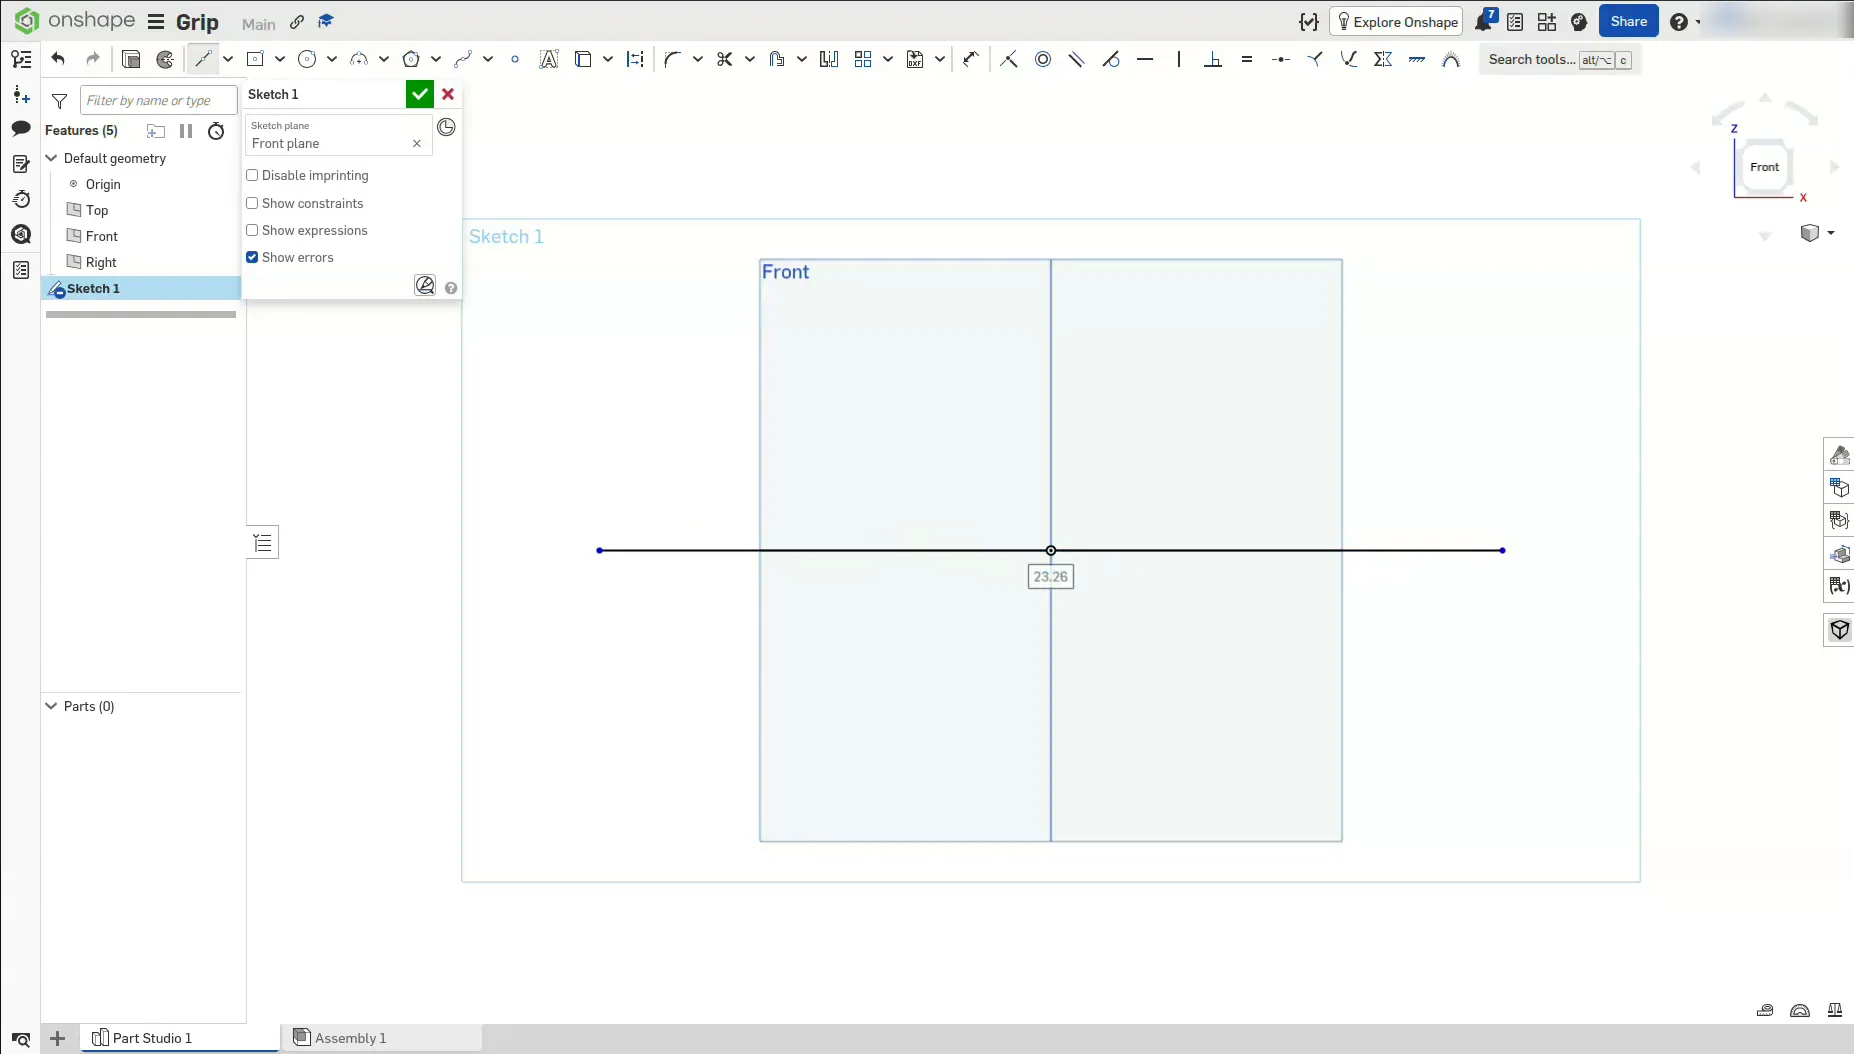
Use the Line tool to draw a horizontal line through the origin (the dot in the middle). This is the middle of your grip, and the grip will spin around it.
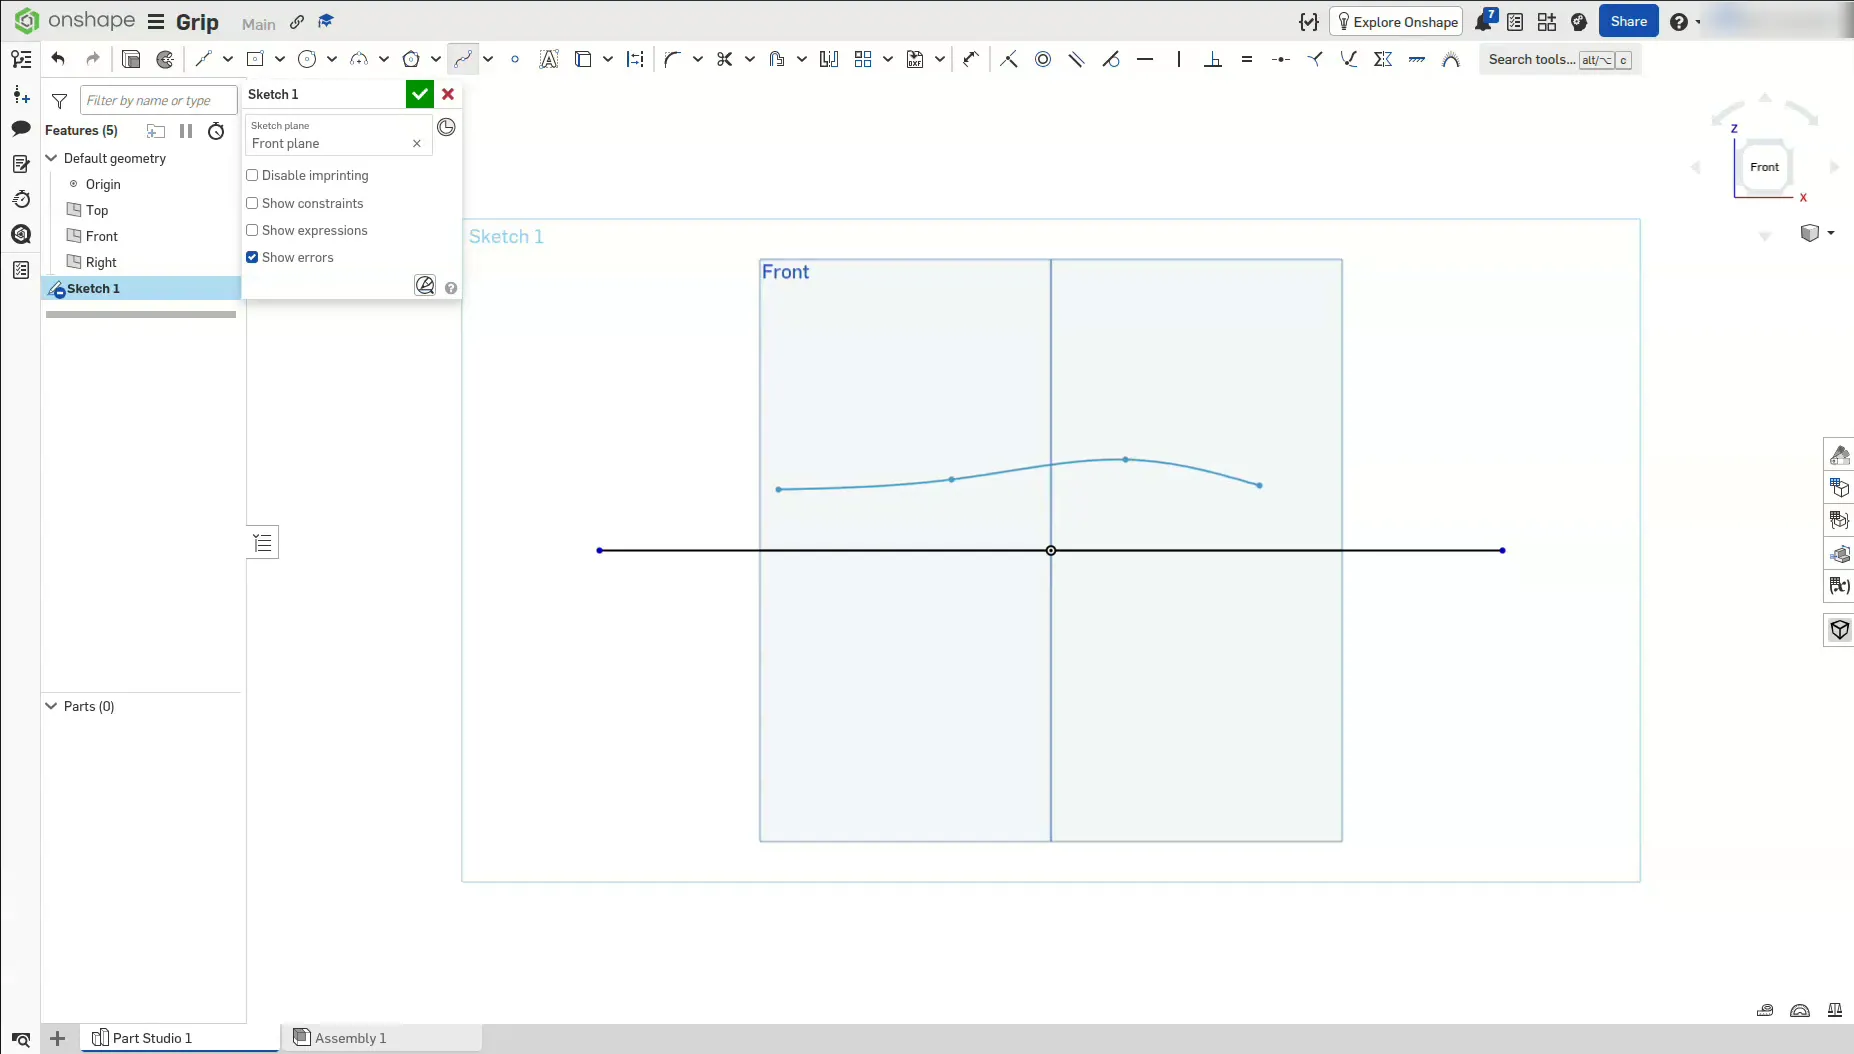
Choose the Spline tool. Click from left to right, a little above the centre line, to draw the outline of the top of the grip. Keep it low at the front, where your fingers pinch, higher in the middle, where it's fattest, and a bit lower at the back. Double-click to finish. Make it about 80 mm long and about 15 mm tall at the highest point (half of grip_d).
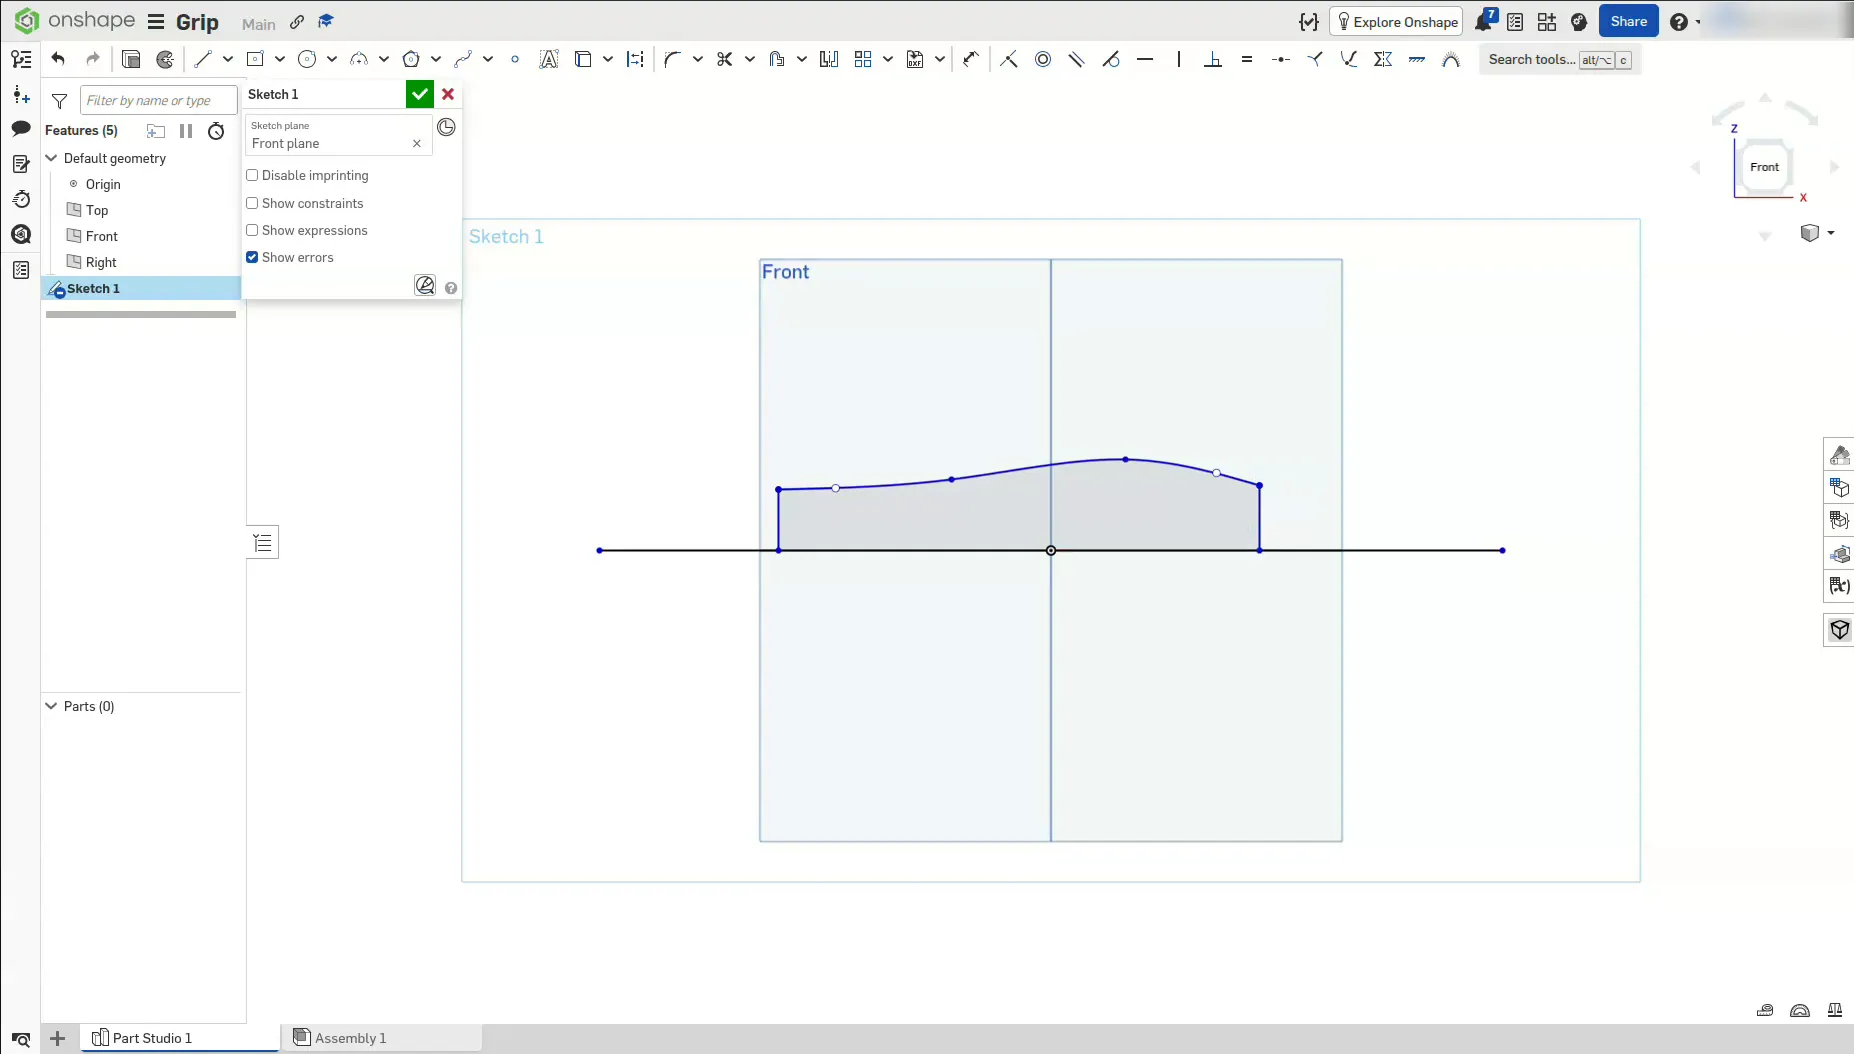
Draw a straight line down from each end of the spline to the centre line. The shape is closed when it fills in grey. You've drawn half of the grip, seen from the side. Click the green tick.
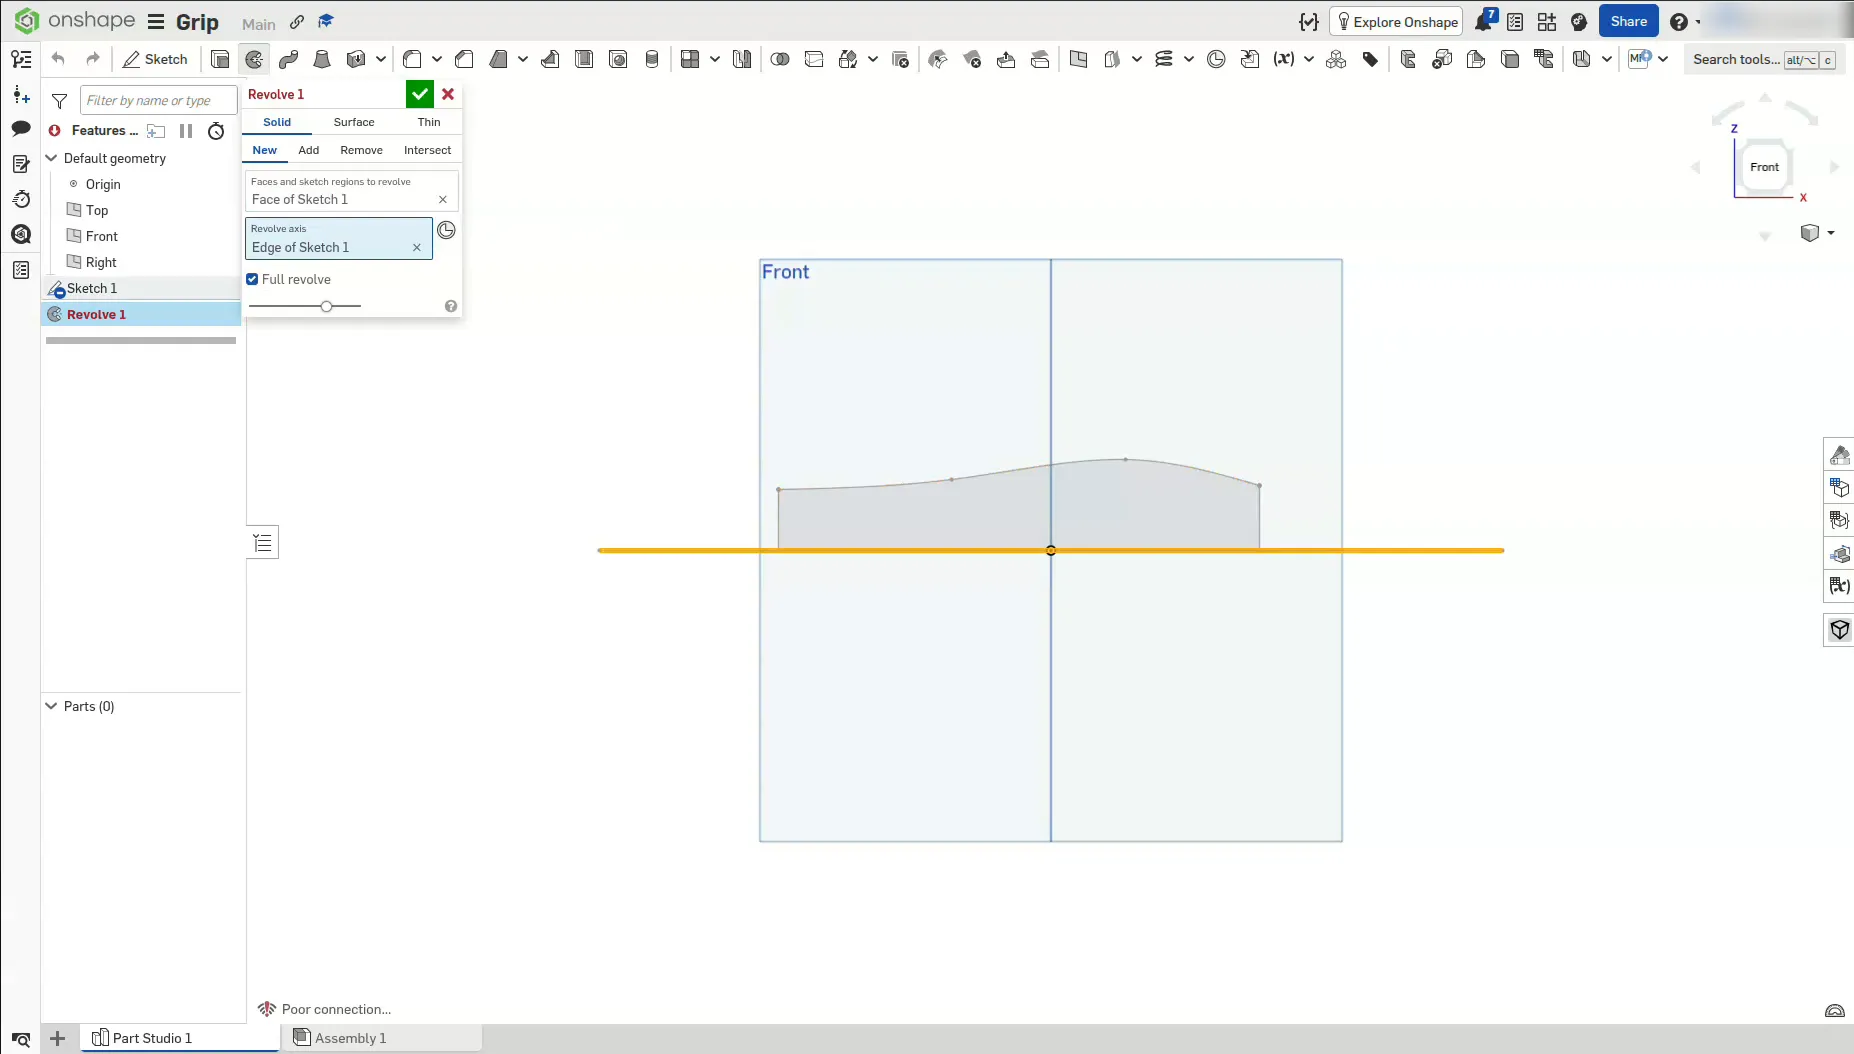
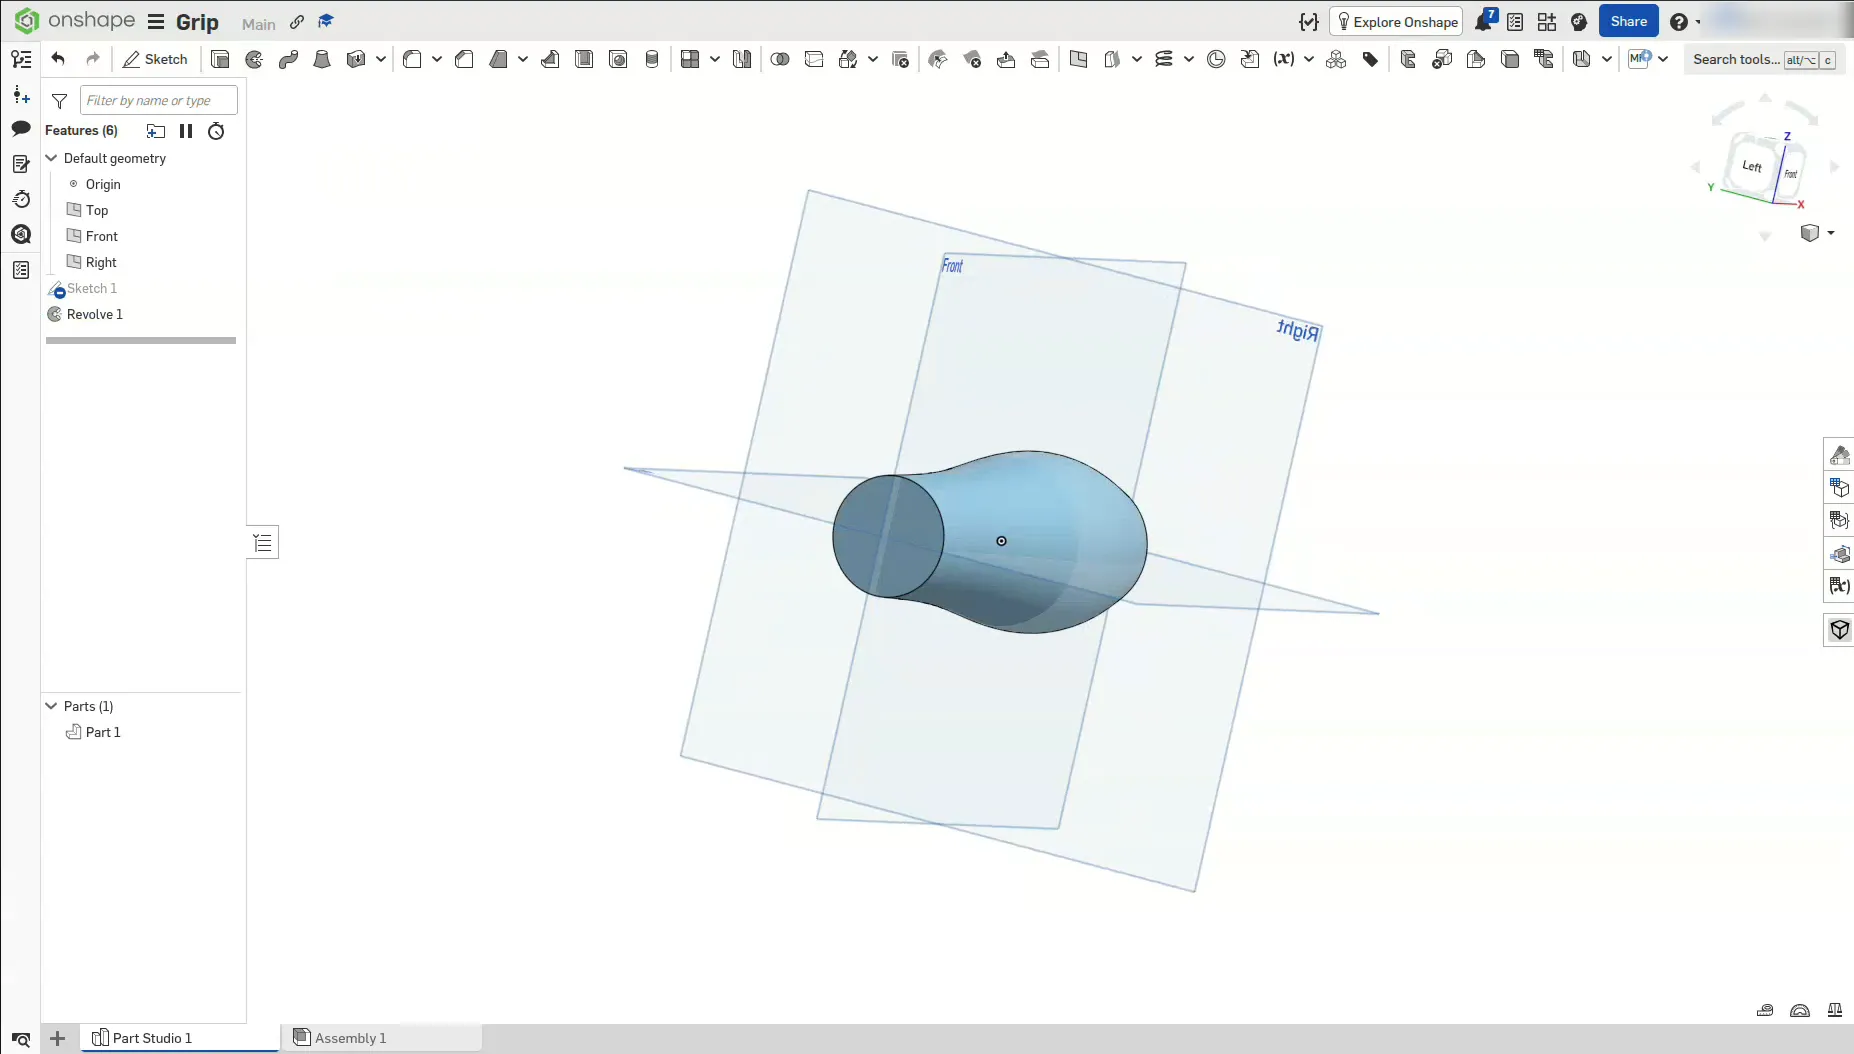
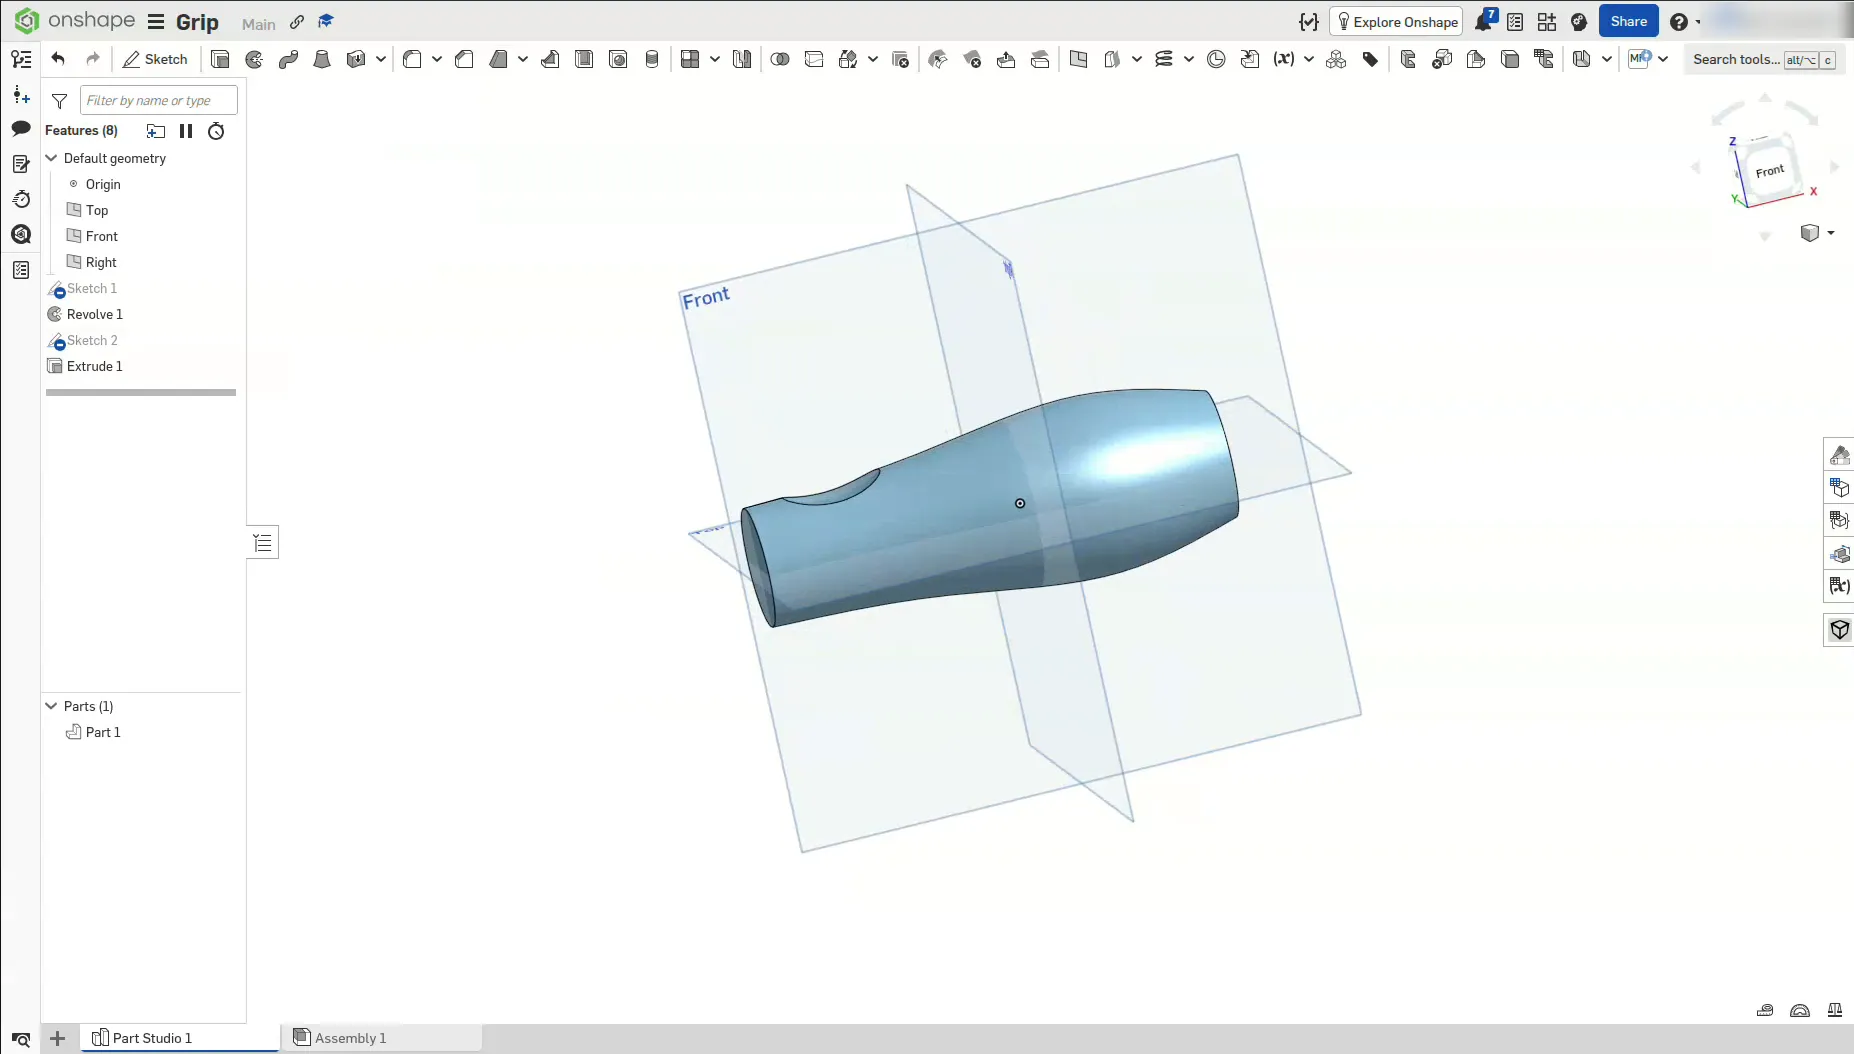
Click the Revolve tool. Select the grey shape, then click the centre line as the Revolve axis. Keep Full revolve ticked and click the green tick. The half-shape spins all the way round and becomes a solid grip!
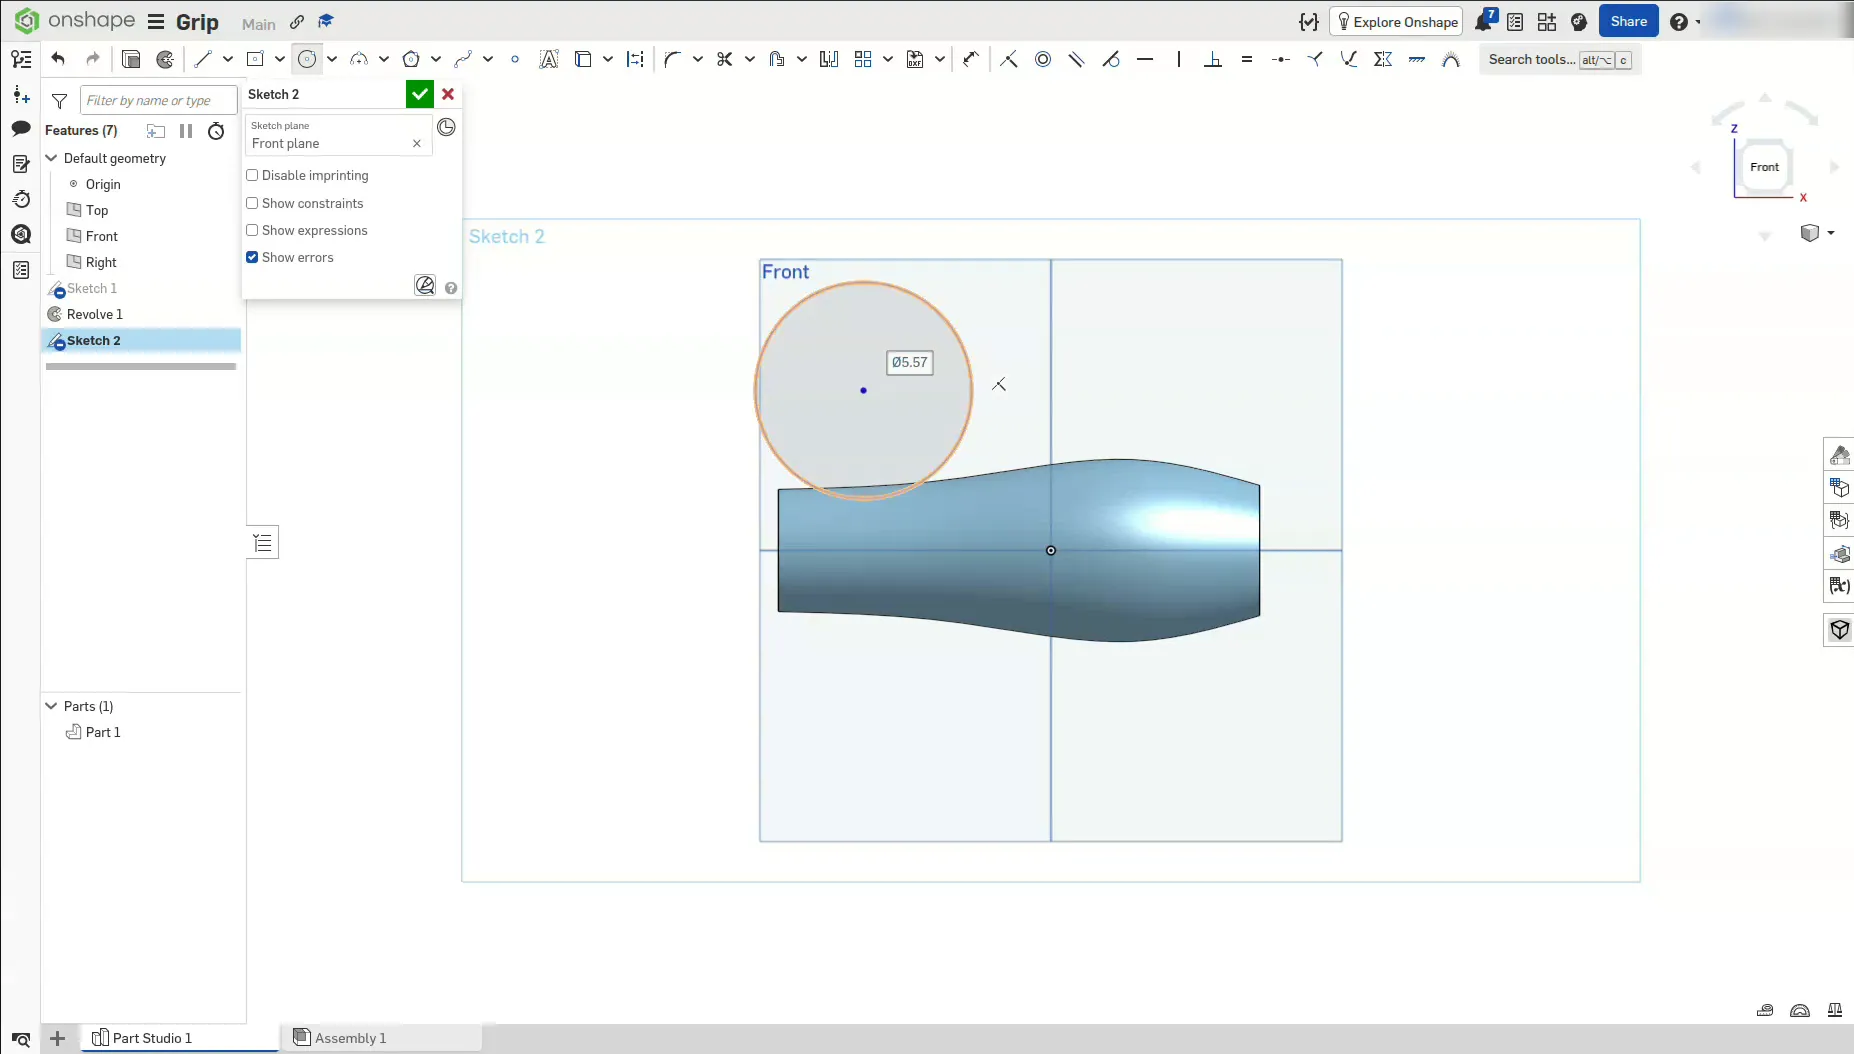
Click Front again and start a new Sketch. Draw a circle above the grip, near the front end. Its bottom edge should only just dip into the grip, by about 1.5 mm, so the groove is shallow. Click the green tick.
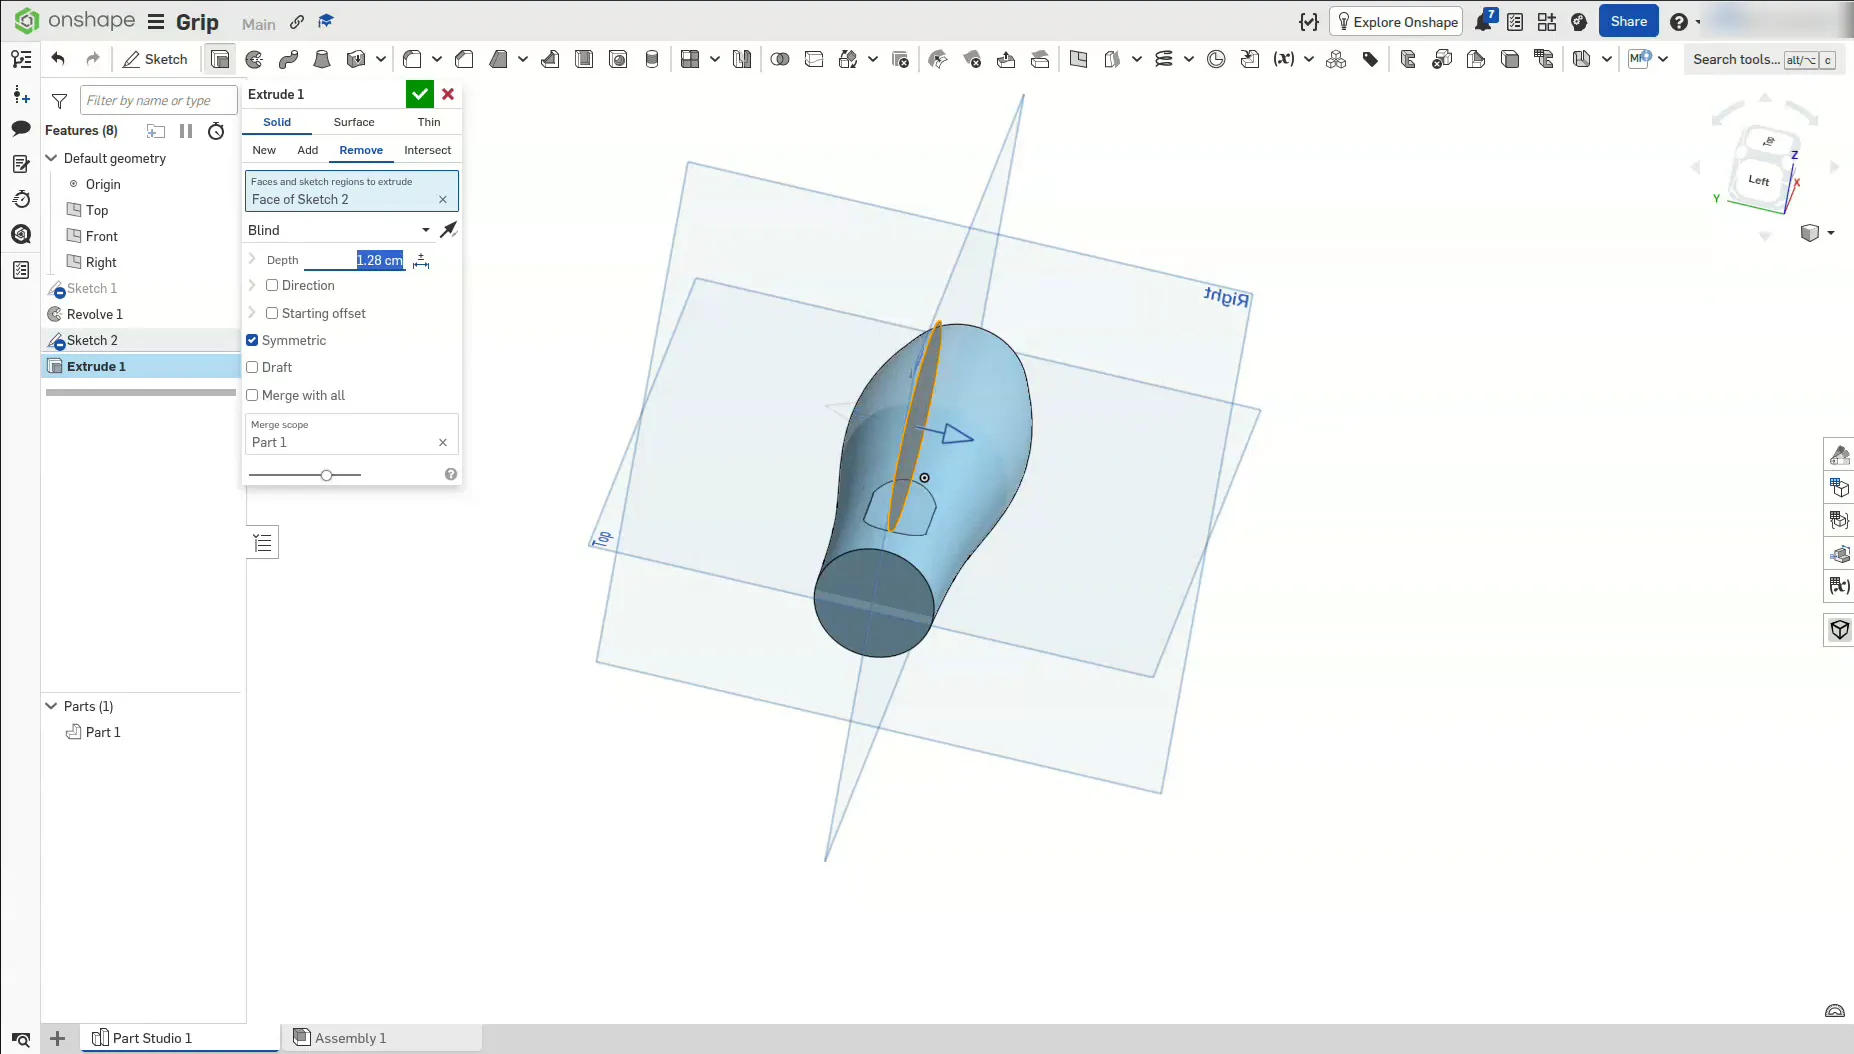
Click Extrude and select the circle. Choose Remove and tick Symmetric. Change the Depth until it makes a neat scoop in the side of the grip (about 14 mm). Click the green tick. That's a dent for one finger!
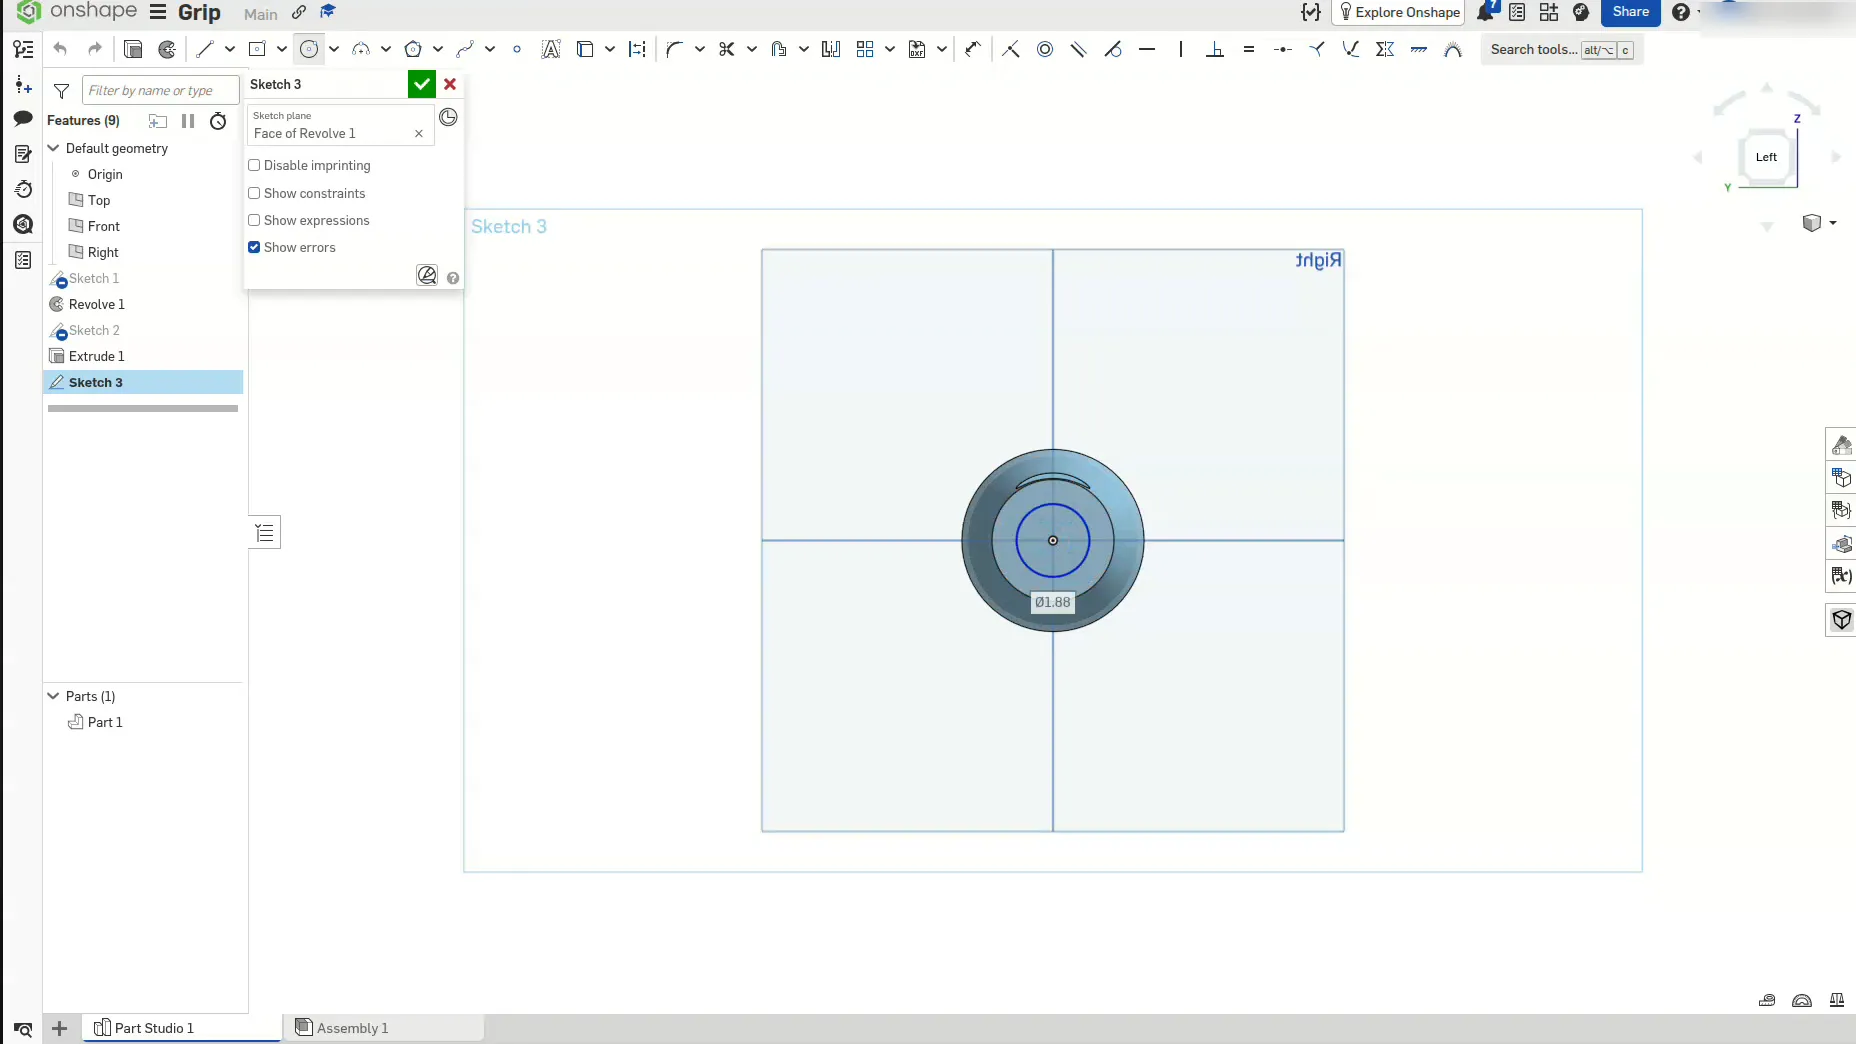
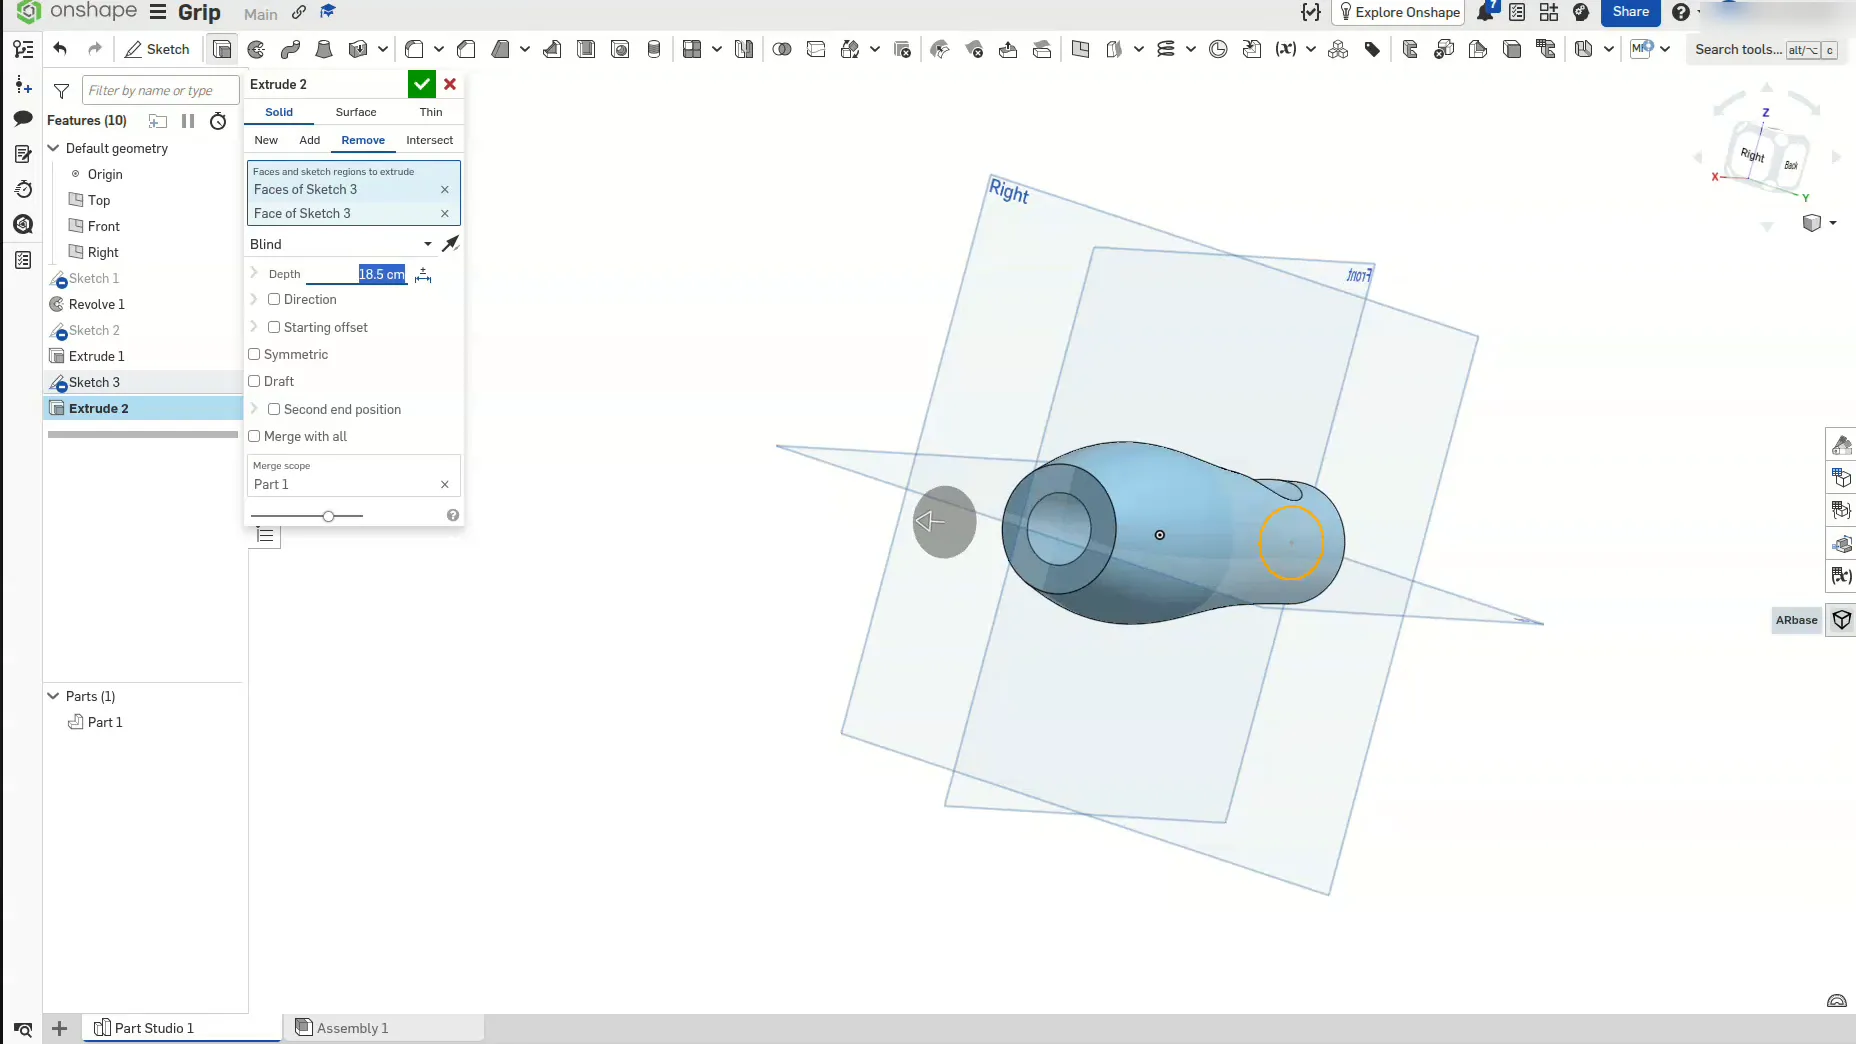
Click the flat front end of the grip and start a Sketch on it. Draw a circle on the centre point. Make it the pen size plus a tiny bit, 9.5 + 0.3 = 9.8 mm, so the pen slides in. Finish the sketch, then Extrude it with Remove and make it deep enough to go all the way through the grip.
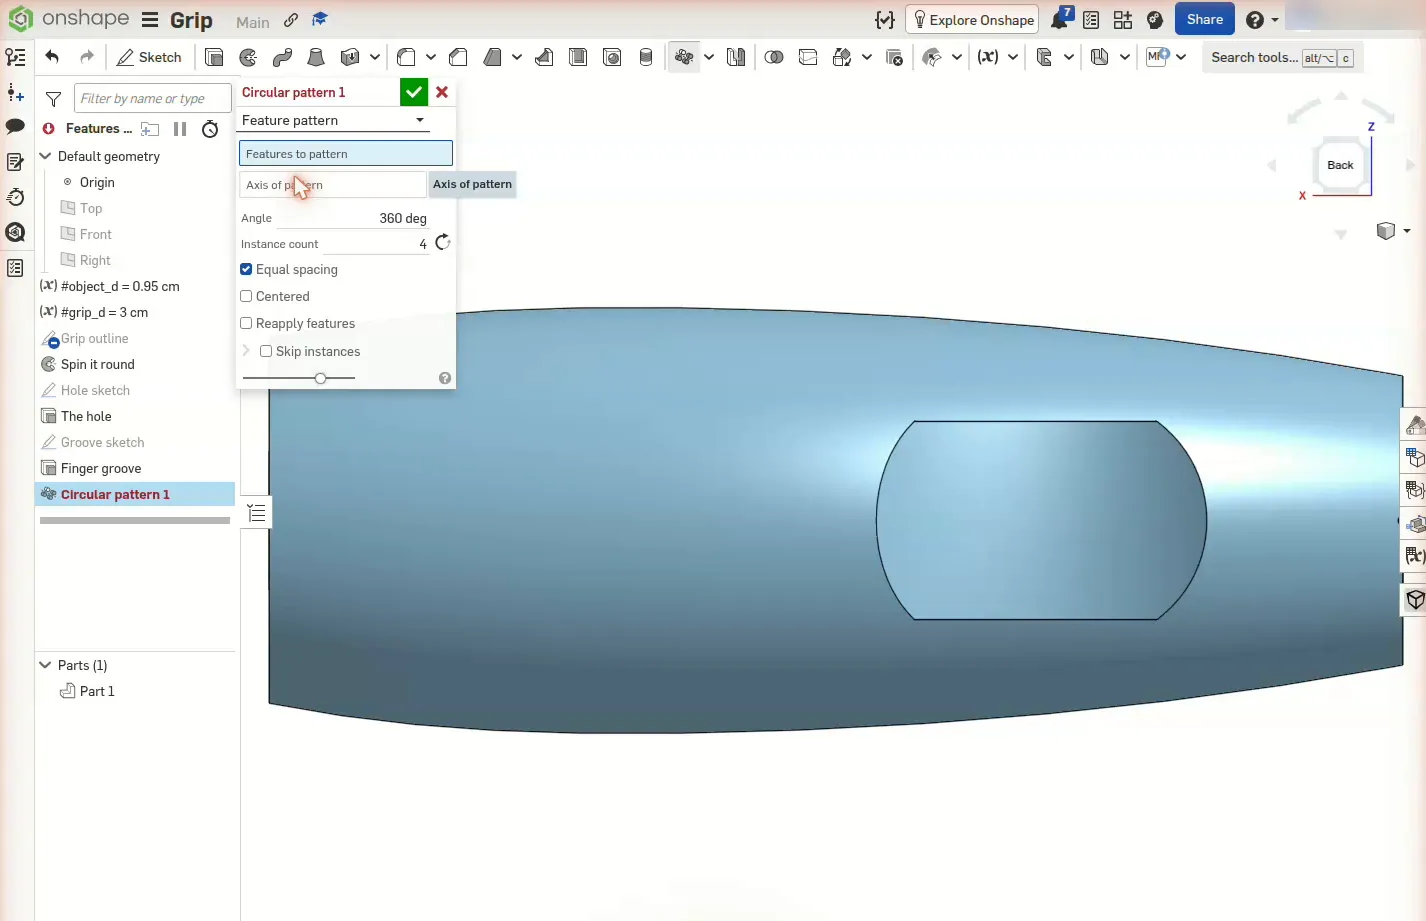
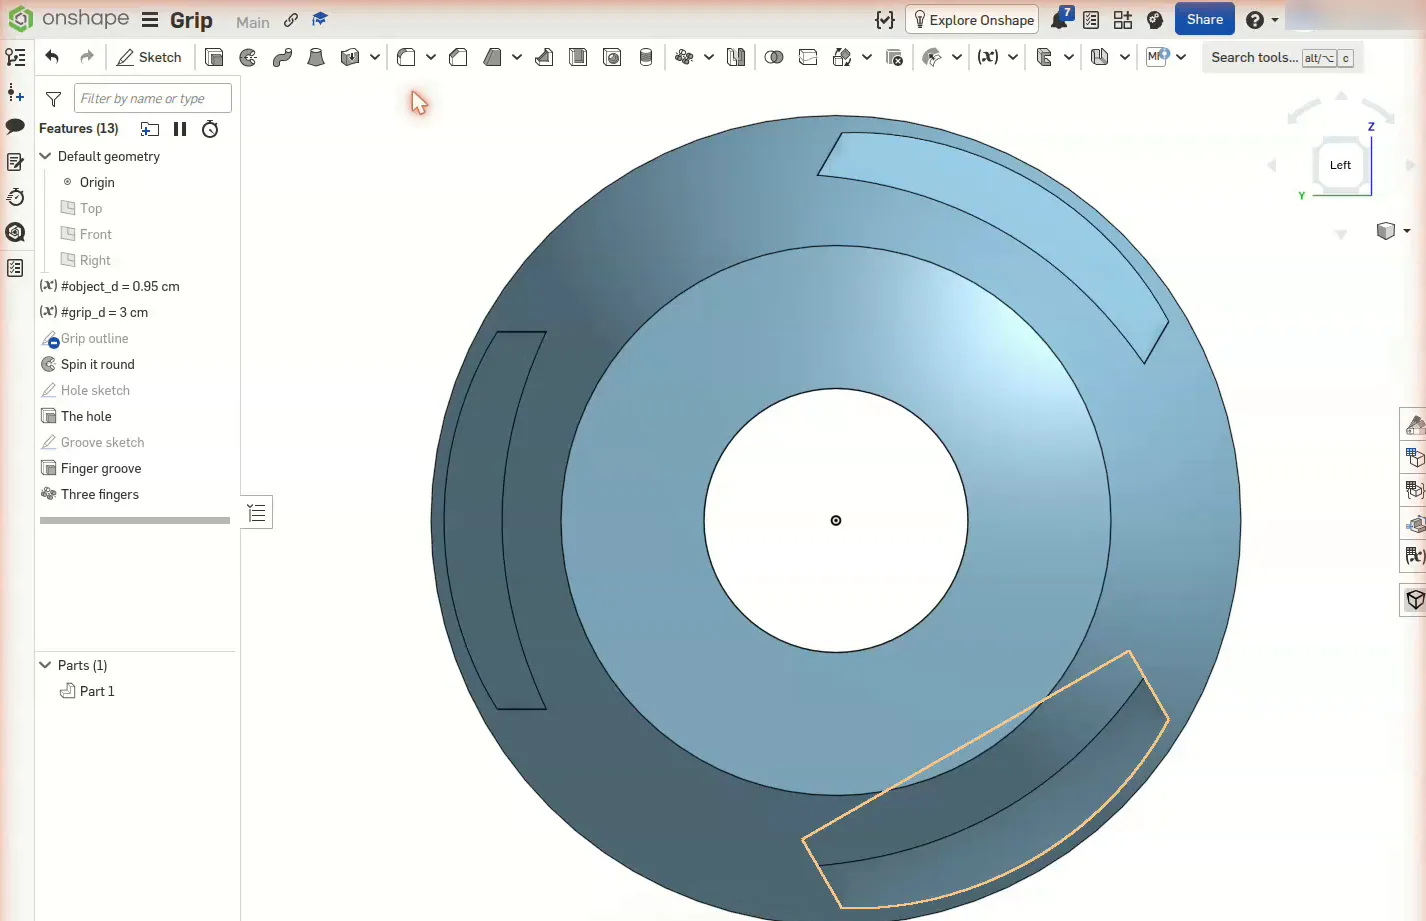
How many fingers hold a pen? Three! Click the Circular pattern tool and choose Feature pattern. Select your groove extrude in the feature list. For Axis of pattern, click the inside face of the hole. Set the Instance count to 3 and the angle to 360° with Equal spacing, then click the green tick. Look at the end of the grip and you'll see three grooves spread evenly around it.
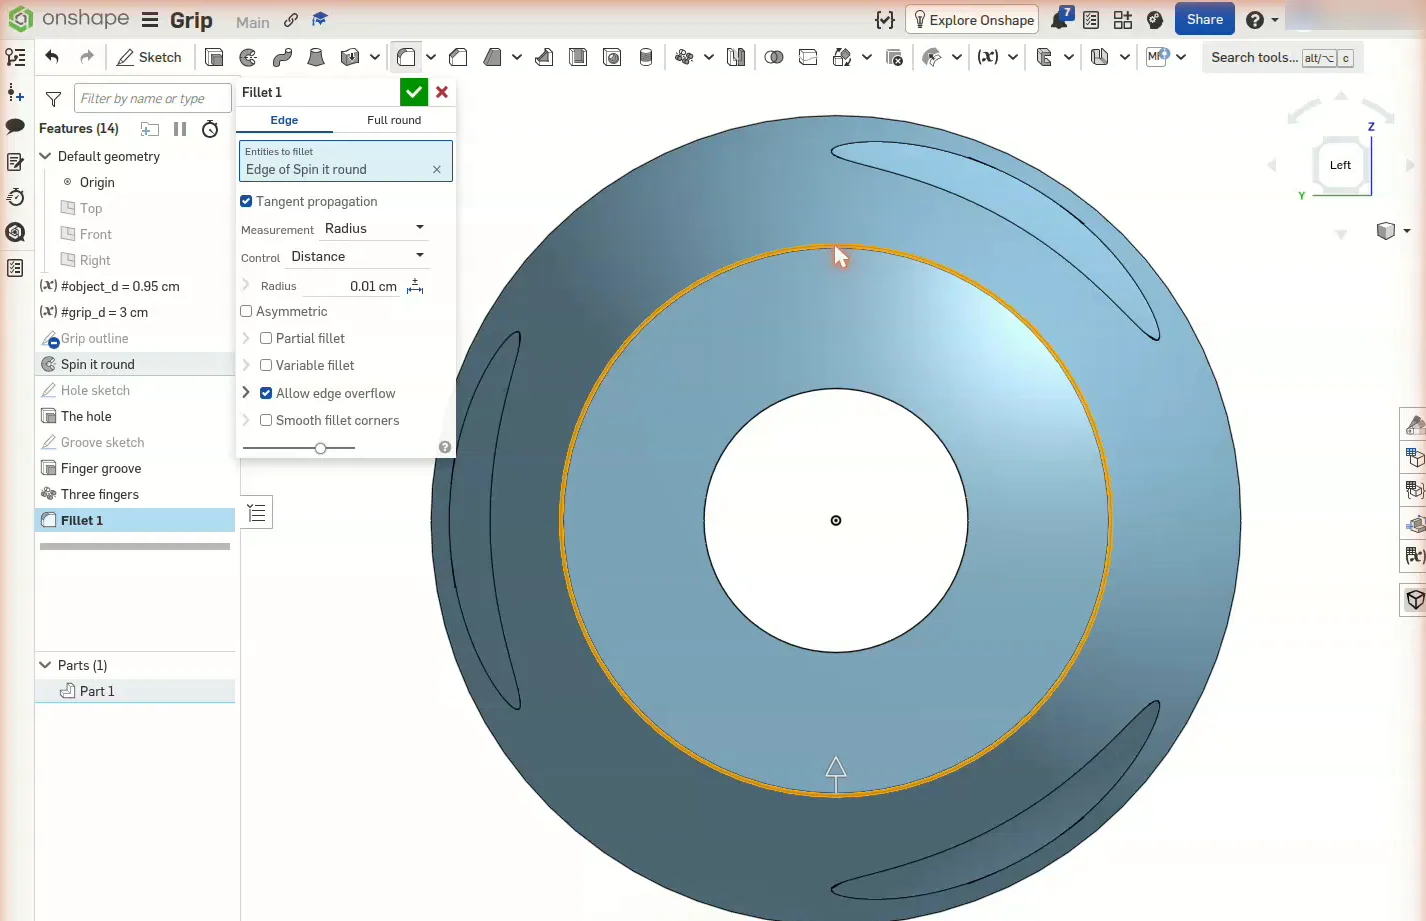
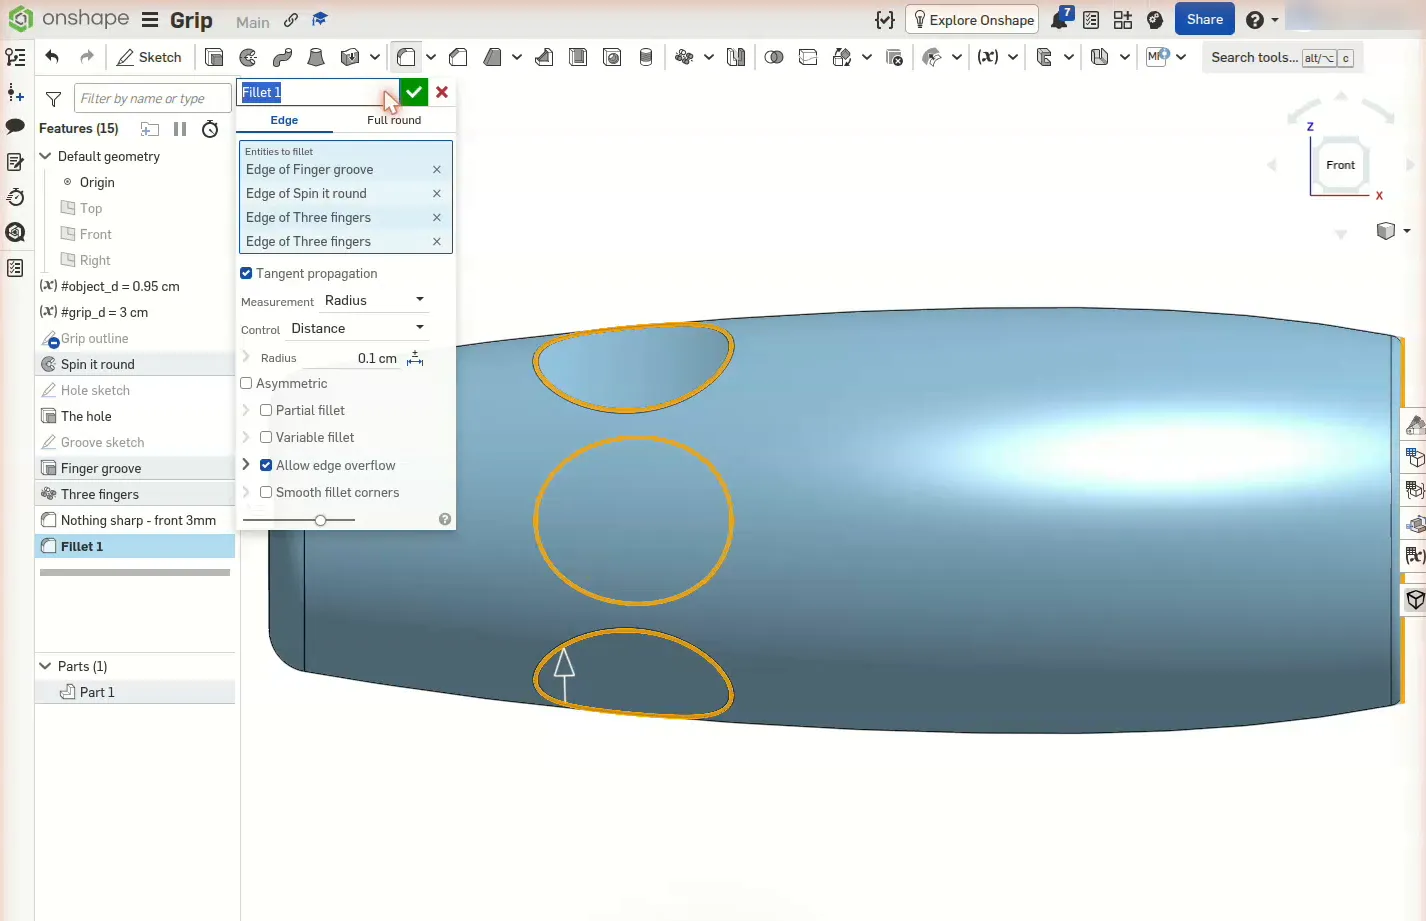
othing sharp for sore hands! Click the Fillet tool. Select the front end edge, set the radius to 3 mm and click the tick. Then add another fillet on the groove edges and the back edge at 1 mm. If a fillet shows an error, try a smaller number.
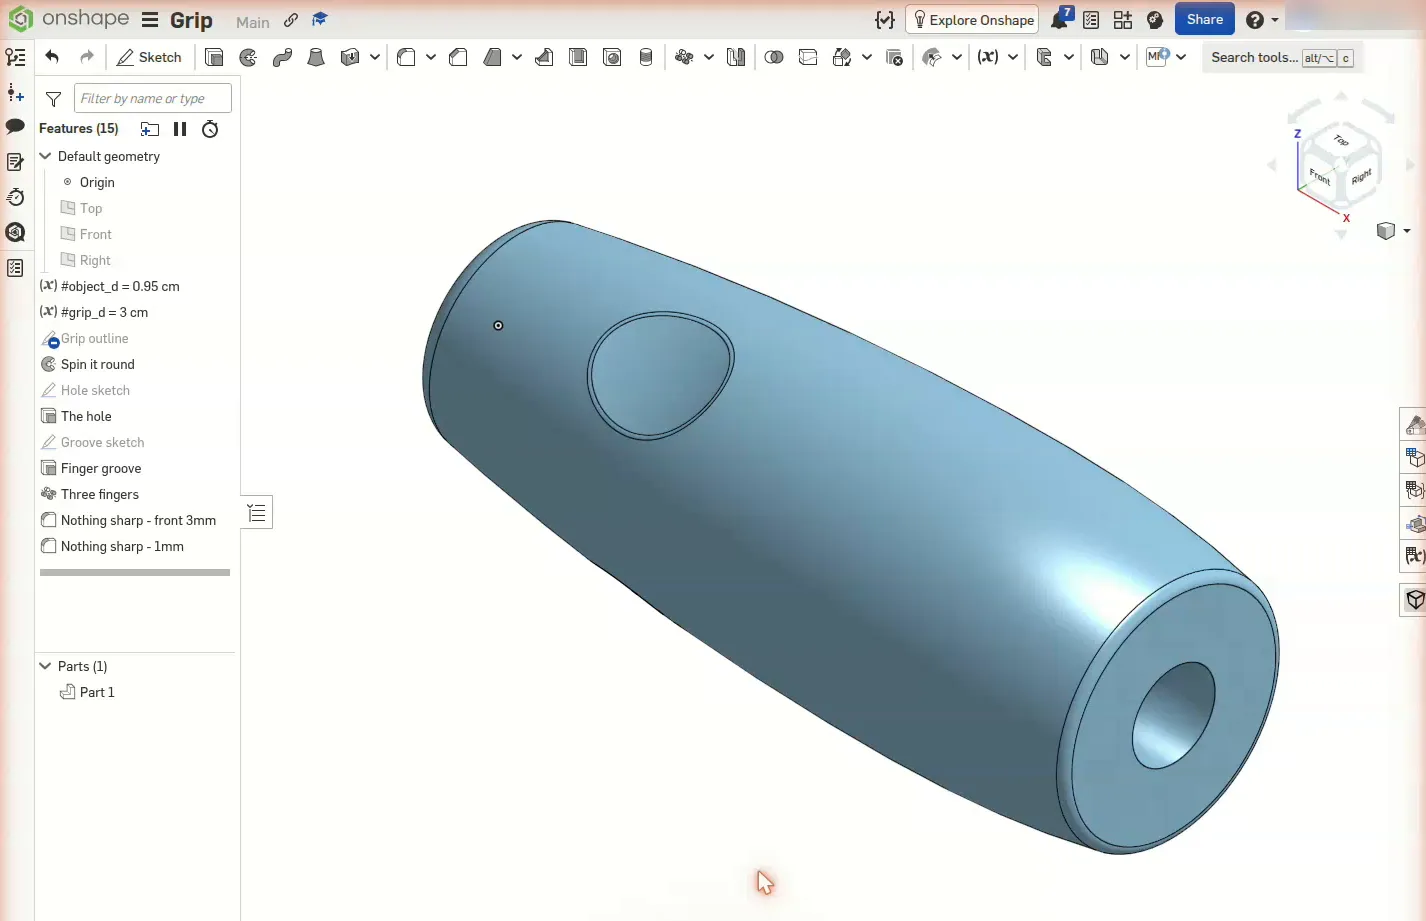
Spin your grip around and admire it! To print it, right-click Part 1, choose Export, and pick STL. Stand it on its fat back end in your slicer and print it in PLA with no supports. Push a pen in, then try the taped-finger challenge again. Is it easier now?\
change the hole size to fit a toothbrush or a spoon handle. One design can help with lots of everyday tools!