Back to homeHome

Browse projects

Published builds from the RoboticGen community — featured picks first.

Sort by
Featured firstNewestMost viewedMost starred
Featured onlyAllRoboticsElectronicsIoTCoding & SoftwareAI / MLDrones3D PrintingSensors & AutomationCompetitionsOther
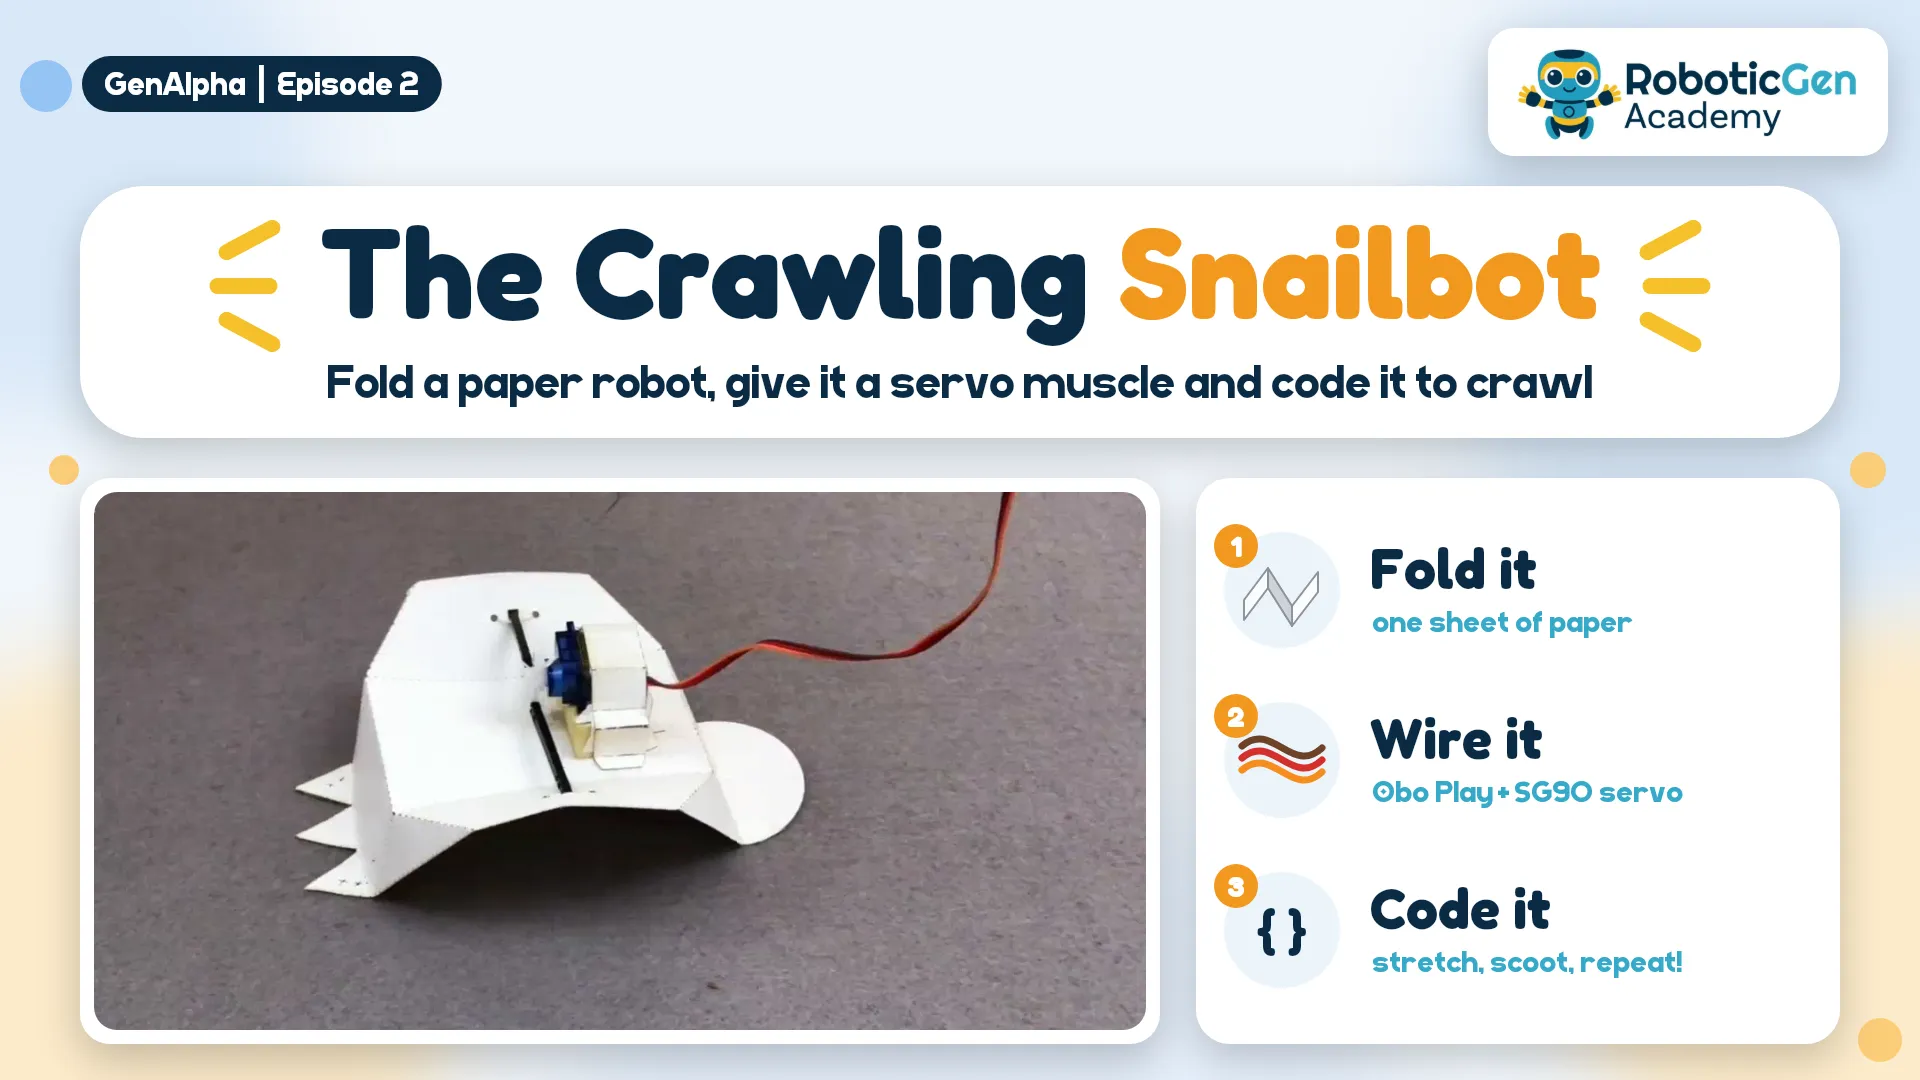
The Crawling Snailbot: a folded paper snail robot with a blue SG90 servo on its back
RoboticsFeatured

Snailbot - GenAlpha E02

Cut and fold a paper Snailbot, make it crawl by hand, then give it a brain and a muscle. An Obo Play (ESP32) tells an SG90 servo what to do, and a few lines of code make the snail crawl by itself.

  • origami
  • robot
  • snailbot
  • paper robot
  • servo
  • esp32
  • obo play
  • arduino
  • coding
  • gen alpha
ODOdil Janandith
Oct 26, 20261 views
Download PDF

Supplies and tools

  • Snailbot template printed on A4 card or thick paper
  • Scissors
  • A pen (to punch the two small holes)
  • String, about 30 cm
  • Tape
  • 1 × Obo Play (ESP32) board
  • 1 × SG90 servo motor
  • 3 jumper wires
  • USB cable and a computer with the Arduino IDE
  • A phone or camera to film your build

Comments (0)

Sign in to leave a comment.

    Step 1: Watch the episode

    Step 2: Print the template
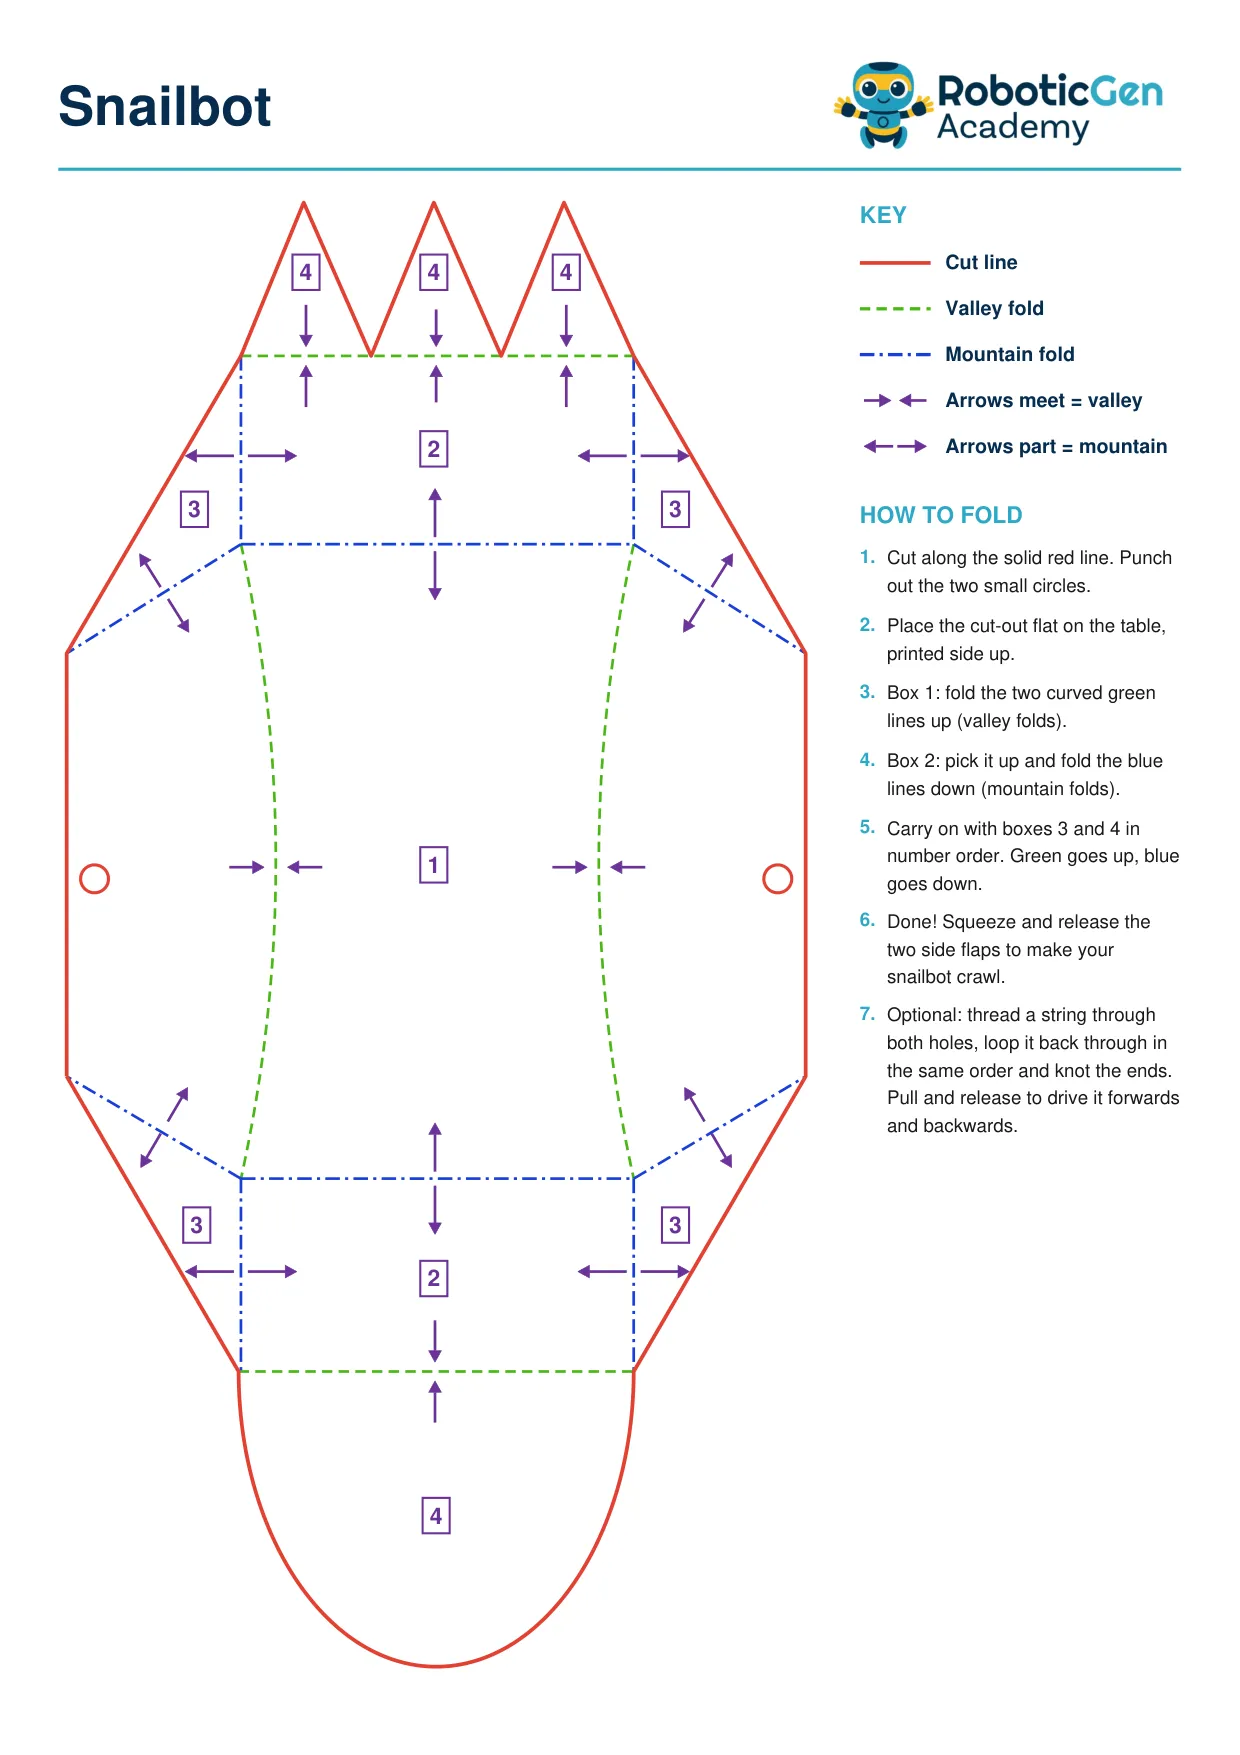
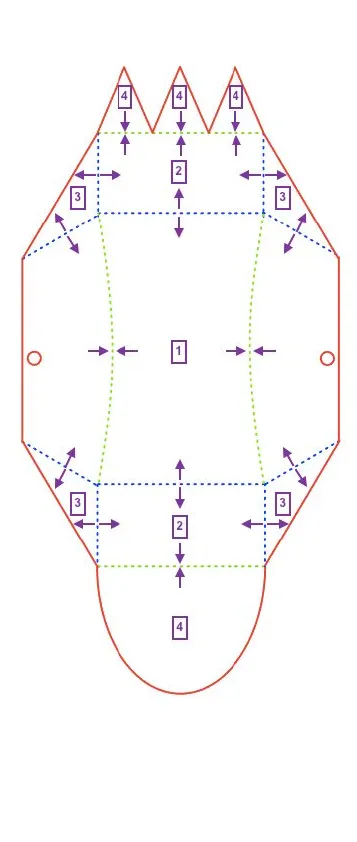
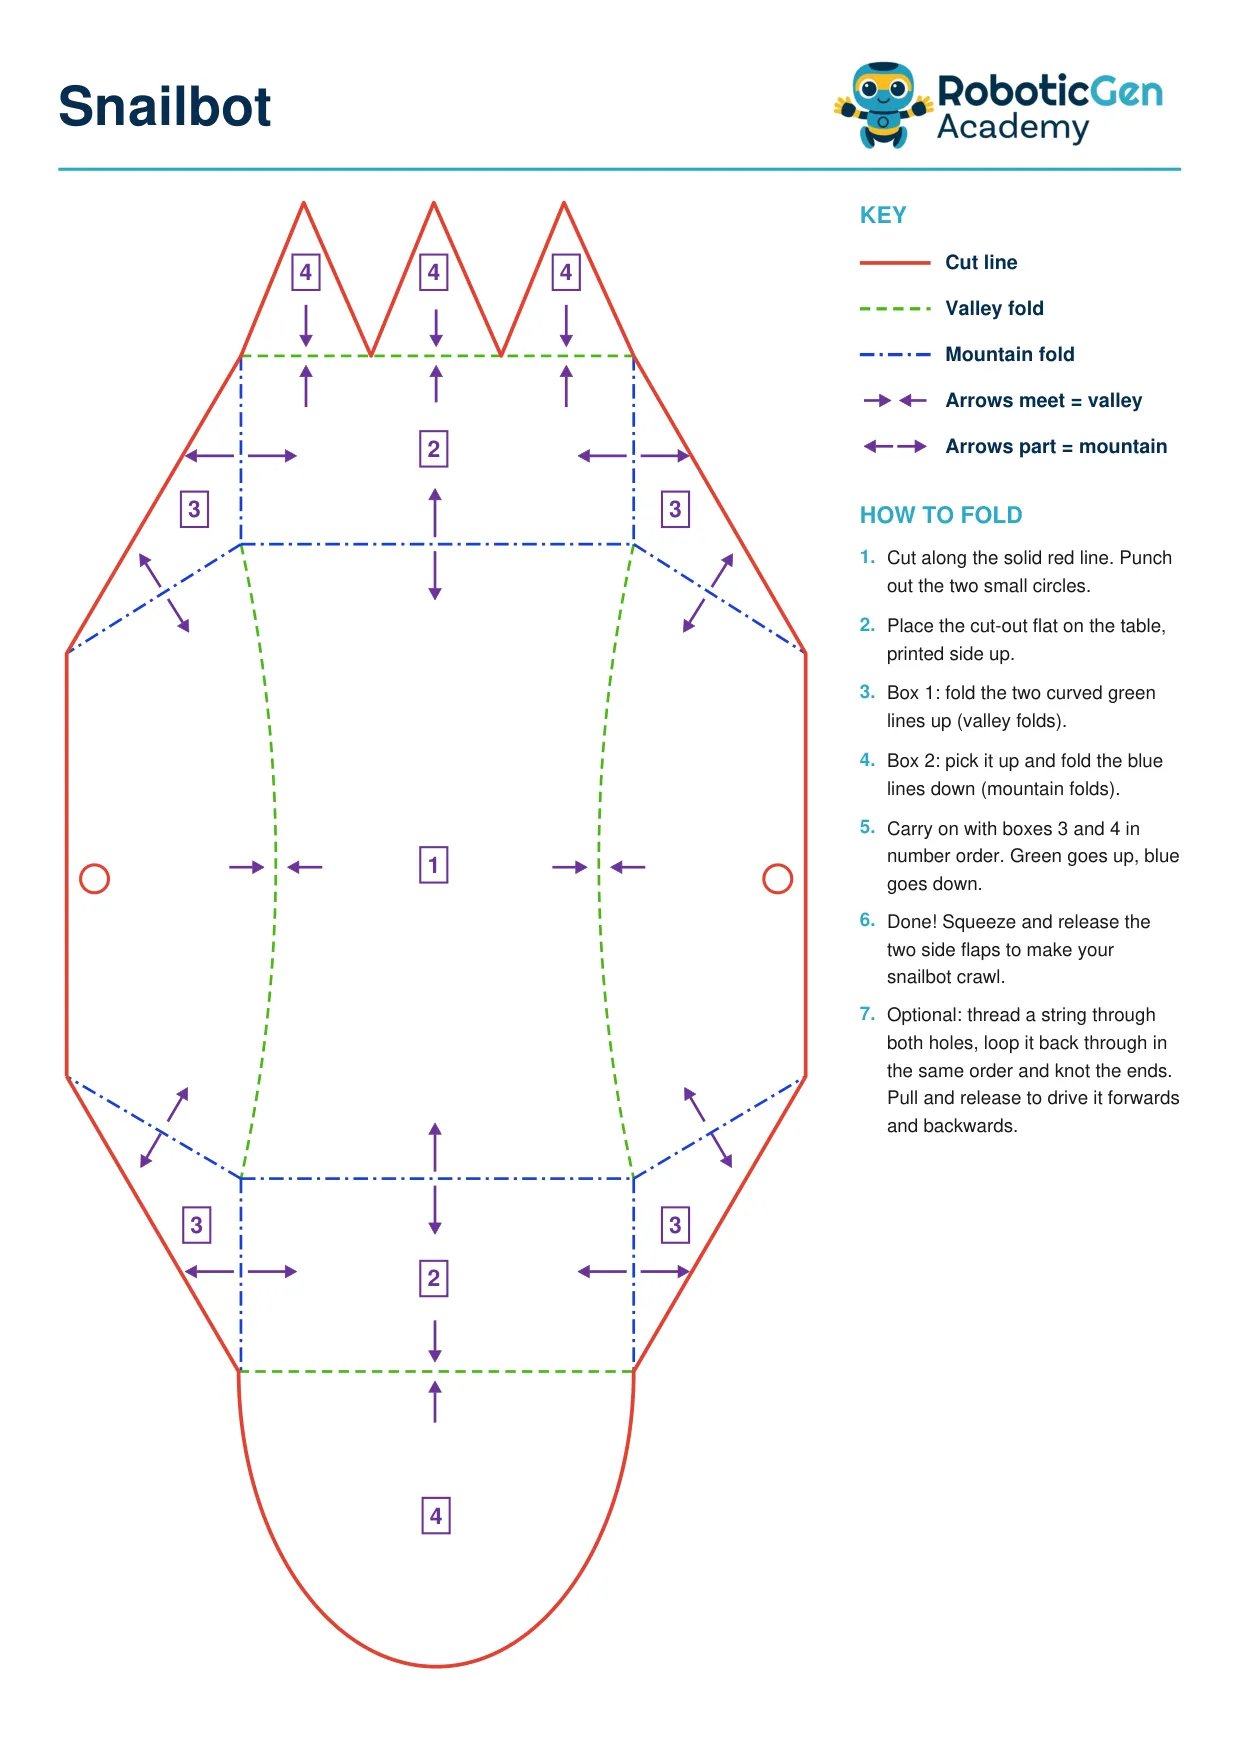
    Snailbot template with cut lines, valley folds and mountain folds

    Step 3: Cut it out

    The Snailbot shape cut out of the template

    Step 4: Fold in number order

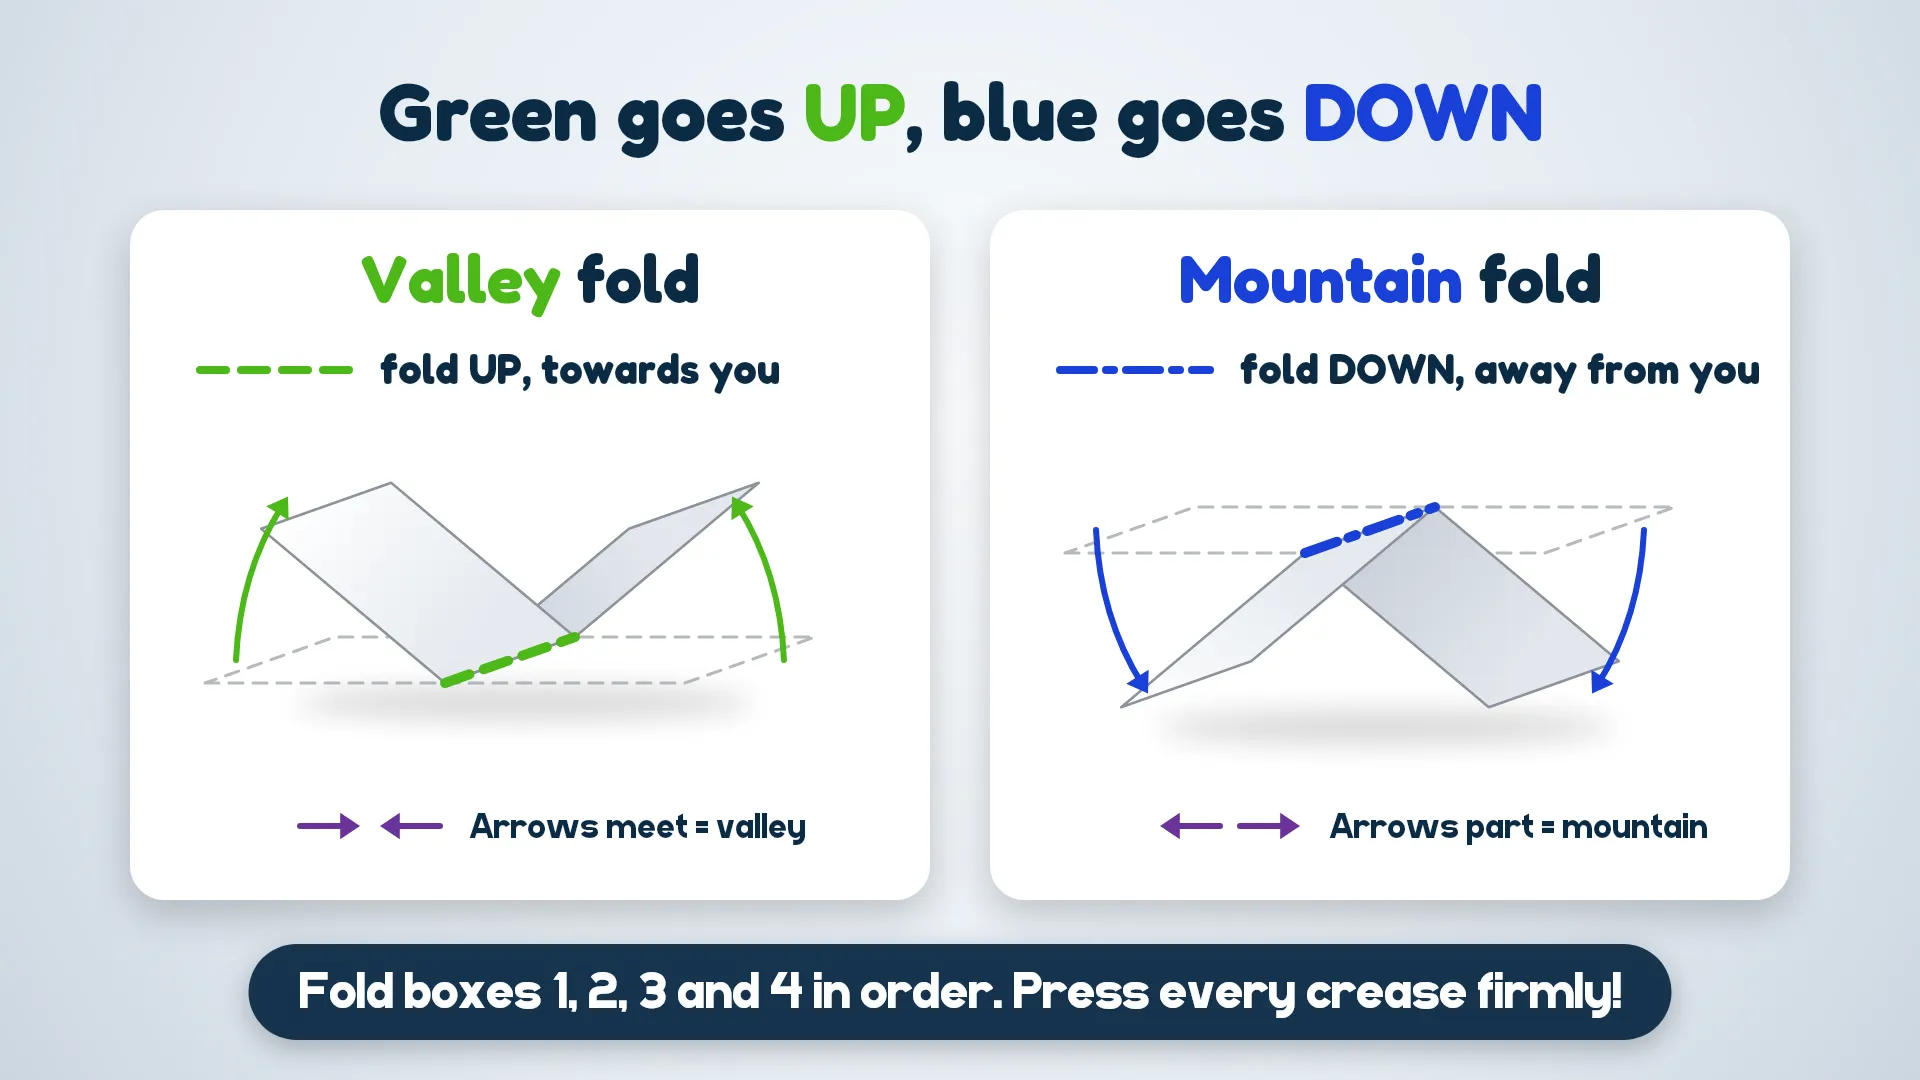
    Fold guide: green valley folds go up, blue mountain folds go downSnailbot template showing the numbered fold boxes

    Step 5: Be the brain

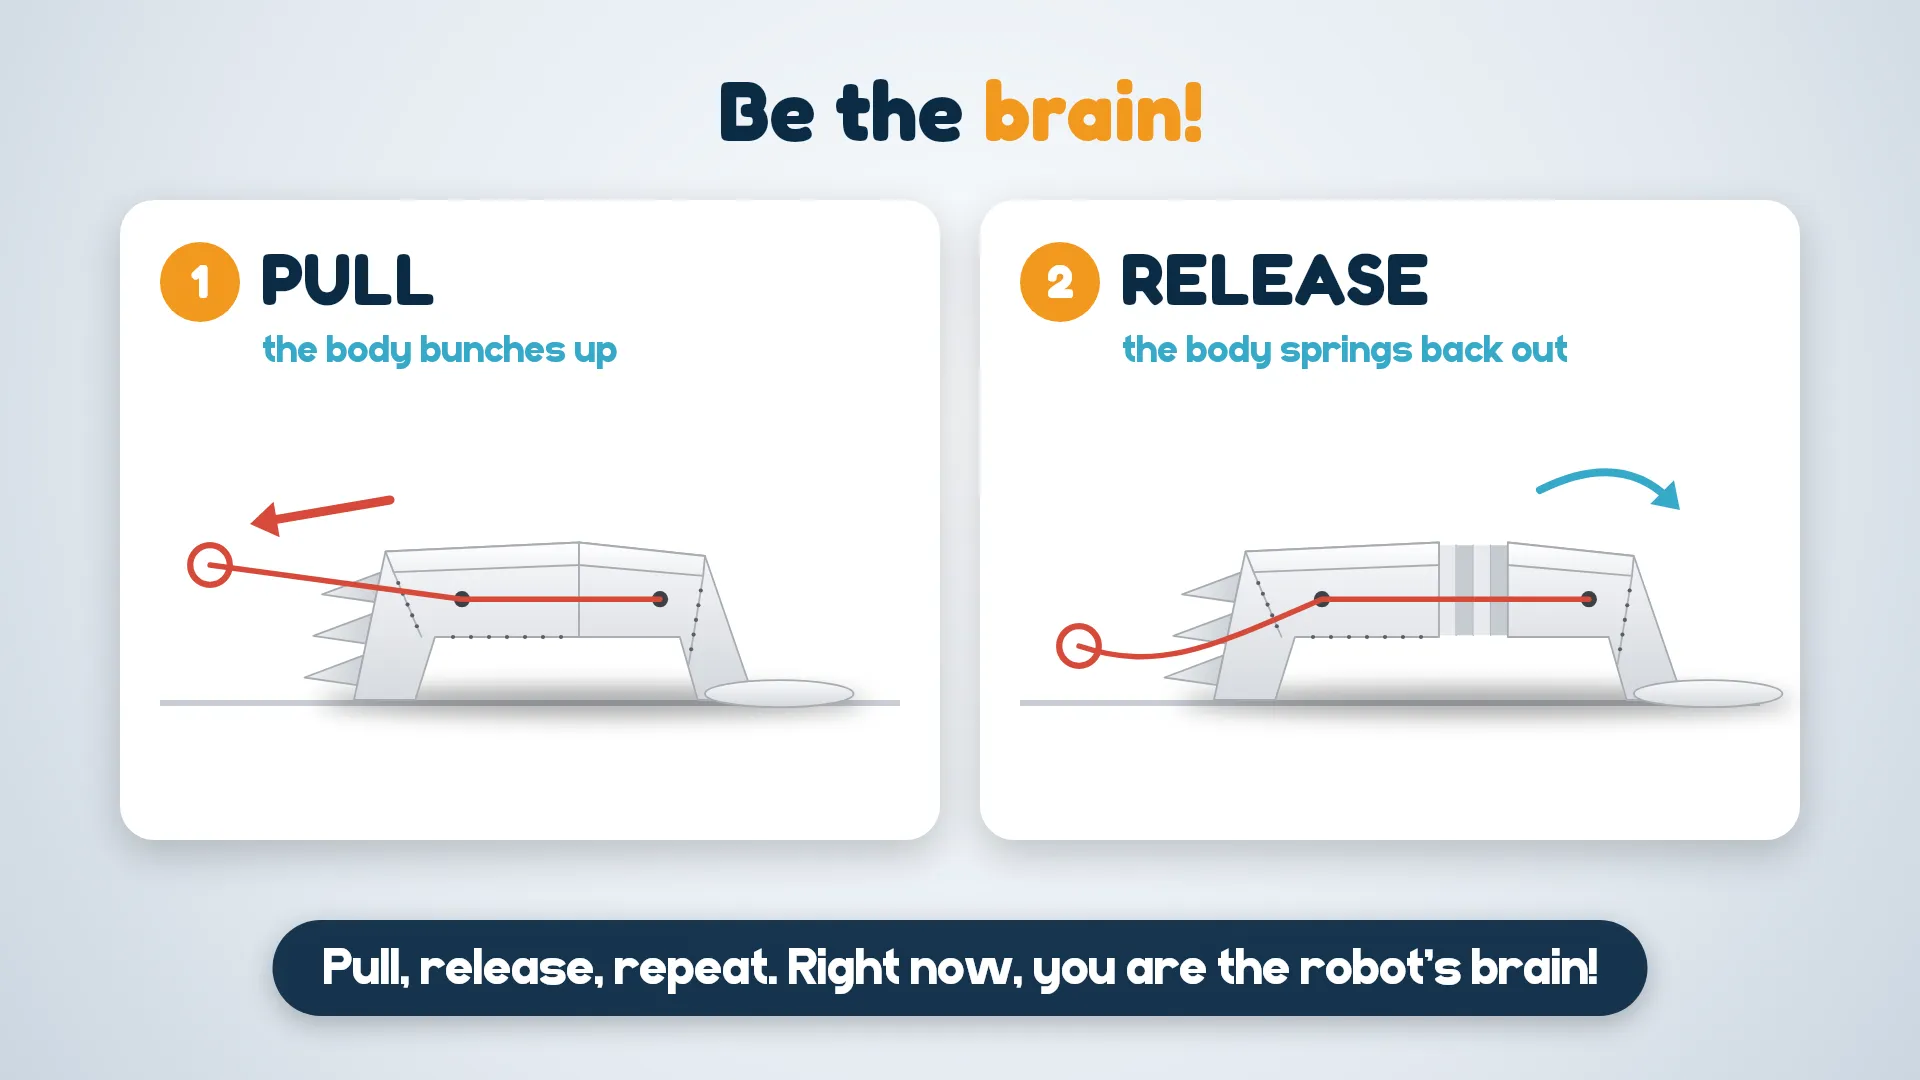
    Pull the string and the snail bunches up, release and it springs back out

    Step 6: How will it move by itself?

    Brain, muscle, nerves, energy and thoughts: a robot is like a bodyHow does Snail Bot move? Let's find out!

    Step 7: Meet the brain and the muscle
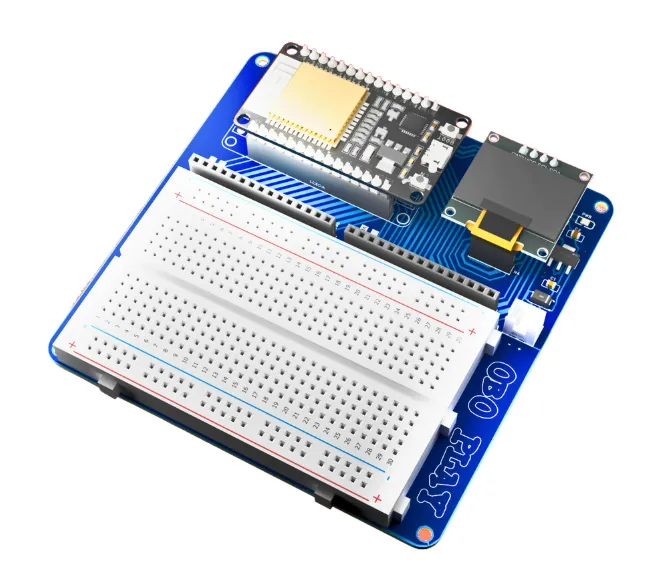
    Obo Play board with an ESP32 and breadboardSG90 servo turning its arm to 130 degrees on a protractor

    Step 8: Connect the wires

    ESP32 brain wired to the SG90 servo with brown, red and orange wires

    Step 9: Put the muscle on the snail
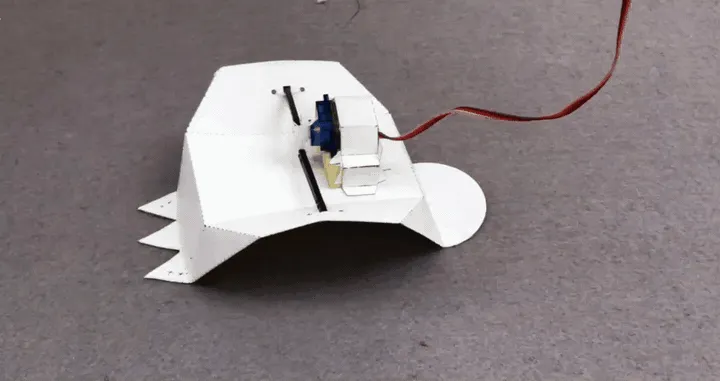
    Paper Snailbot with the servo taped on its back

    Step 10: Write the program

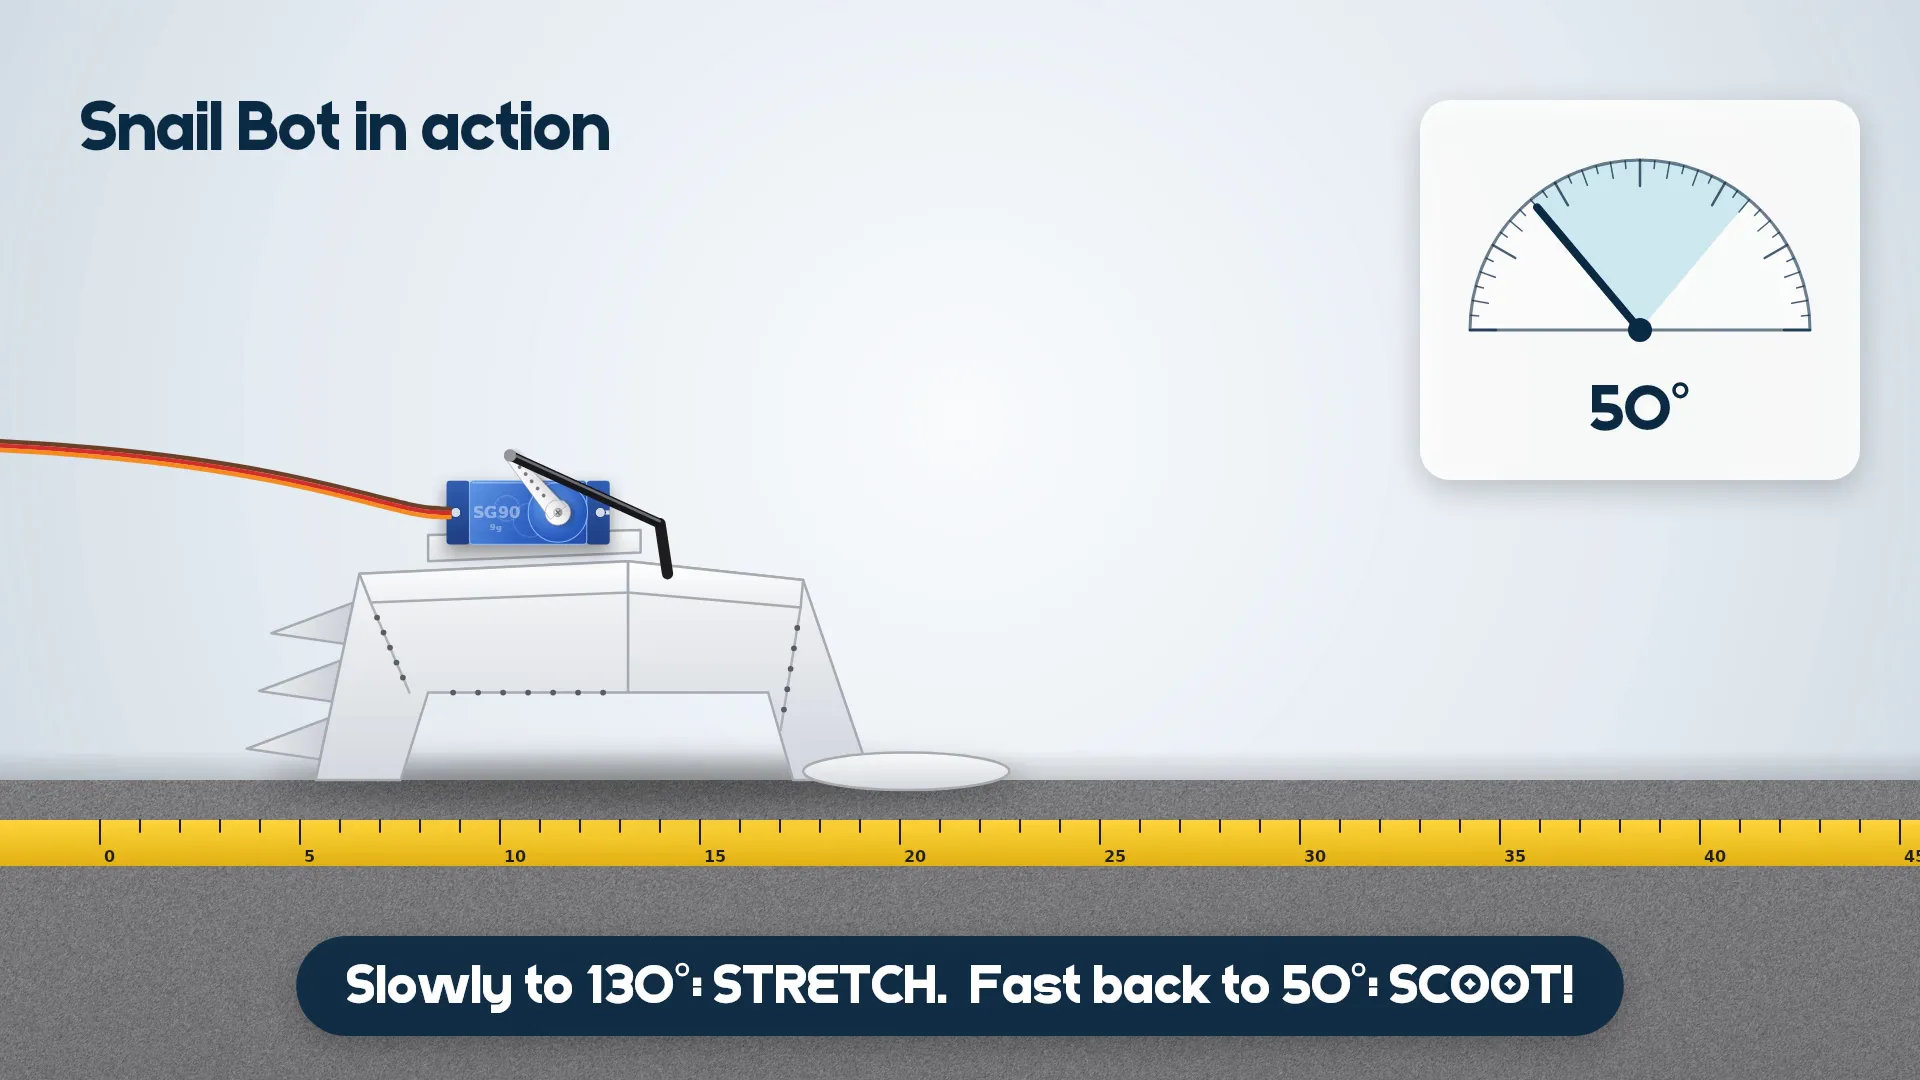
    The program: turn slowly to 130 degrees, fast back to 50 degrees, repeat

    Step 11: Watch it crawl!

    Snailbot crawling: slowly to 130 degrees stretches, fast back to 50 degrees scoots

    Step 12: What we learned

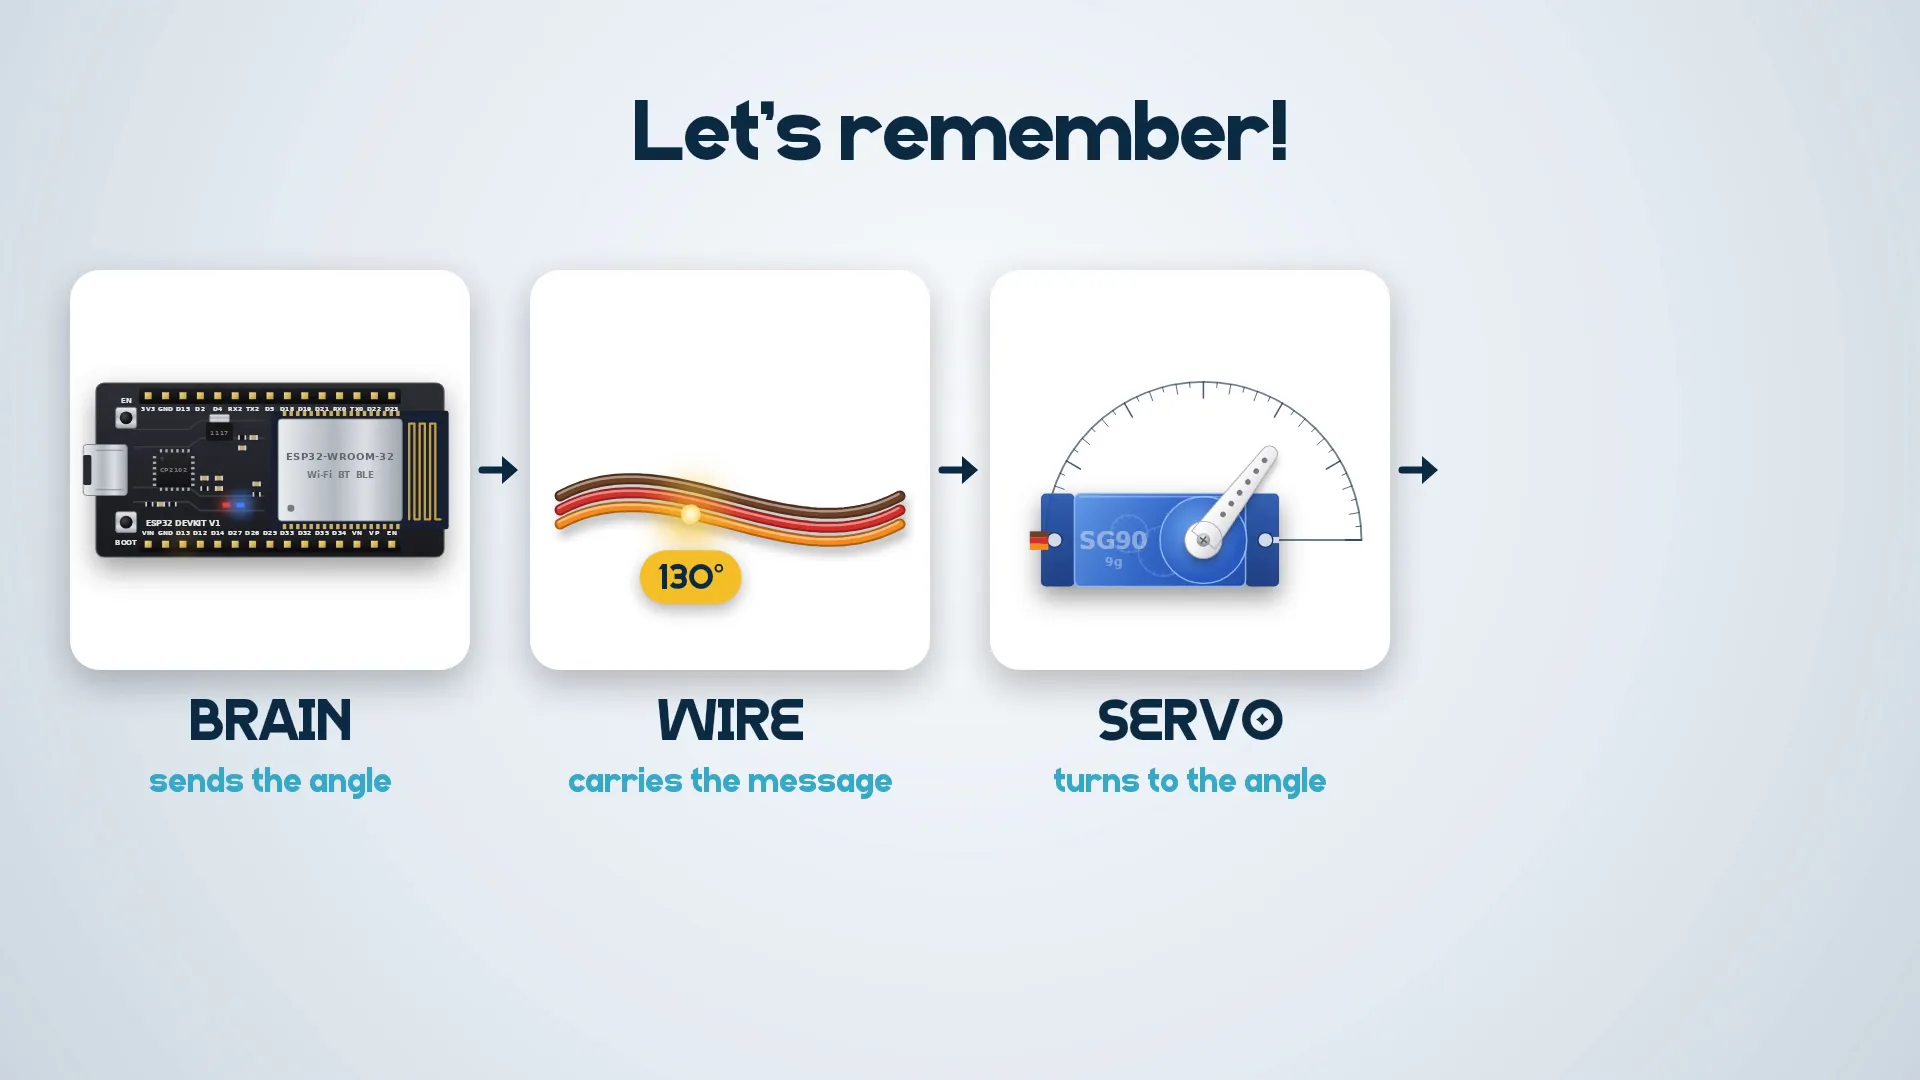
    Recap: the brain sends an angle, the wire carries it, the servo turns

    Step 13: Your turn: build it and submit your build!
    Your turn: build a Snailbot and submit your build

    This project is from Gen Alpha Episode 2 on Ahasa TV. Watch the episode to see the Snailbot fold, wire up and crawl, then follow the steps below to build your own!

    Print the Snailbot template on card or thick paper. The key shows you what each line means:

    • Solid red line: cut
    • Green dotted line: valley fold (fold up, towards you)
    • Blue dotted line: mountain fold (fold down, away from you)

    Arrows that meet mean valley, and arrows that point apart mean mountain.

    Template design: Tanvi Pati, UCLA LEMUR lab.

    Cut along the solid red line. Then punch out the two small circles with the tip of a pen. Put the cut-out flat on the table, printed side up.

    Fold the boxes in number order:

    1. Box 1: fold the two curved green lines up (valley folds).
    2. Box 2: pick it up and fold the blue lines down (mountain folds).
    3. Boxes 3 and 4: carry on the same way. Green goes up, blue goes down.

    Press each crease firmly with your fingernail.

    Squeeze and release the two side flaps, and your Snailbot crawls! To drive it with a string, thread it through both holes, loop it back through in the same order, and knot the ends. Pull and release to make it move. Right now, you are the robot's brain!

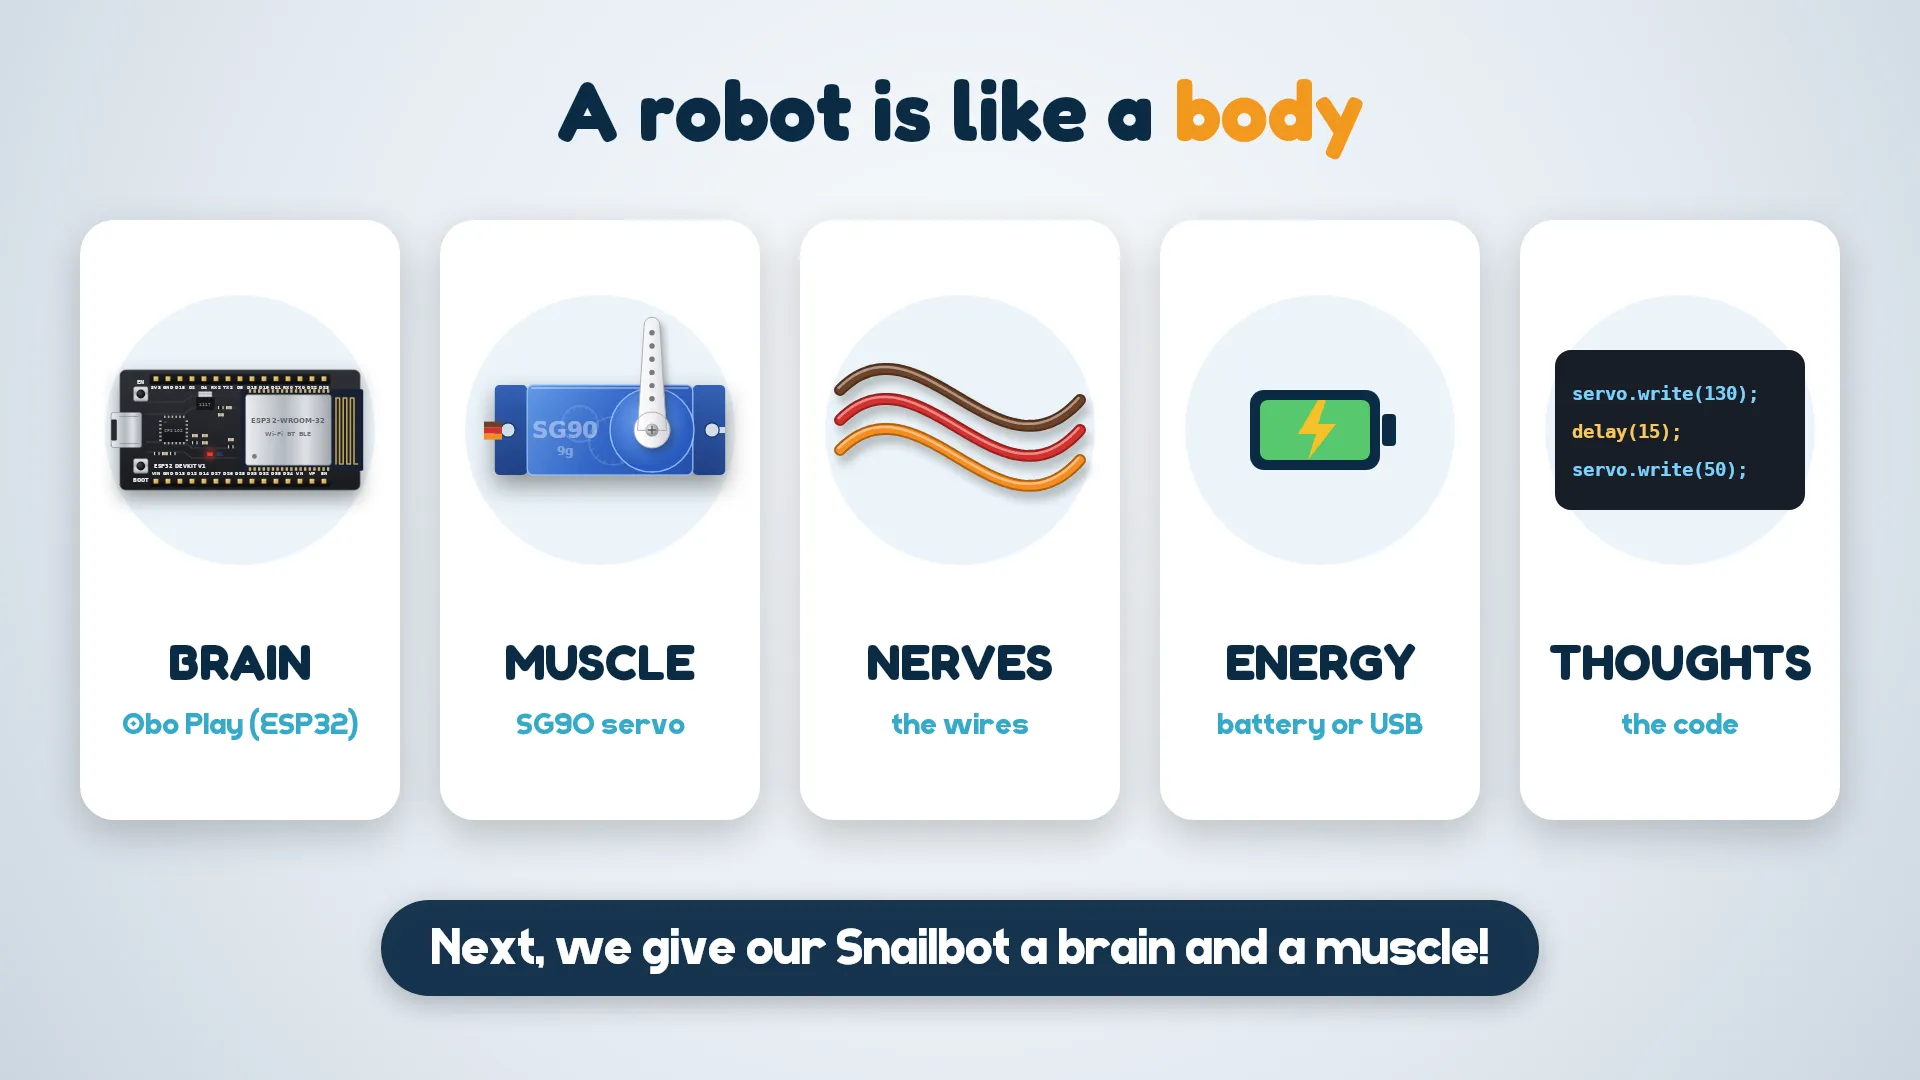
    A robot is like a body:

    • Brain: the Obo Play board (an ESP32 microcontroller)
    • Muscle: the servo motor
    • Nerves: the wires
    • Energy: the battery or USB power
    • Thoughts: the code

    Next we give our Snailbot a brain and a muscle.

    The Obo Play is a tiny computer, smaller than a biscuit. It has an ESP32 chip with Wi-Fi and Bluetooth, and it runs the code we write.

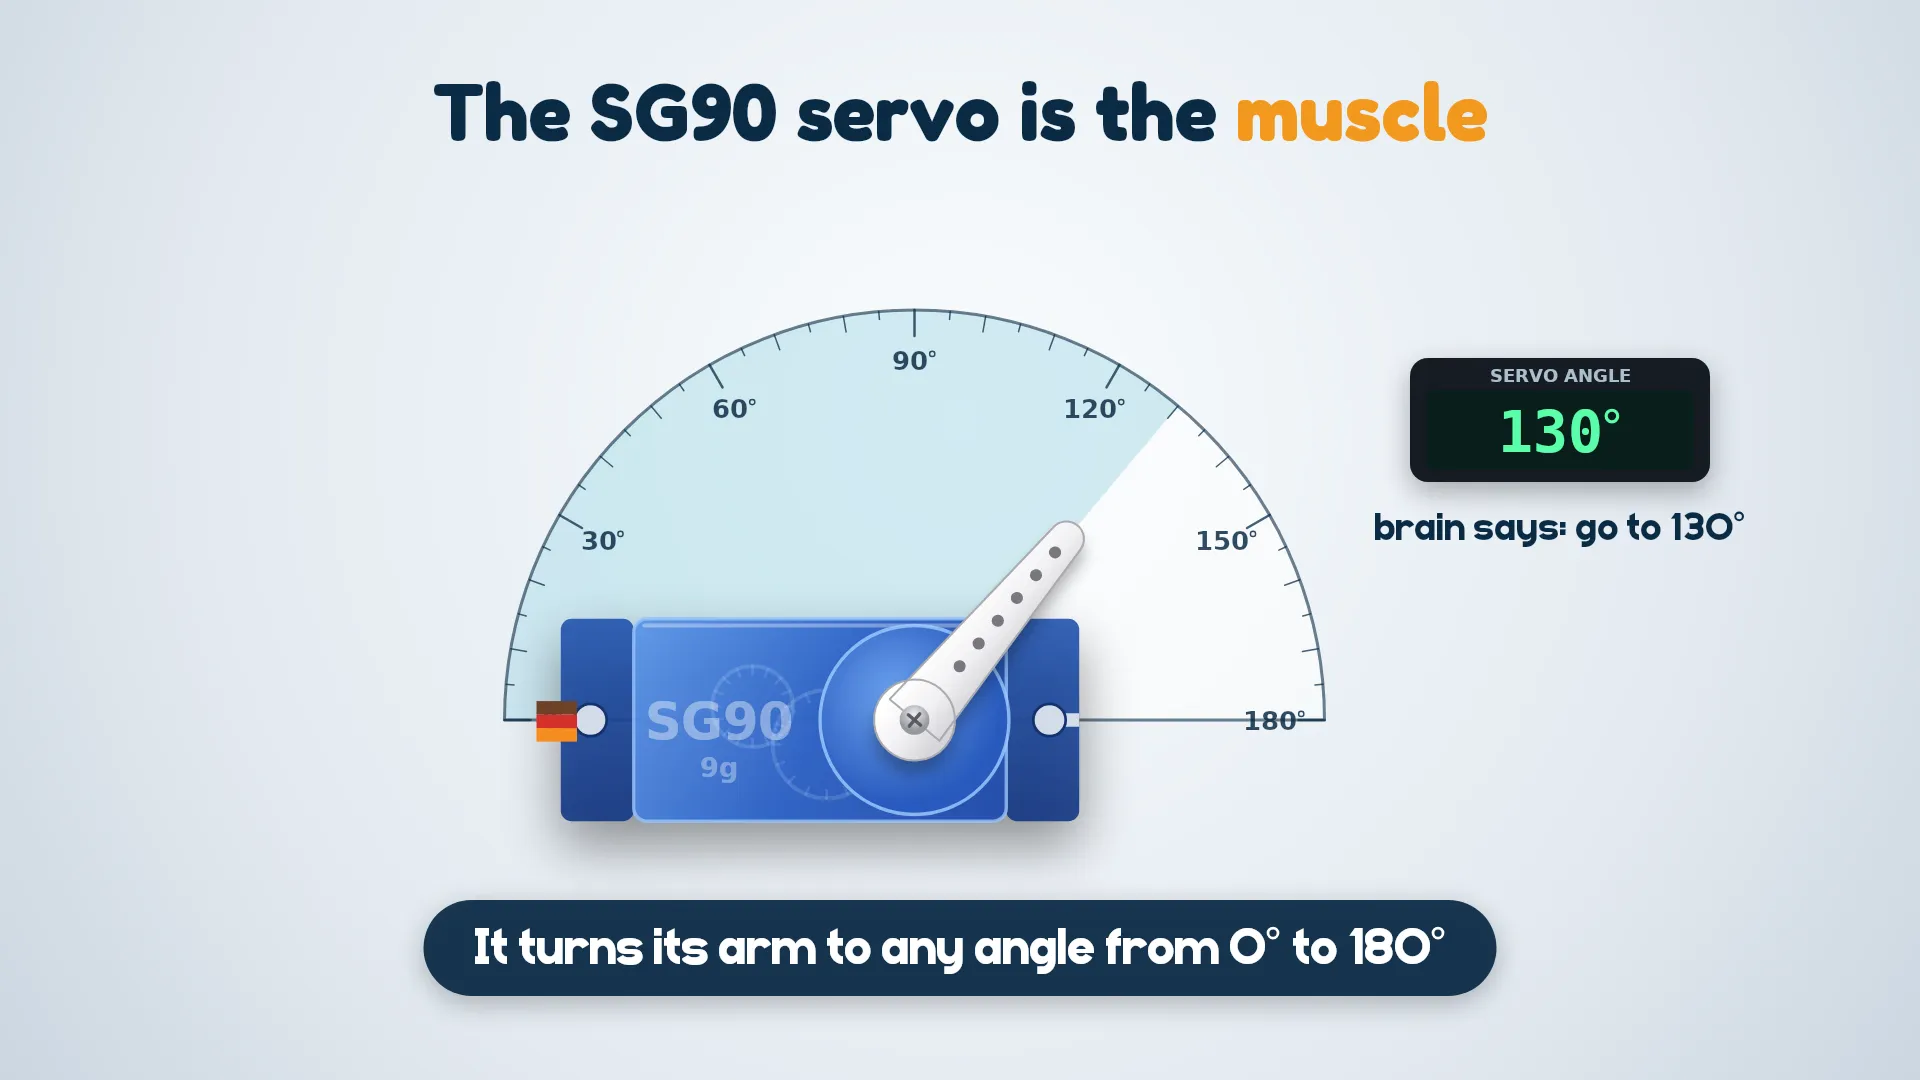
    The SG90 servo is the muscle. It doesn't just spin. It turns its arm to the exact angle the brain asks for, anywhere from 0° to 180°.

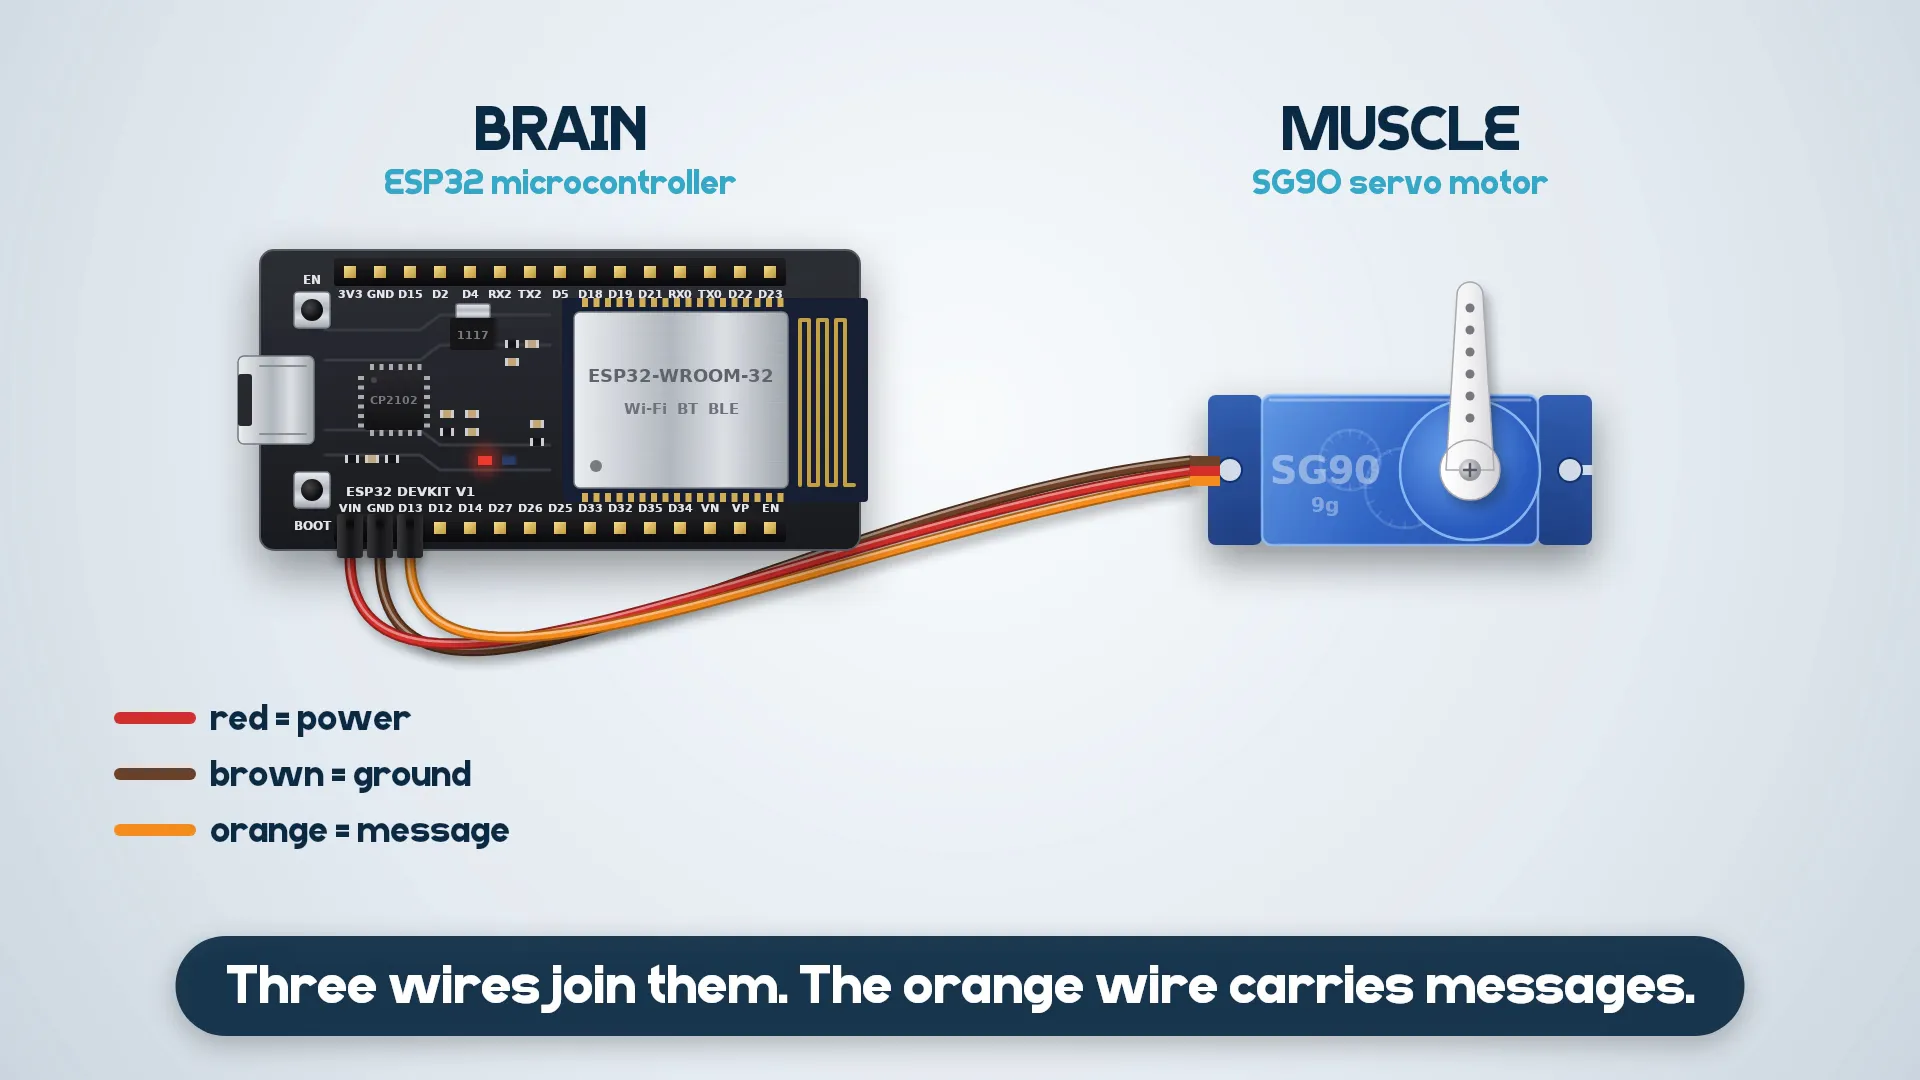
    The servo has three wires. Connect them to the Obo Play:

    • Brown (ground) → GND
    • Red (power) → 5V
    • Orange (message) → GPIO 13

    Red brings power, brown is ground, and orange carries the messages from the brain.

    Tape the servo onto the Snailbot's back. Tie the string from Step 5 to the servo's arm, so when the arm turns it pulls the snail's body, and when it turns back it lets go.

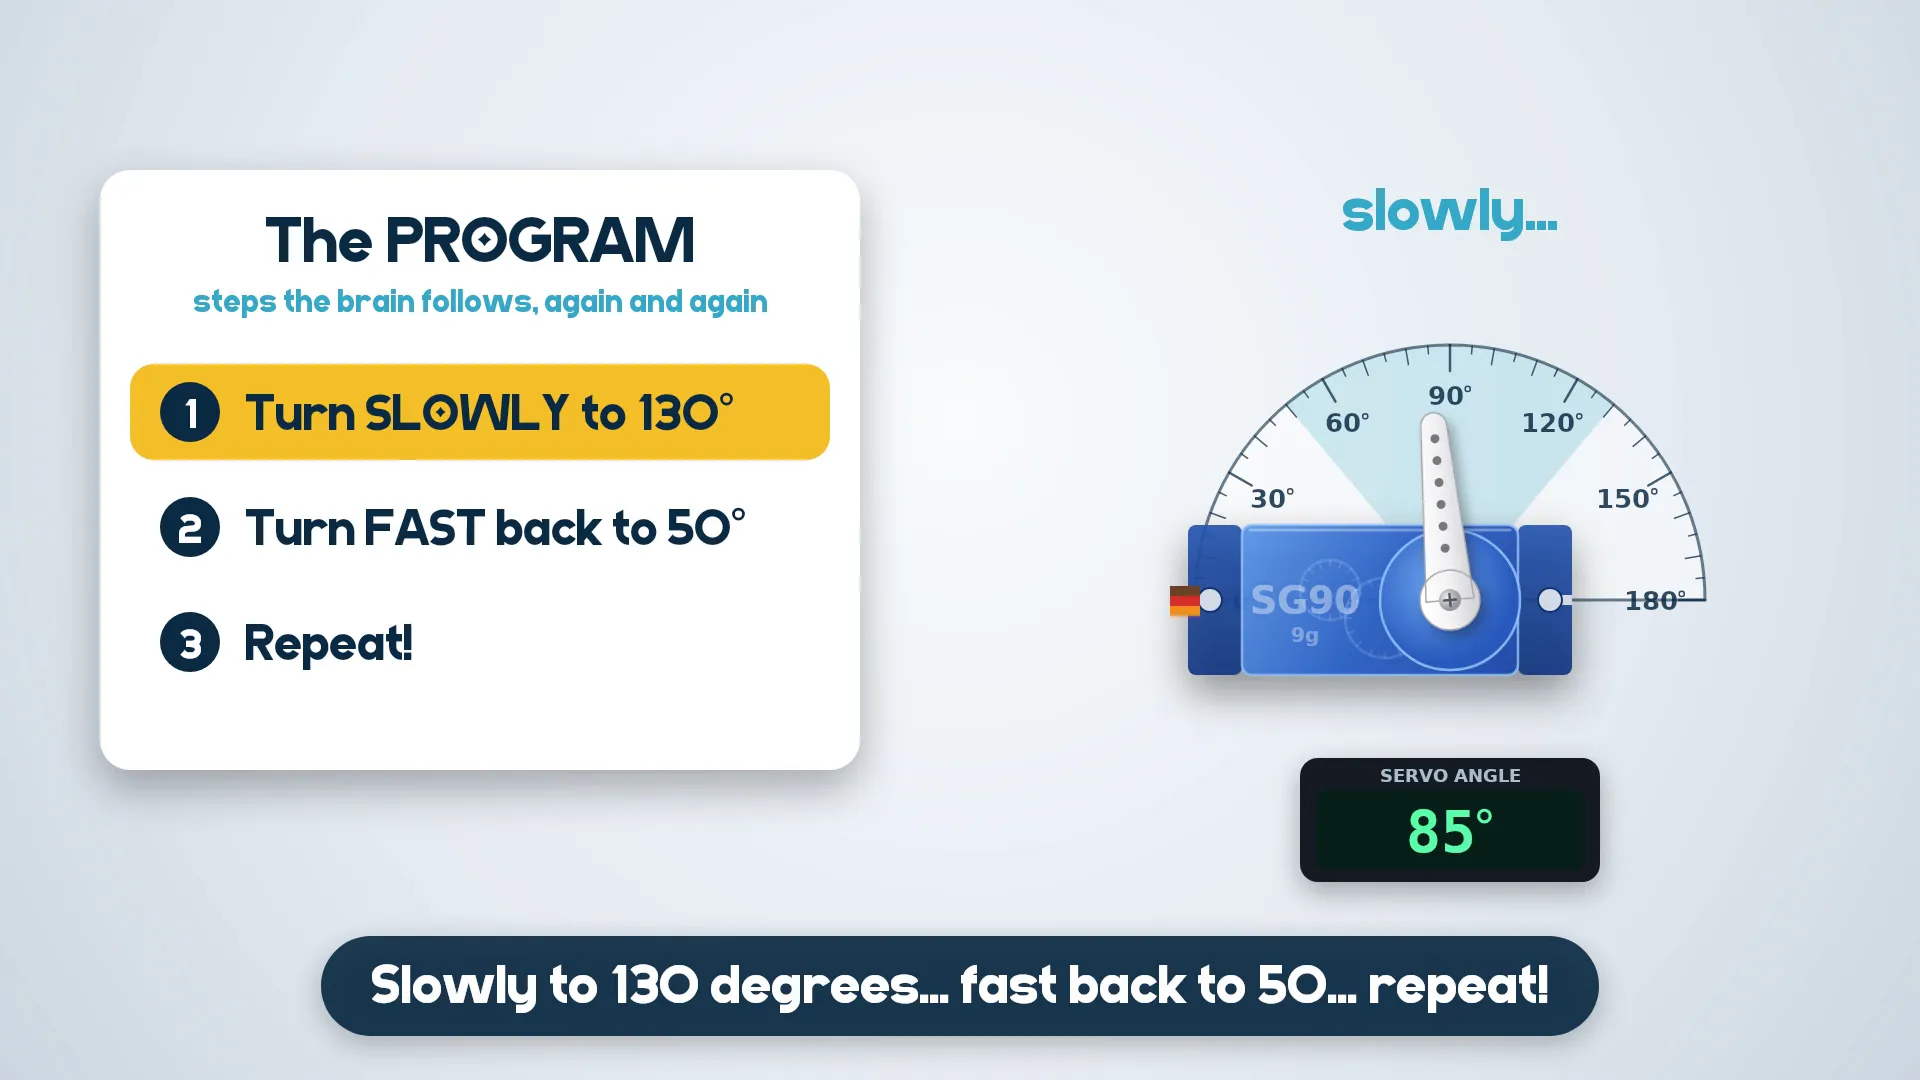
    A program is a list of steps that the brain follows again and again:

    1. Turn slowly to 130°, which stretches the body forward.
    2. Turn fast back to 50°, which pulls the back up.
    3. Repeat!

    In the Arduino IDE, install the ESP32Servo library (Tools → Manage Libraries), then upload this code:

    #include <ESP32Servo.h>
    
    Servo servo;
    
    void setup() {
      servo.attach(13);              // orange wire on GPIO 13
    }
    
    void loop() {
      for (int a = 50; a <= 130; a++) {   // slow stretch
        servo.write(a);
        delay(15);
      }
      for (int a = 130; a >= 50; a--) {   // fast scoot
        servo.write(a);
        delay(4);
      }
    }


    Put your Snailbot on the table and power it up. Slowly to 130° stretches it, and fast back to 50° makes it scoot. Stretch, scoot, repeat. That's how Snailbot crawls!

    Challenge: change delay(15) to delay(8). Is your snail faster? What happens if it goes back slowly too?

    The brain sends an angle, the wire carries the message, the servo turns to that angle, and the snail crawls. That's how a robot moves! Try folding a second Snailbot and race them.

    Now it's your turn to build a Snailbot:

    1. Fold your Snailbot from the template.
    2. Wire the SG90 servo to the Obo Play (orange wire on GPIO 13).
    3. Upload the code.
    4. Film it crawling across the table.

    Then submit your build: click I built this at the top of this project and add a photo or short video of your crawling Snailbot so everyone can see it.

    Bonus challenge: make your snail faster, or fold a second one and race them. Tell us your best time in your build!

    Featured
    Other
    Build The Spiral - GenAlphaE05
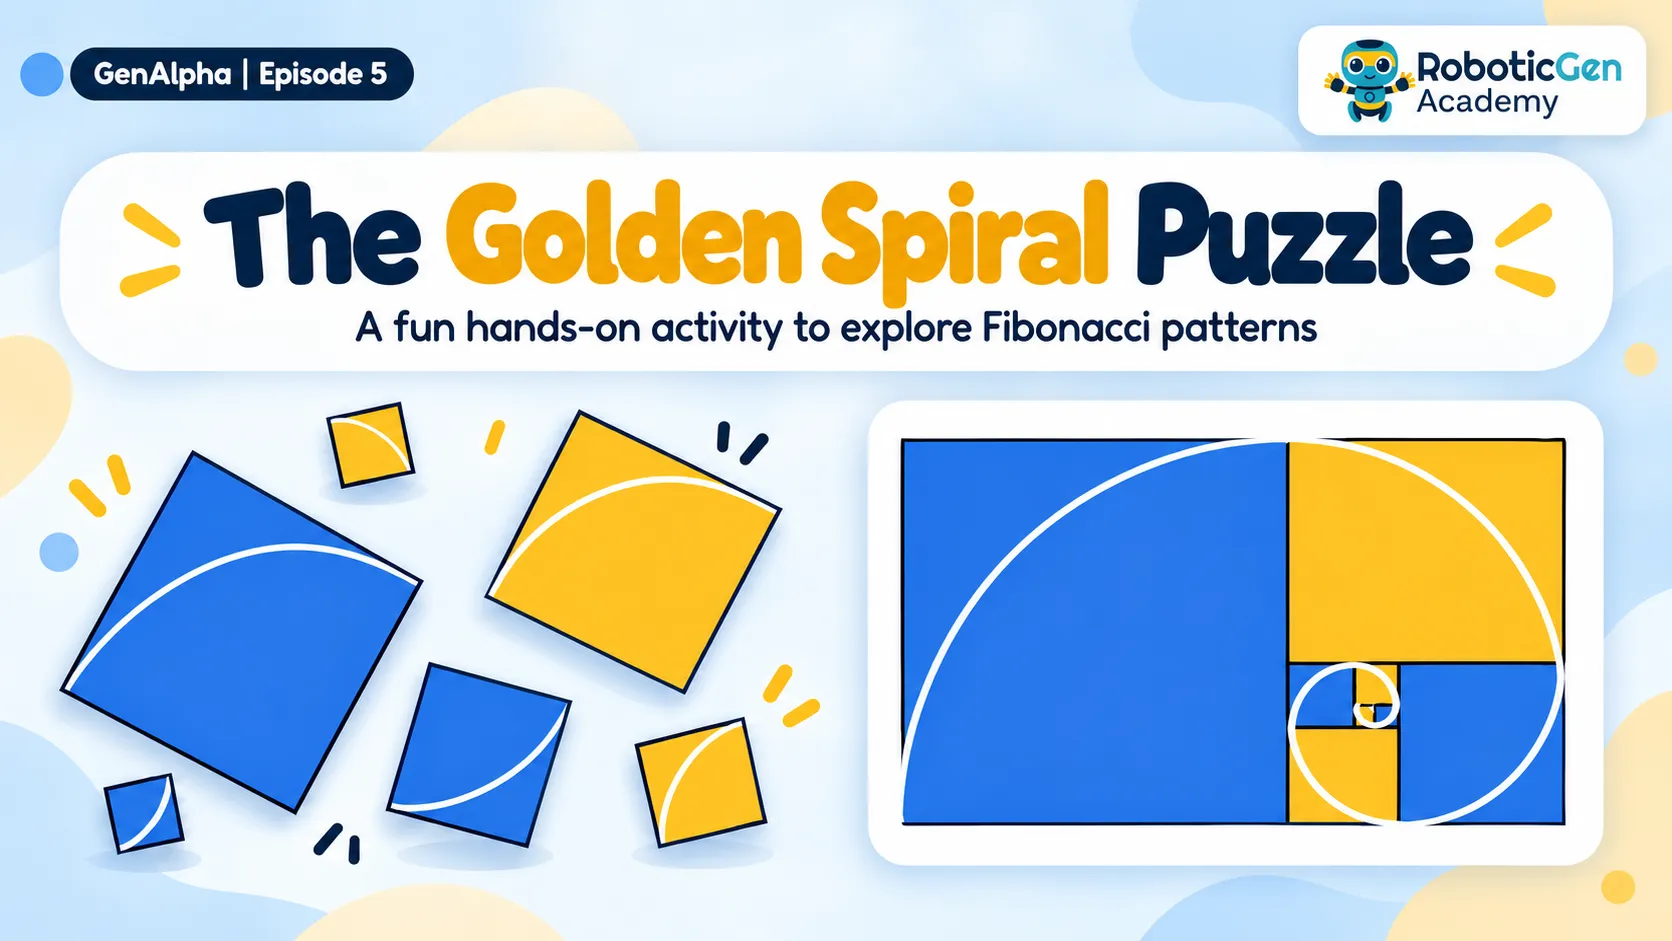
    The Golden Spiral Puzzle is a fun, hands-on activity that introduces students to the Fibonacci sequence and geometric patterns. Students repeatedly draw the largest possible square within the remaining rectangle, using its shorter side as a guide. They then connect quarter-circle curves to form a spiral. Finally, students colour and number the squares, exploring the relationship between mathematics, geometry, and patterns found in nature.
    by Nimantha Adikaram
    Likes:0Stars:0Views:4
    Featured
    3D Printing
    The Fibonacci Gauge - GenAlpha E05
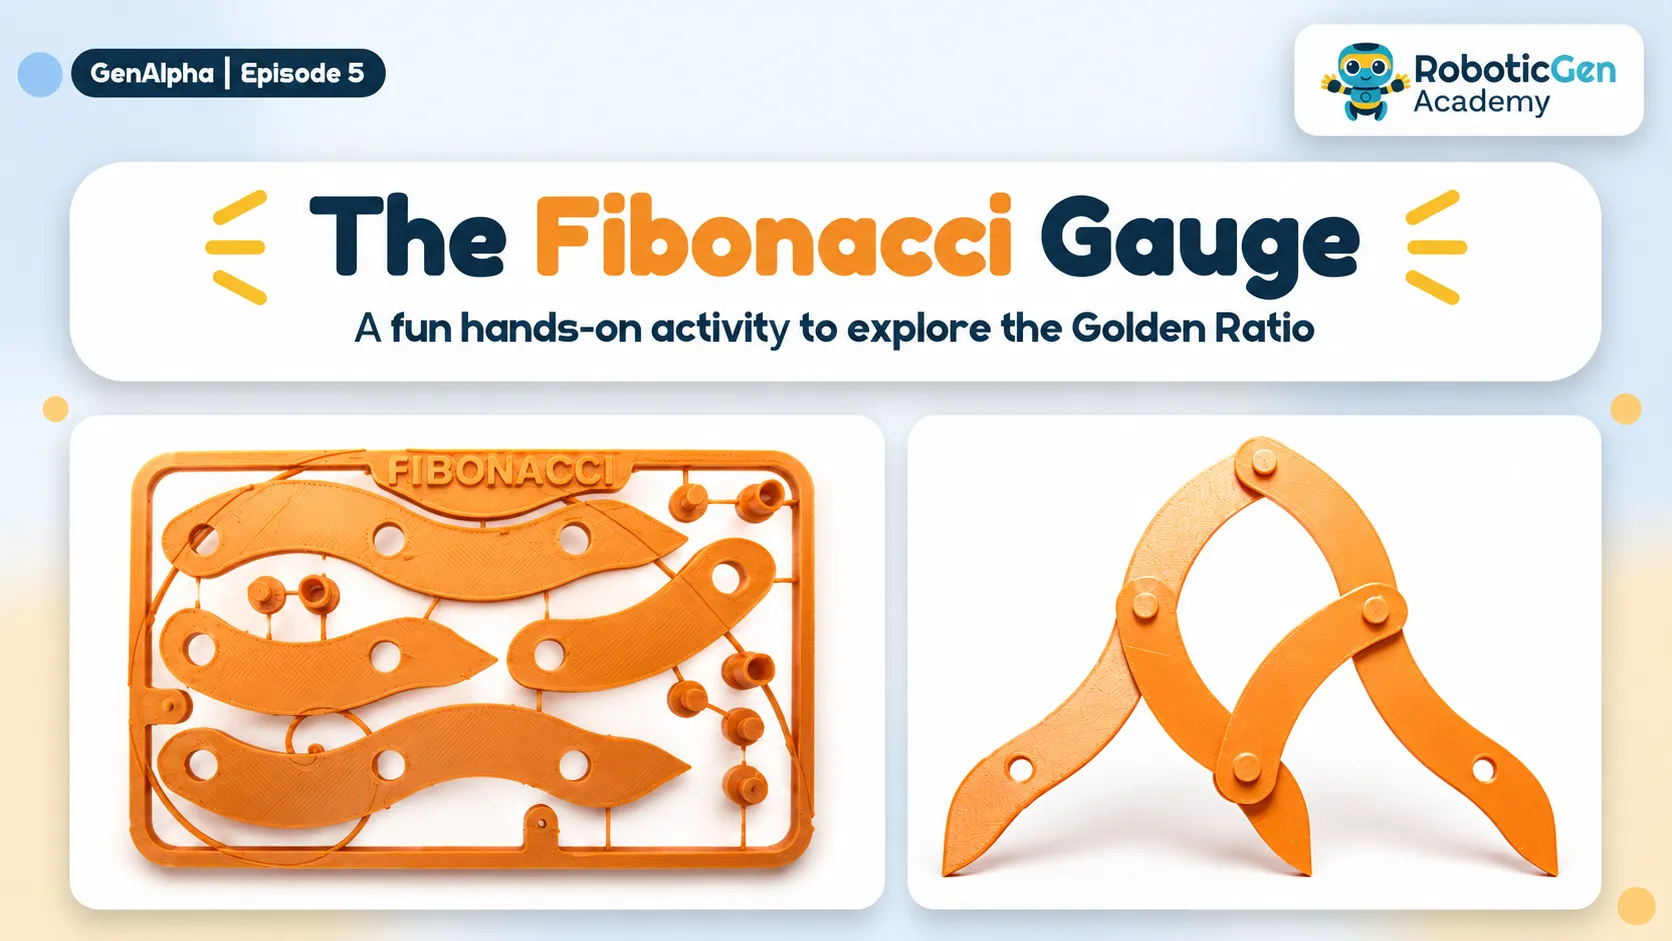
    The Fibonacci Gauge is a hands-on STEAM activity that introduces students to the Fibonacci sequence, the Golden Ratio (1.618), and mathematical proportions. Students assemble a movable measuring tool using interconnected arms and pivot joints. By opening and closing the gauge, they can explore how the Golden Ratio remains approximately constant and compare proportions in everyday objects such as books, smartphones, and picture frames.
    by Nimantha Adikaram
    Likes:
    Featured
    Other
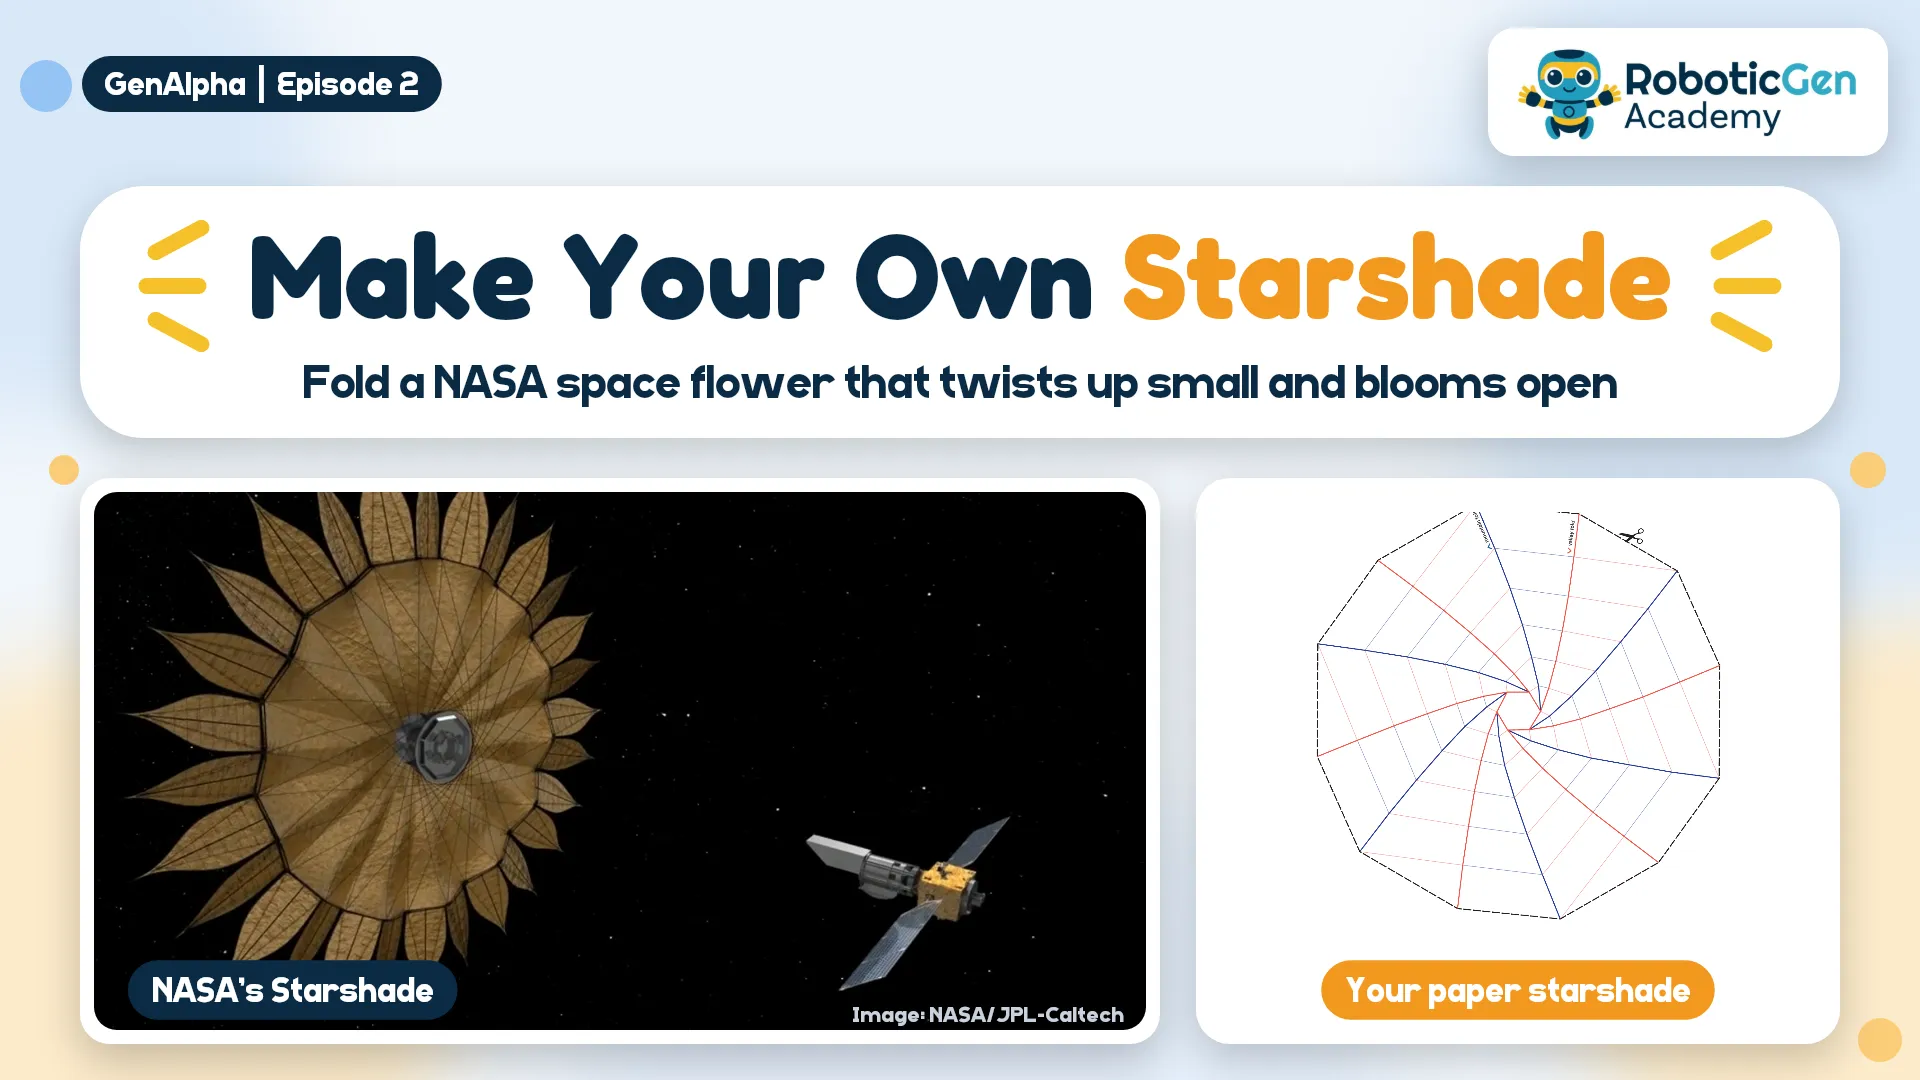
    Starshade - GenAlpha E02
    NASA designed a giant "space flower" that folds up small enough to fit in a rocket, then blooms open to block a star's glare so we can see its planets. Fold your own paper starshade that wraps into a spiral and opens with a twist, then test it with a torch.
    by Odil Janandith
    Likes:0
    Featured
    Robotics
    Snailbot - GenAlpha E02
    Cut and fold a paper Snailbot, make it crawl by hand, then give it a brain and a muscle. An Obo Play (ESP32) tells an SG90 servo what to do, and a few lines of code make the snail crawl by itself.
    by Odil Janandith
    Likes:0Stars:
    Featured
    3D Printing
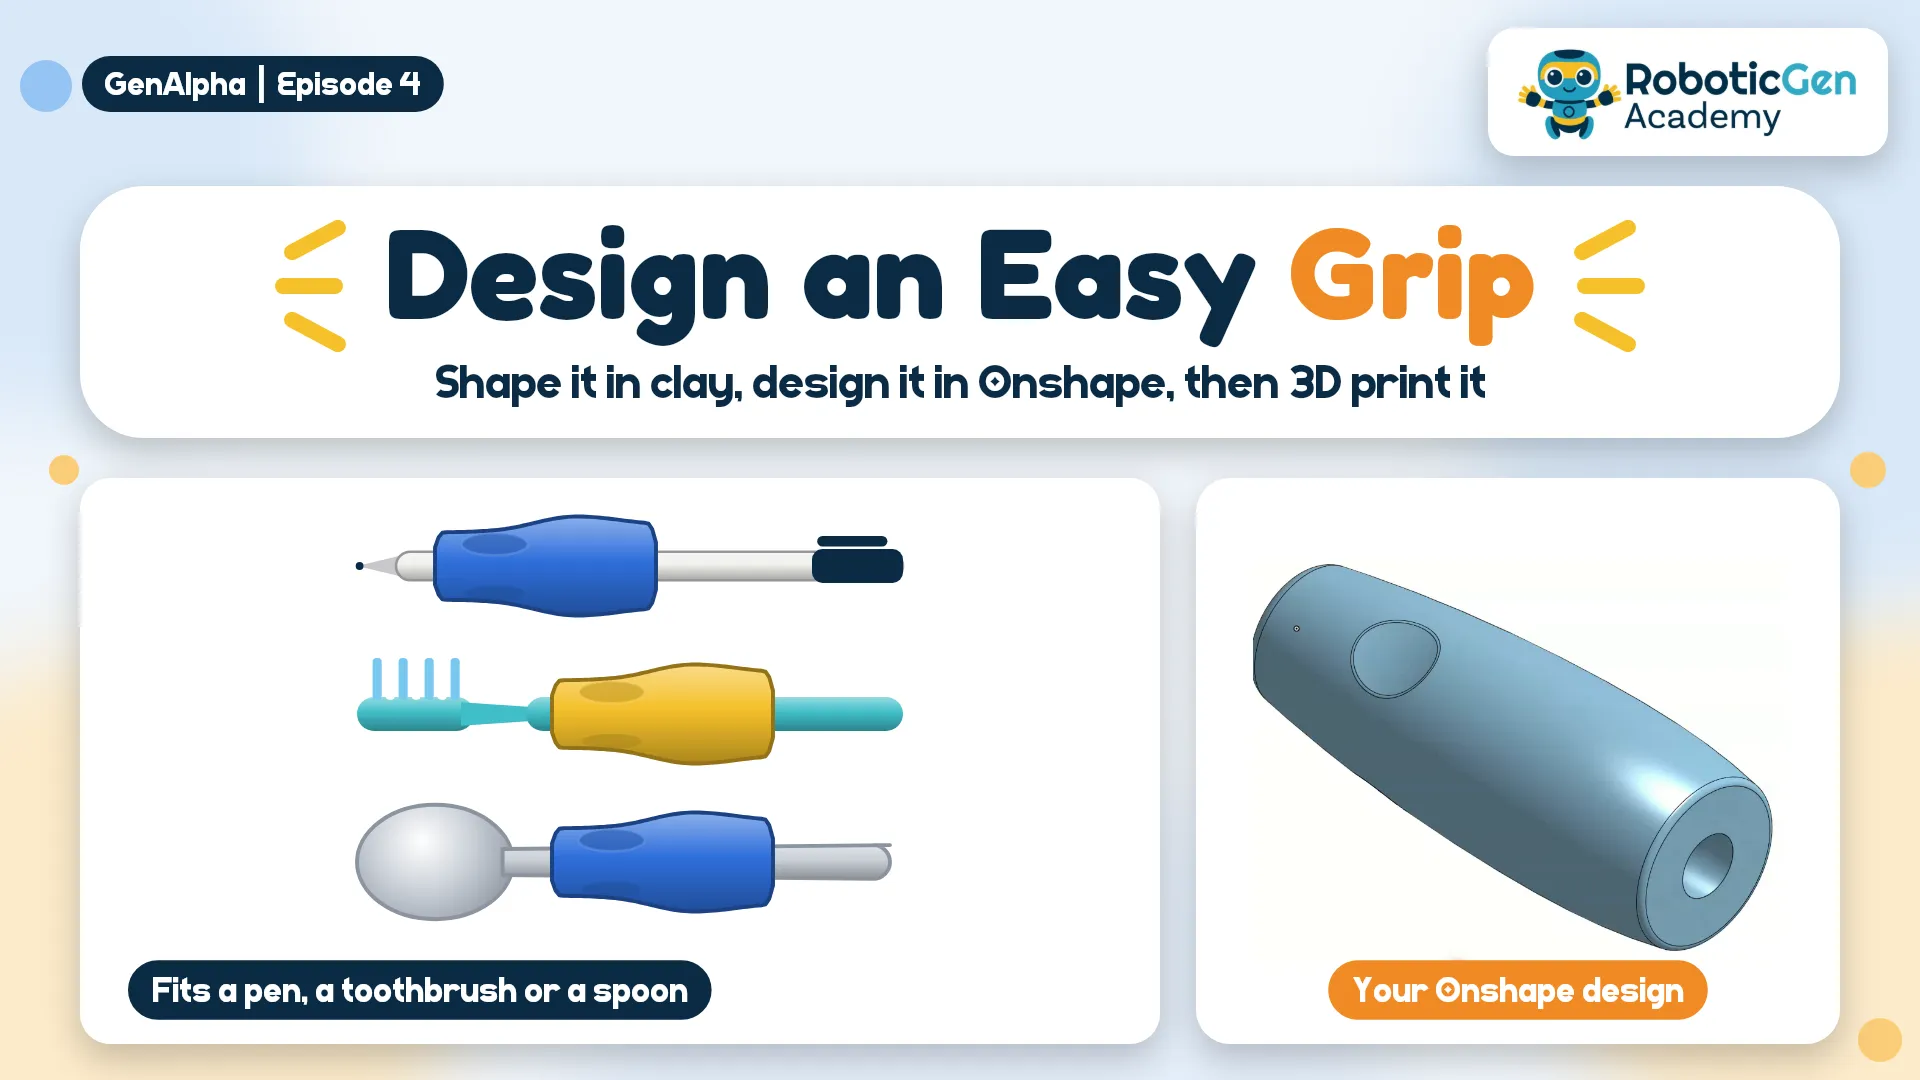
    Easy Grip - GenAlpha E04
    Some people have stiff or sore hands and find thin pens, spoons and toothbrushes hard to hold. Shape the perfect grip with Play-Doh, measure it, then design a fat handle with three finger grooves in Onshape and 3D print it.
    by Odil Janandith
    Likes:1Stars:
    Featured
    3D Printing
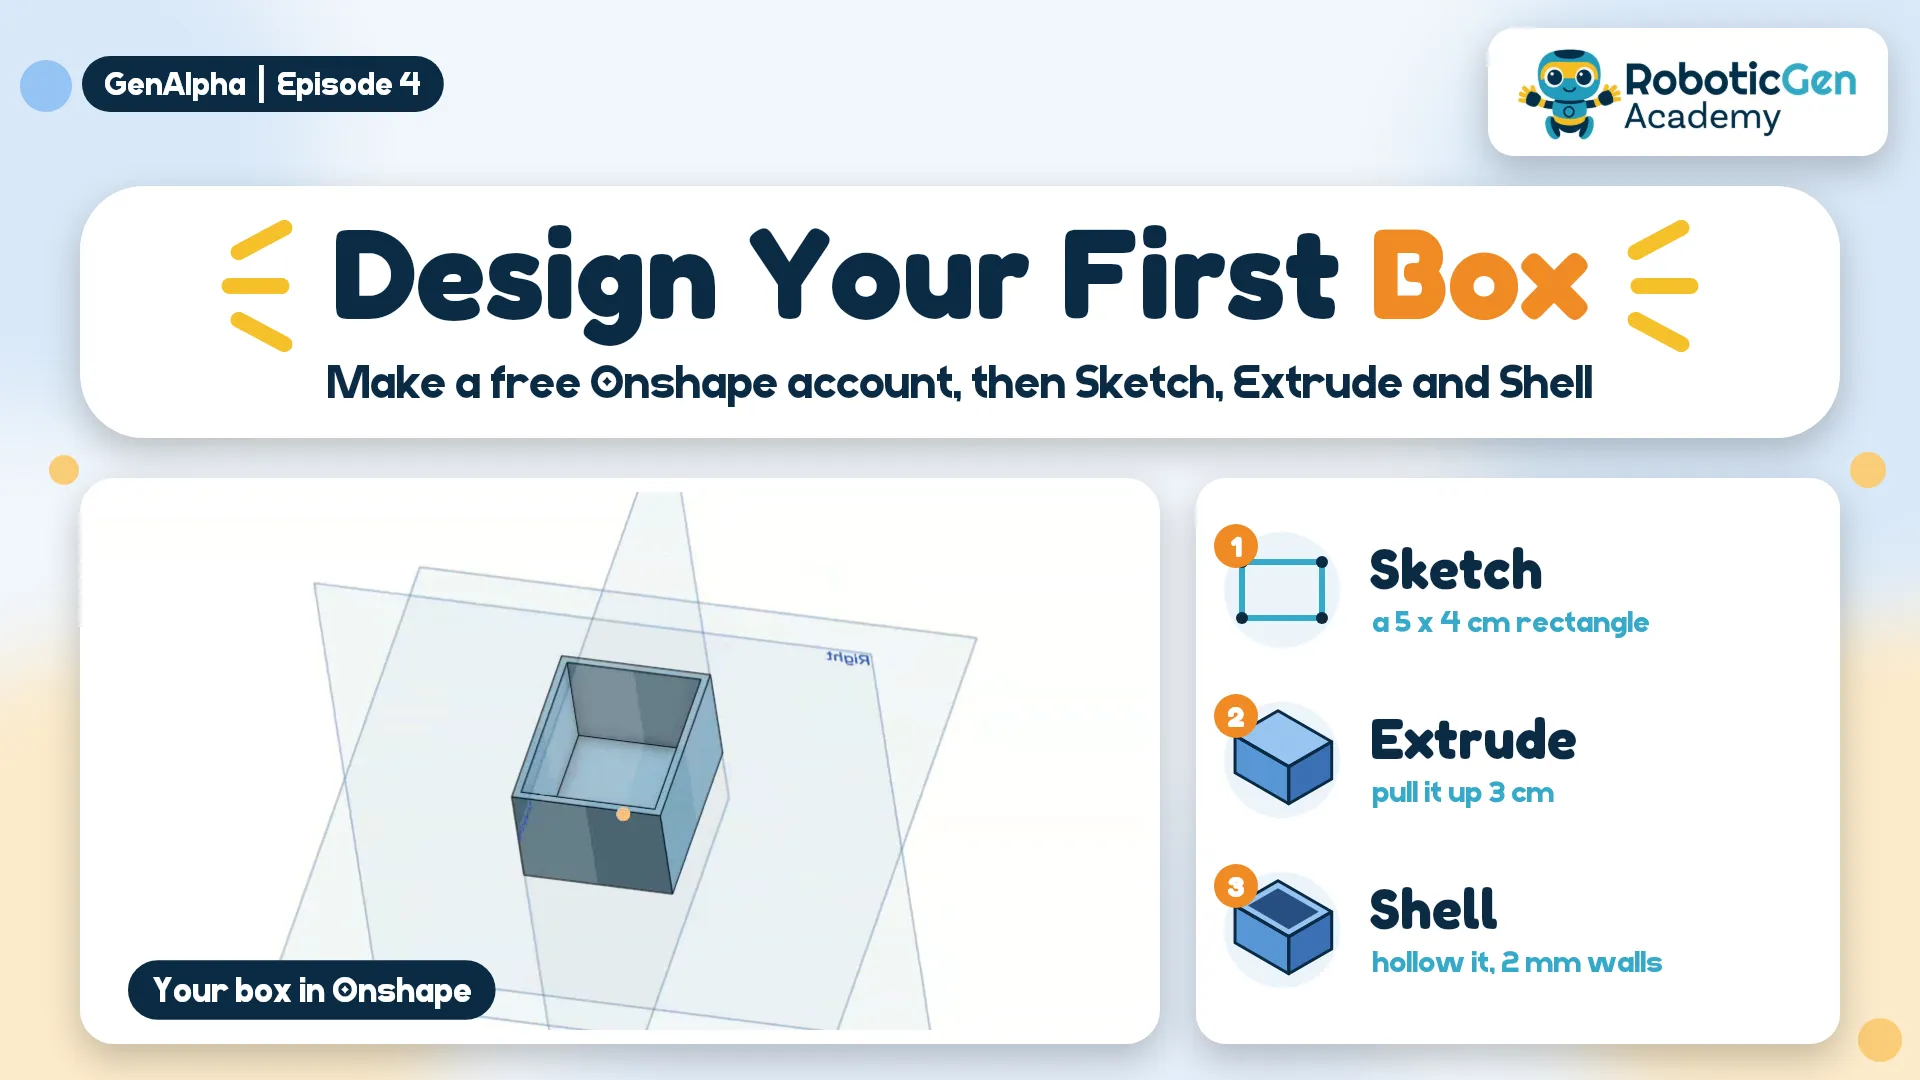
    3D Printed Box - GenAlpha E04
    Make a free Onshape account, then design a hollow 5 × 4 × 3 cm box using just Sketch, Extrude and Shell. It's ready to 3D print and makes a great first CAD project.
    by Odil Janandith
    Likes:1Stars:0
    Featured
    Other
    Robot Hand Design - GenAlpha E03
    This project demonstrates a simple cardboard robotic hand that mimics finger movement using straws and strings. The cardboard forms the hand structure, the straws guide the strings, and pulling the strings bends the fingers like tendons in a real hand. It is a simple way to learn about robotics, joints, and human hand movement.
    by Nimantha Adikaram
    Likes:3
    Robotics
    Quadruped Robot - GenAlpha E01
    Dogs, cats and horses walk on four legs. Can a robot? Build a small cardboard robot with ice cream stick legs that walks by itself, powered by just one motor and two AA batteries.
    by Odil Janandith
    Likes:0Stars:0Views:1
    0
    Stars:0
    Views:6
    Stars:
    0
    Views:2
    0
    Views:1
    0
    Views:6
    Views:6
    Stars:
    1
    Views:16