Published builds from the RoboticGen community — featured picks first.
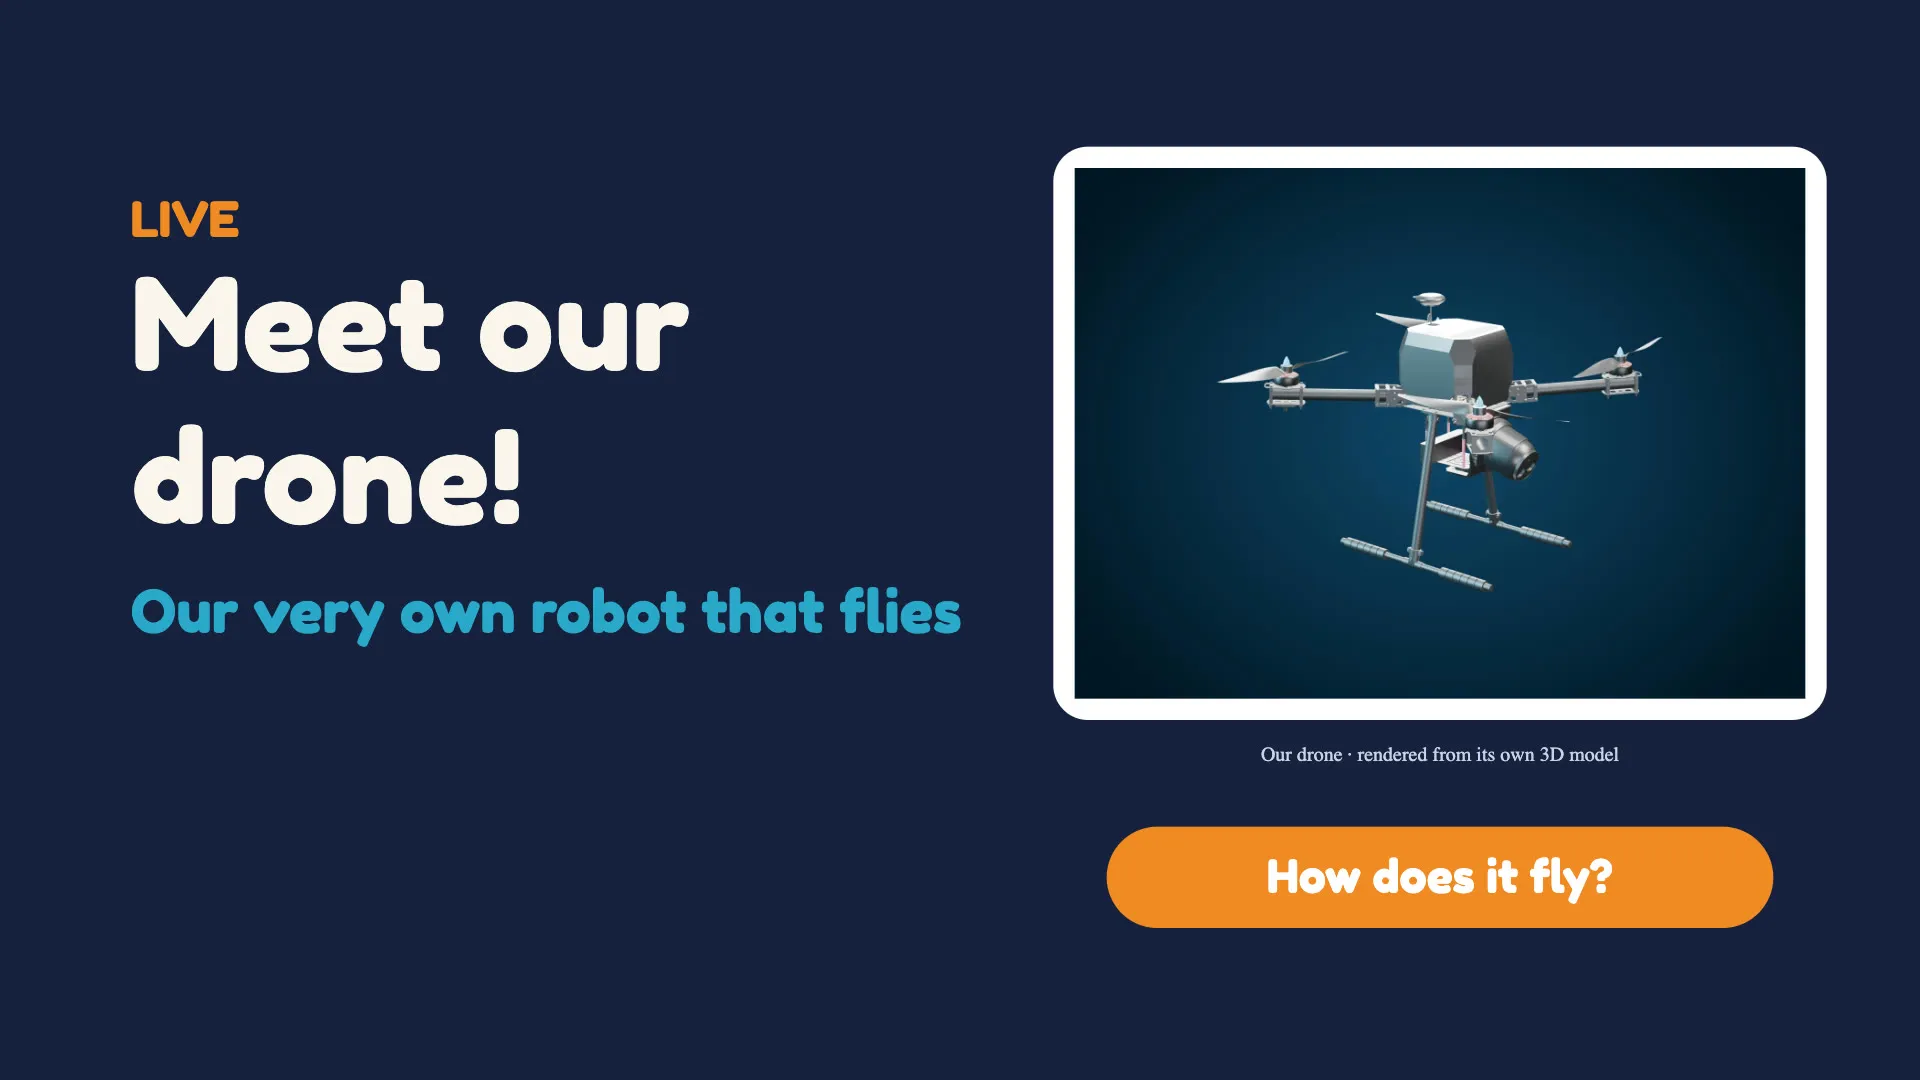
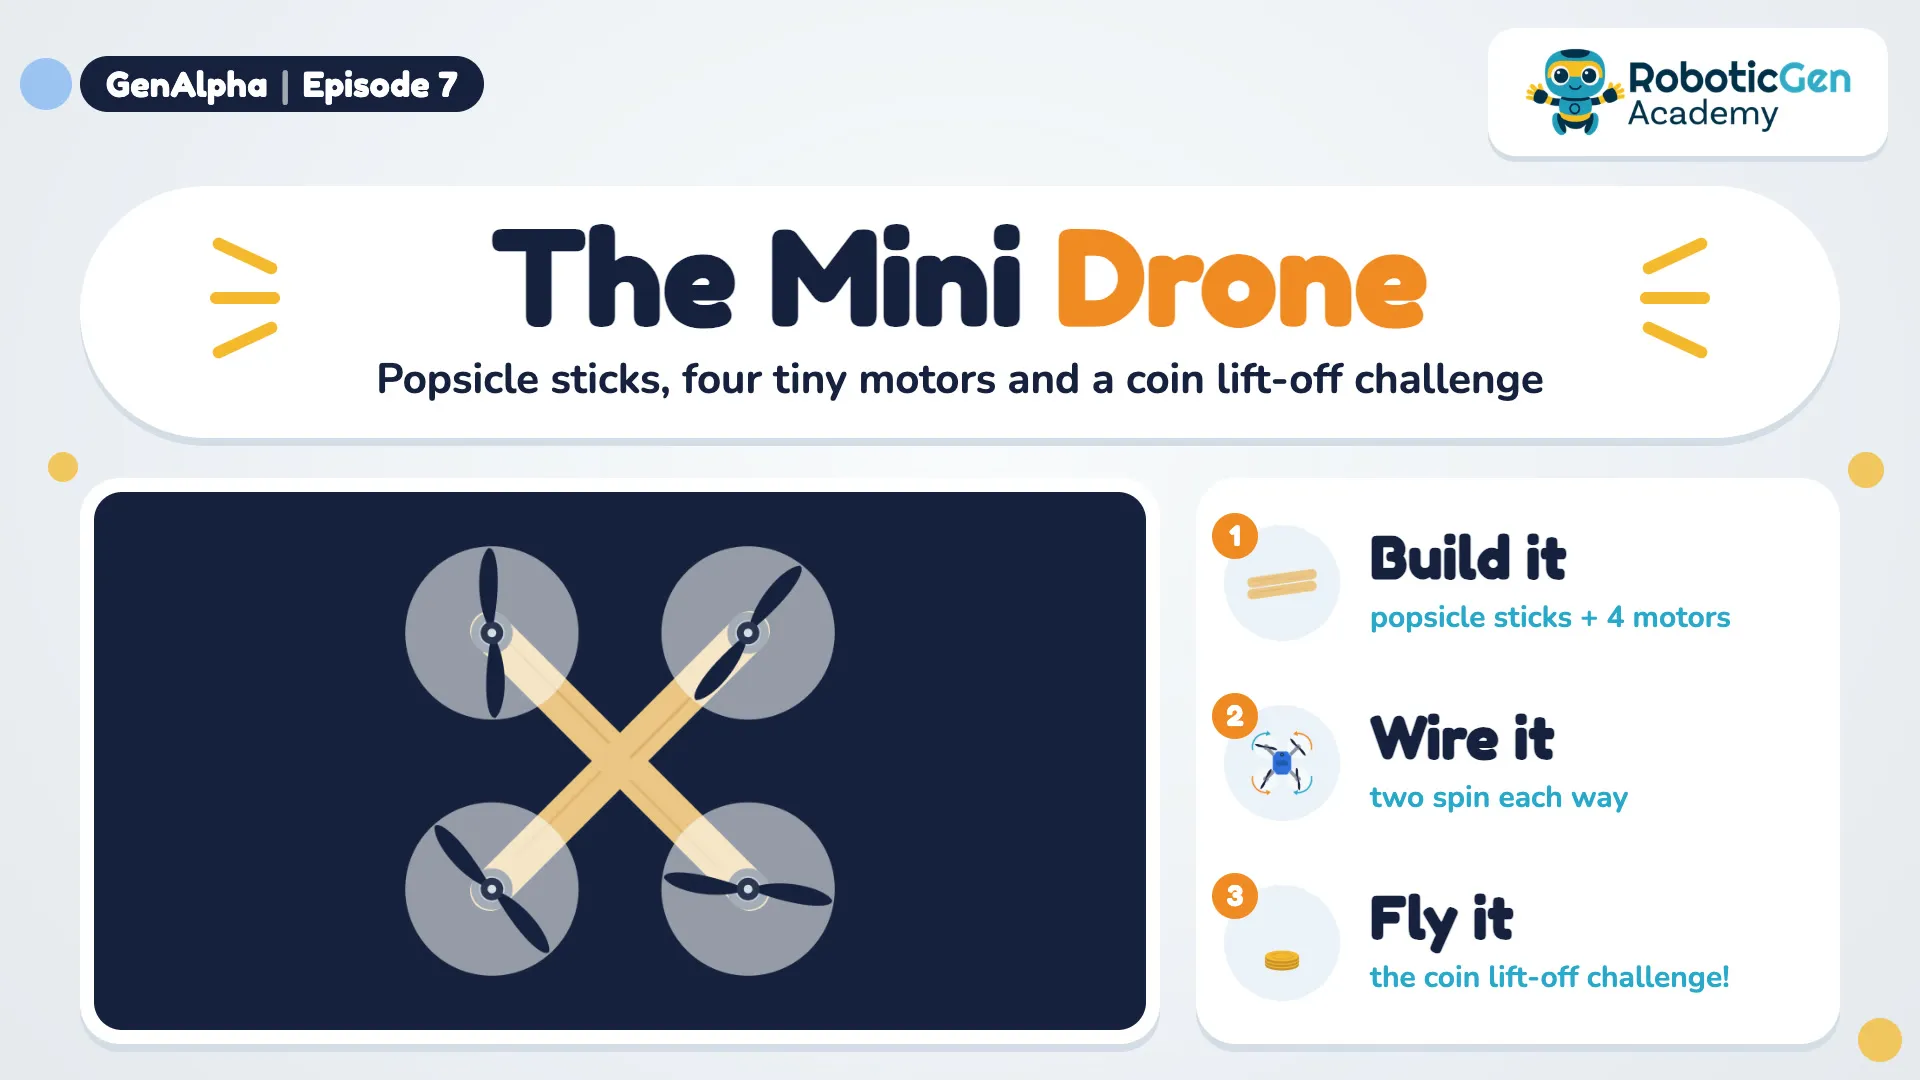
This project is from Gen Alpha Episode 7 on Ahasa TV. We start with our own drone at RoboticGen Academy.
Our drone is autonomous: nobody steers it with a controller. Its own computers see the world and decide where to fly.
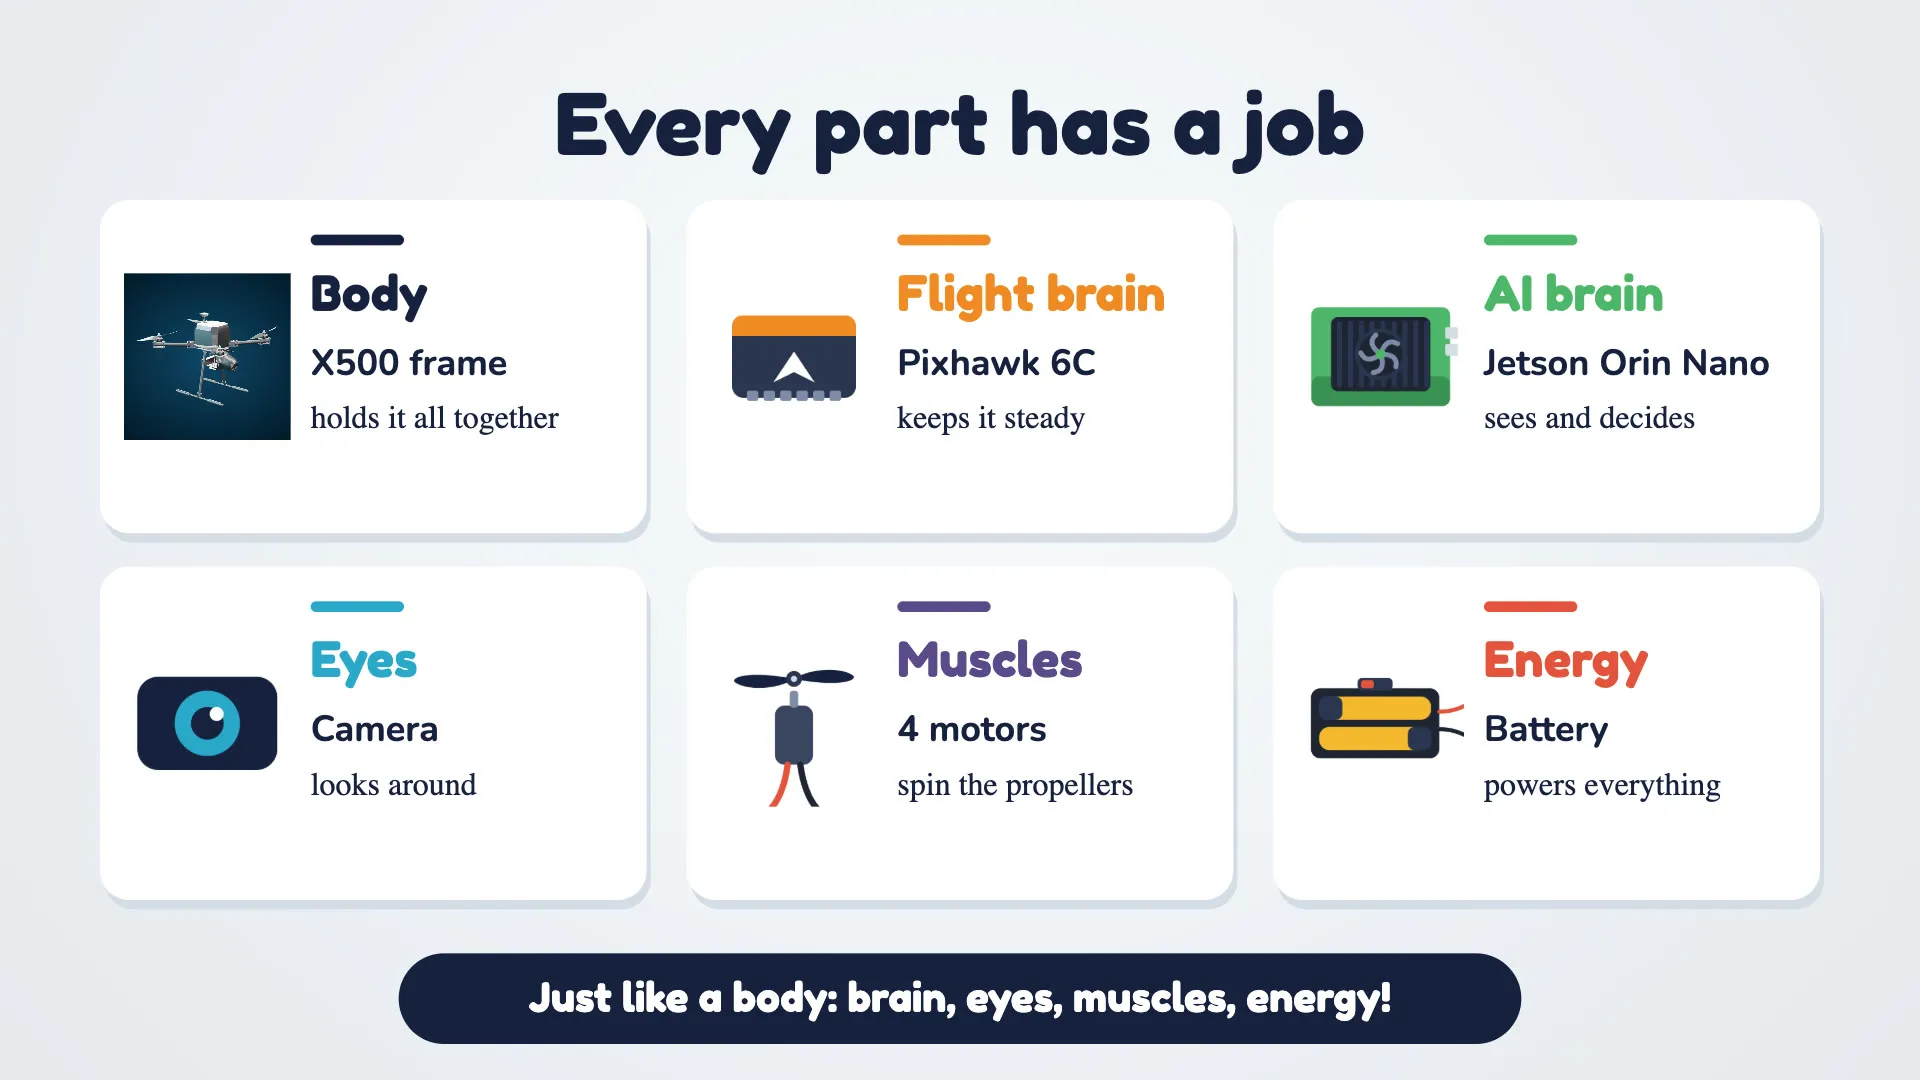
Just like a body: brain, eyes, muscles and energy! Today we find out how a drone flies, then we build a mini one of our own.
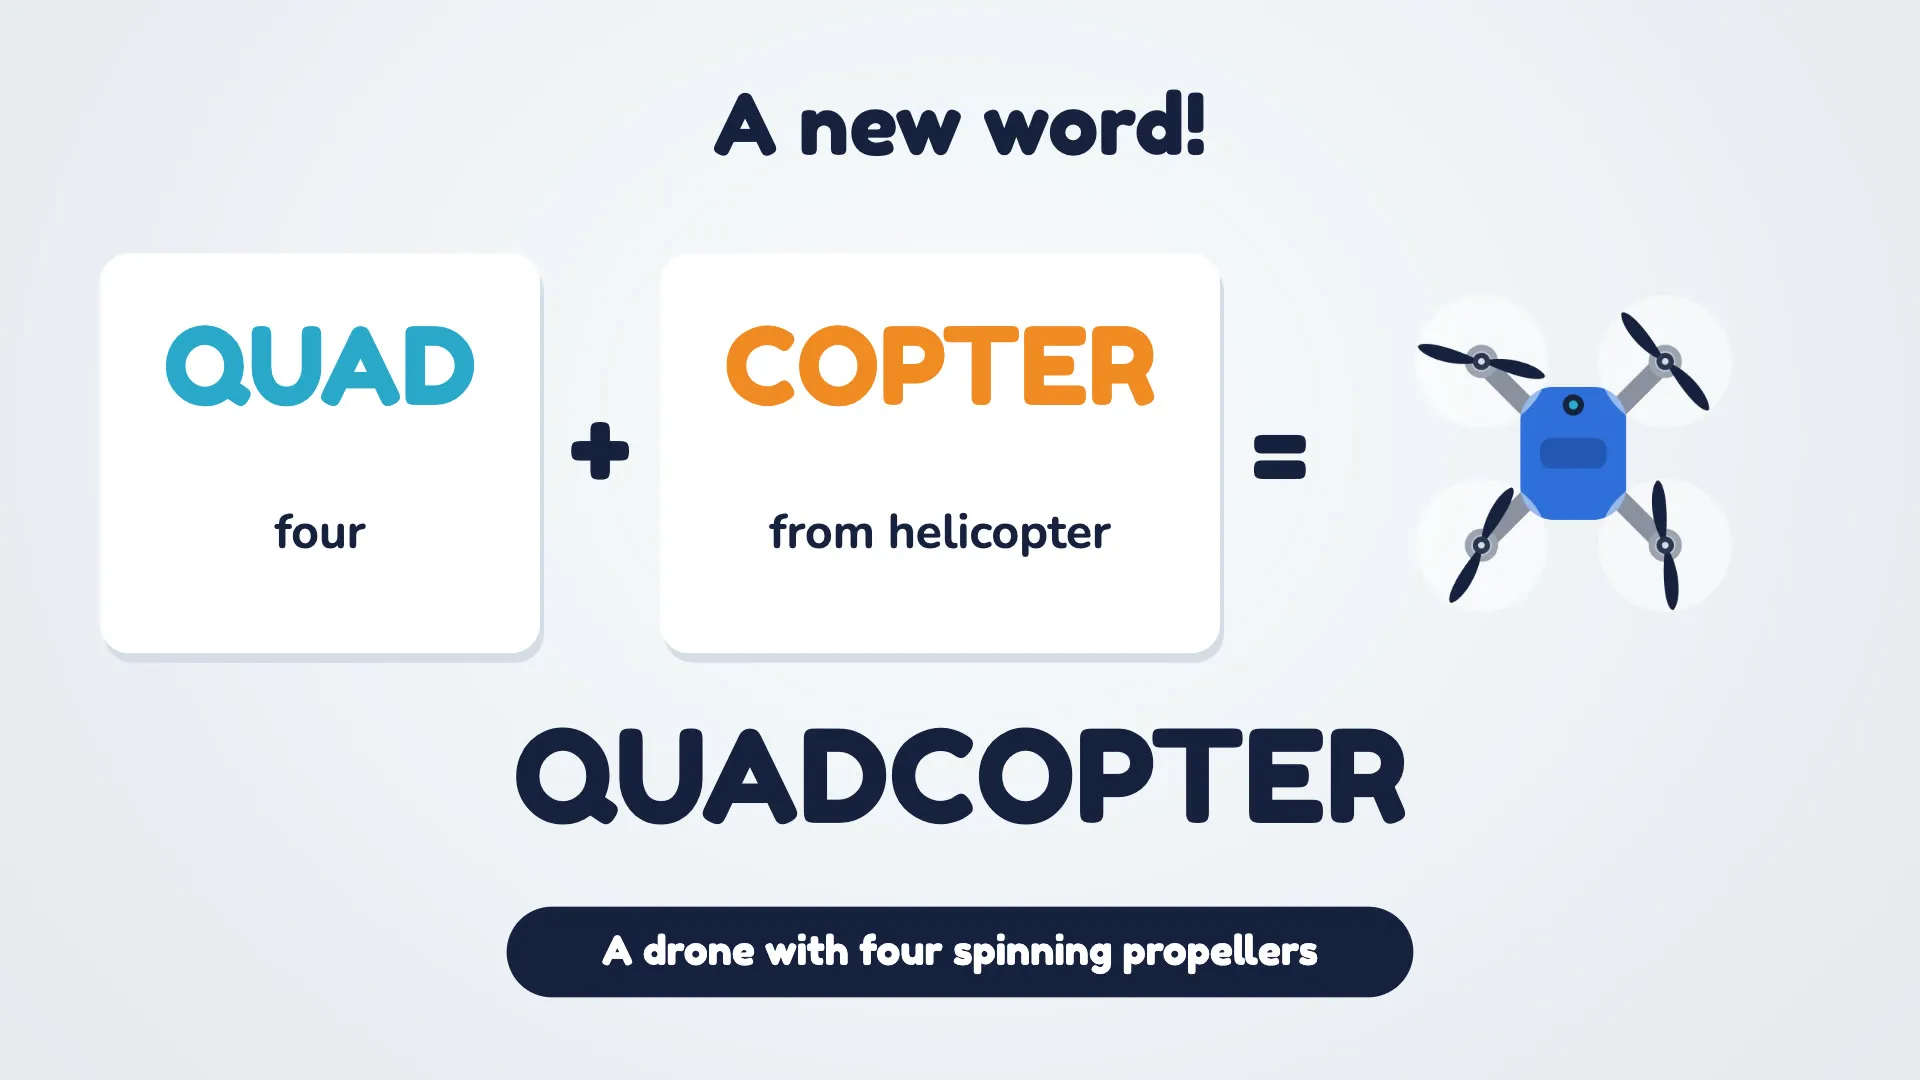
A new word! QUAD means four. COPTER comes from helicopter.
So a quadcopter is a drone with four spinning propellers. A plane needs wings and speed, and a helicopter has one big rotor. A quadcopter uses four small propellers, so it can take off anywhere and hover still in the air.
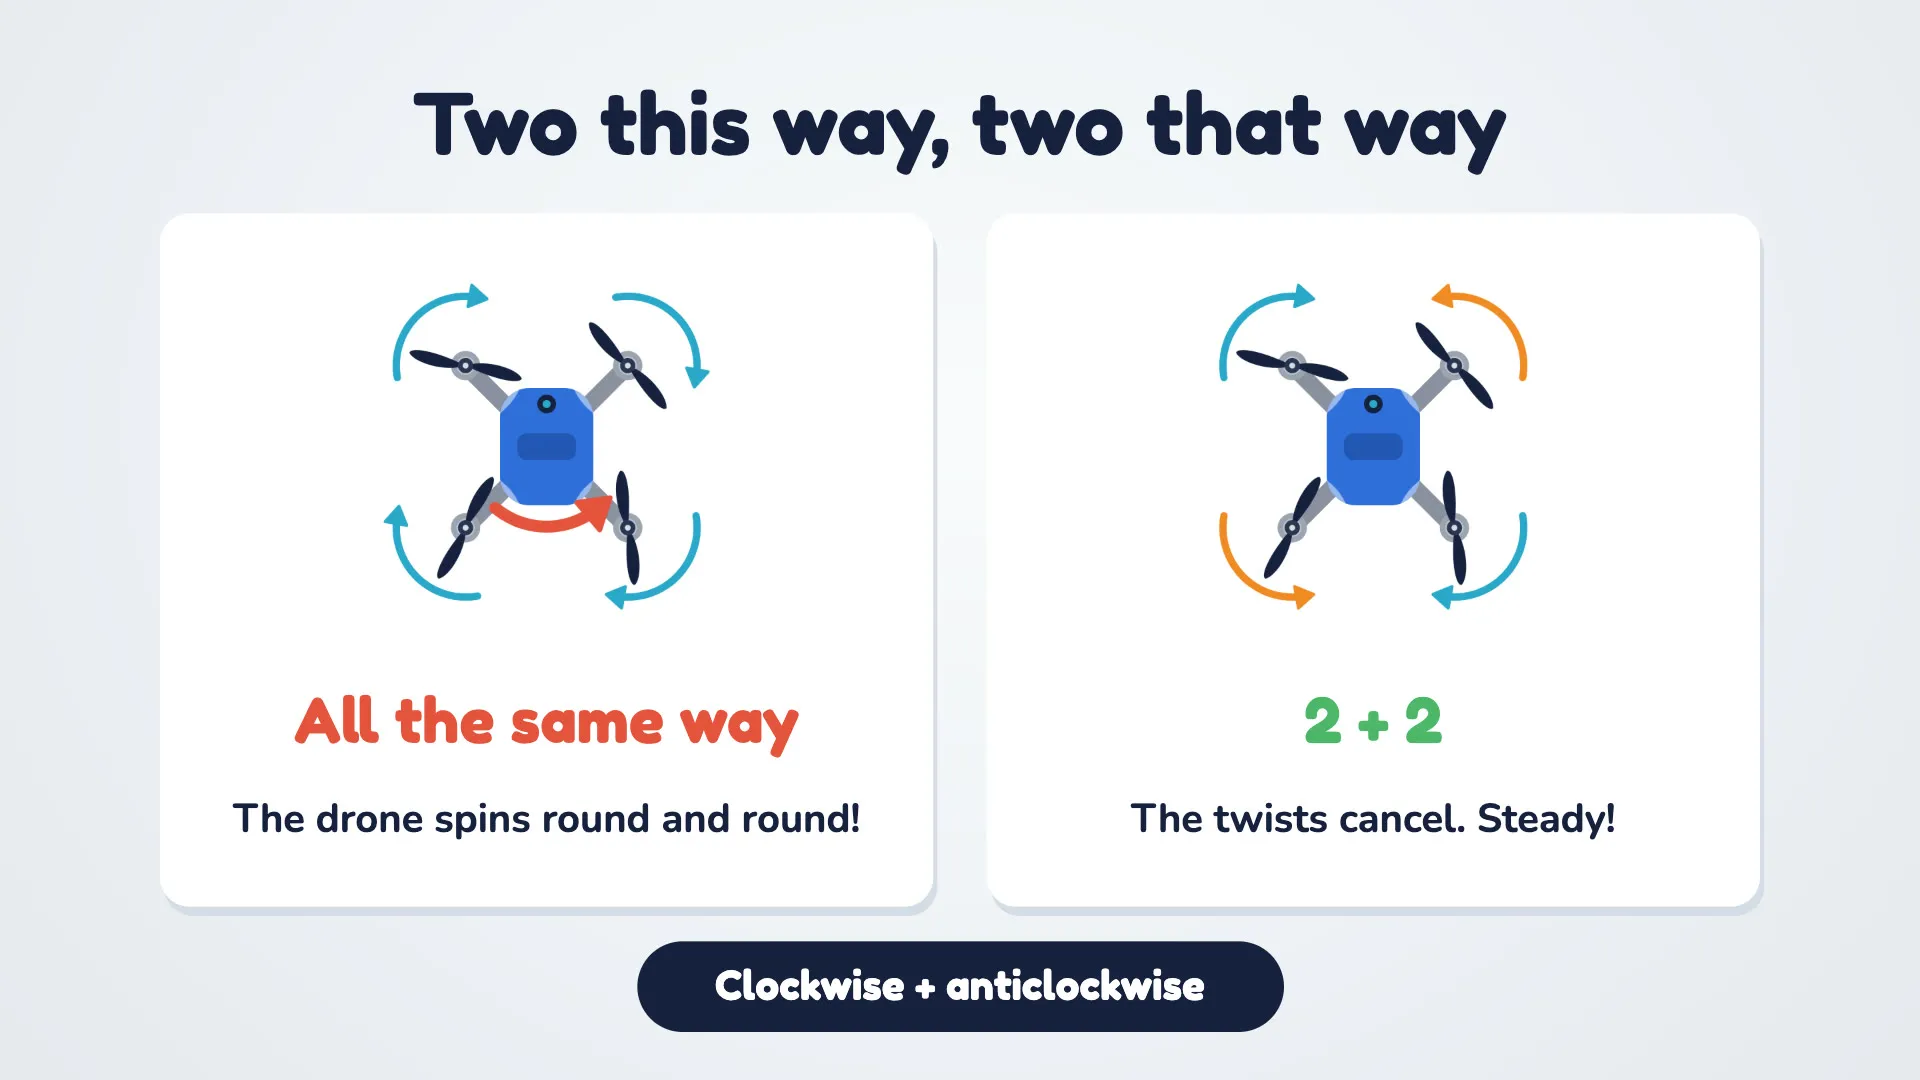
Guess first! Do all four propellers spin the same way?
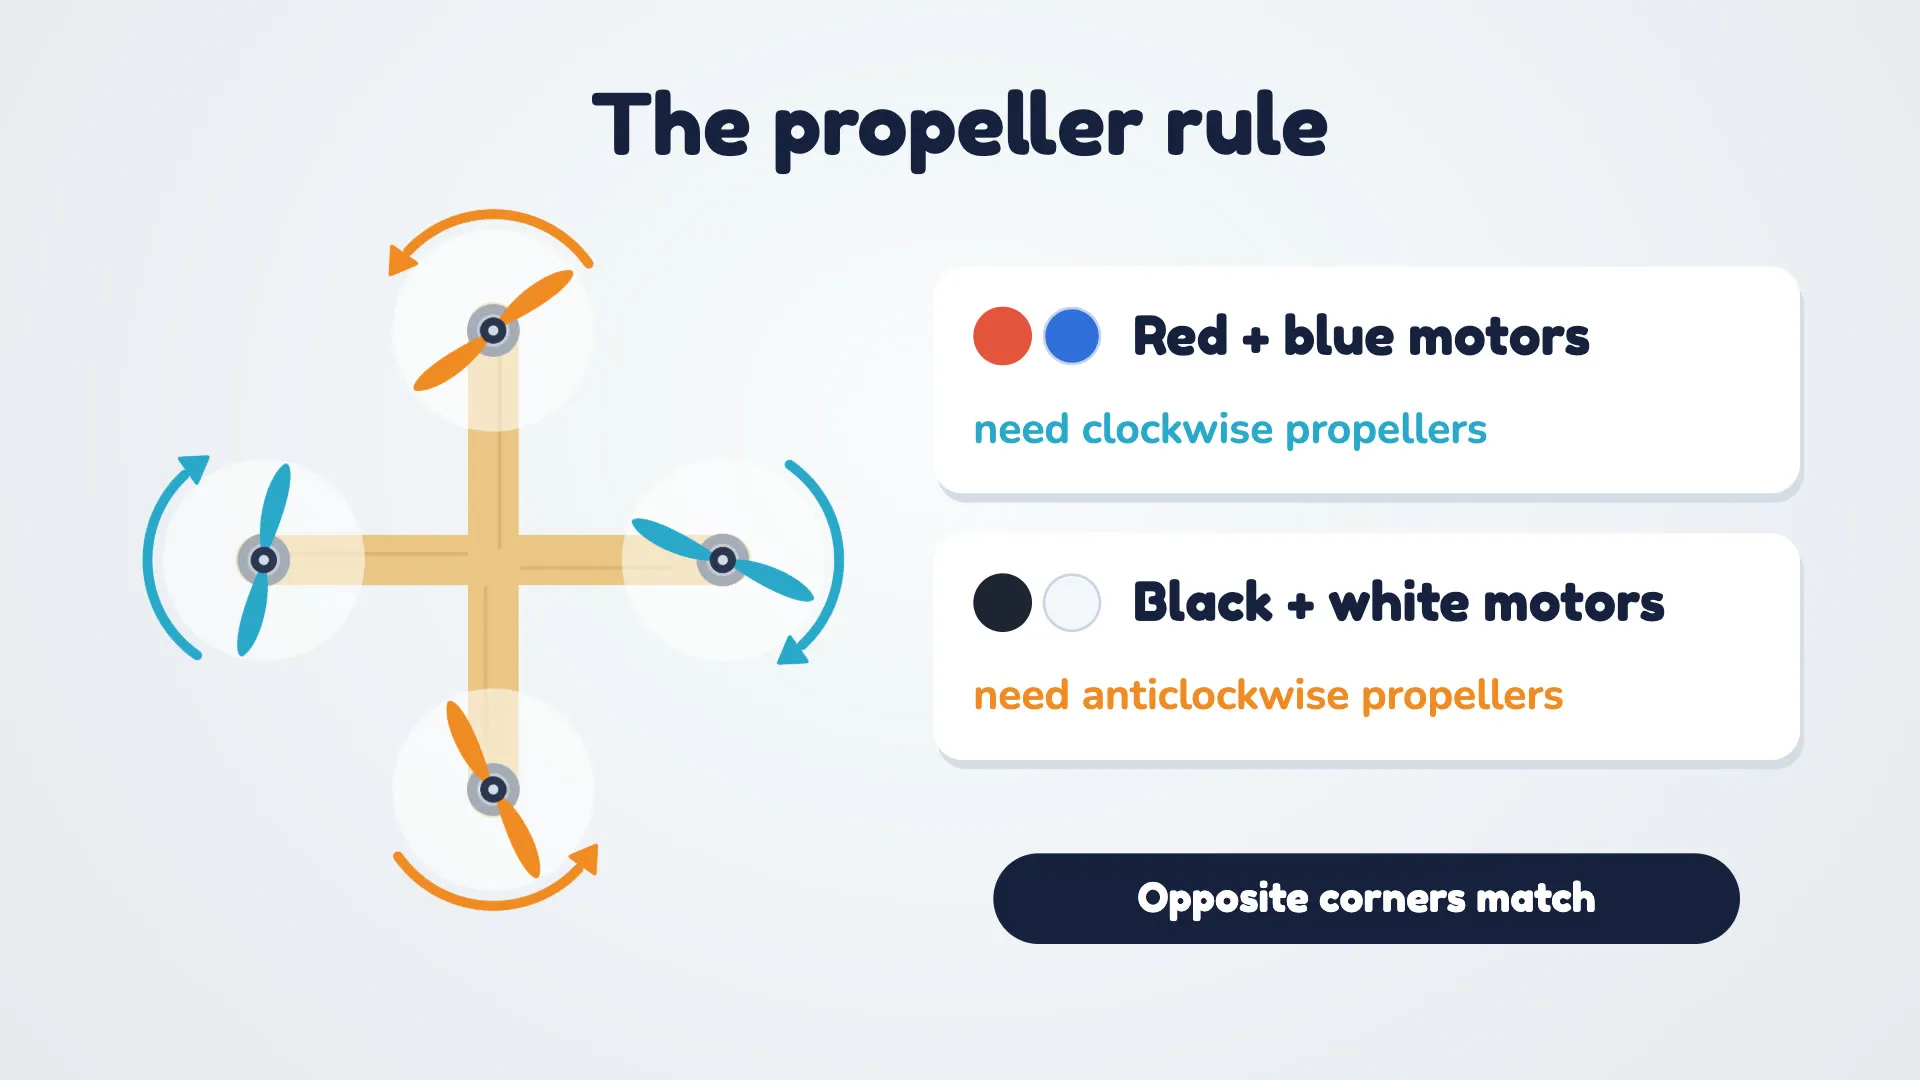
That is why a drone has two propellers spinning each way. Opposite corners spin the same way.
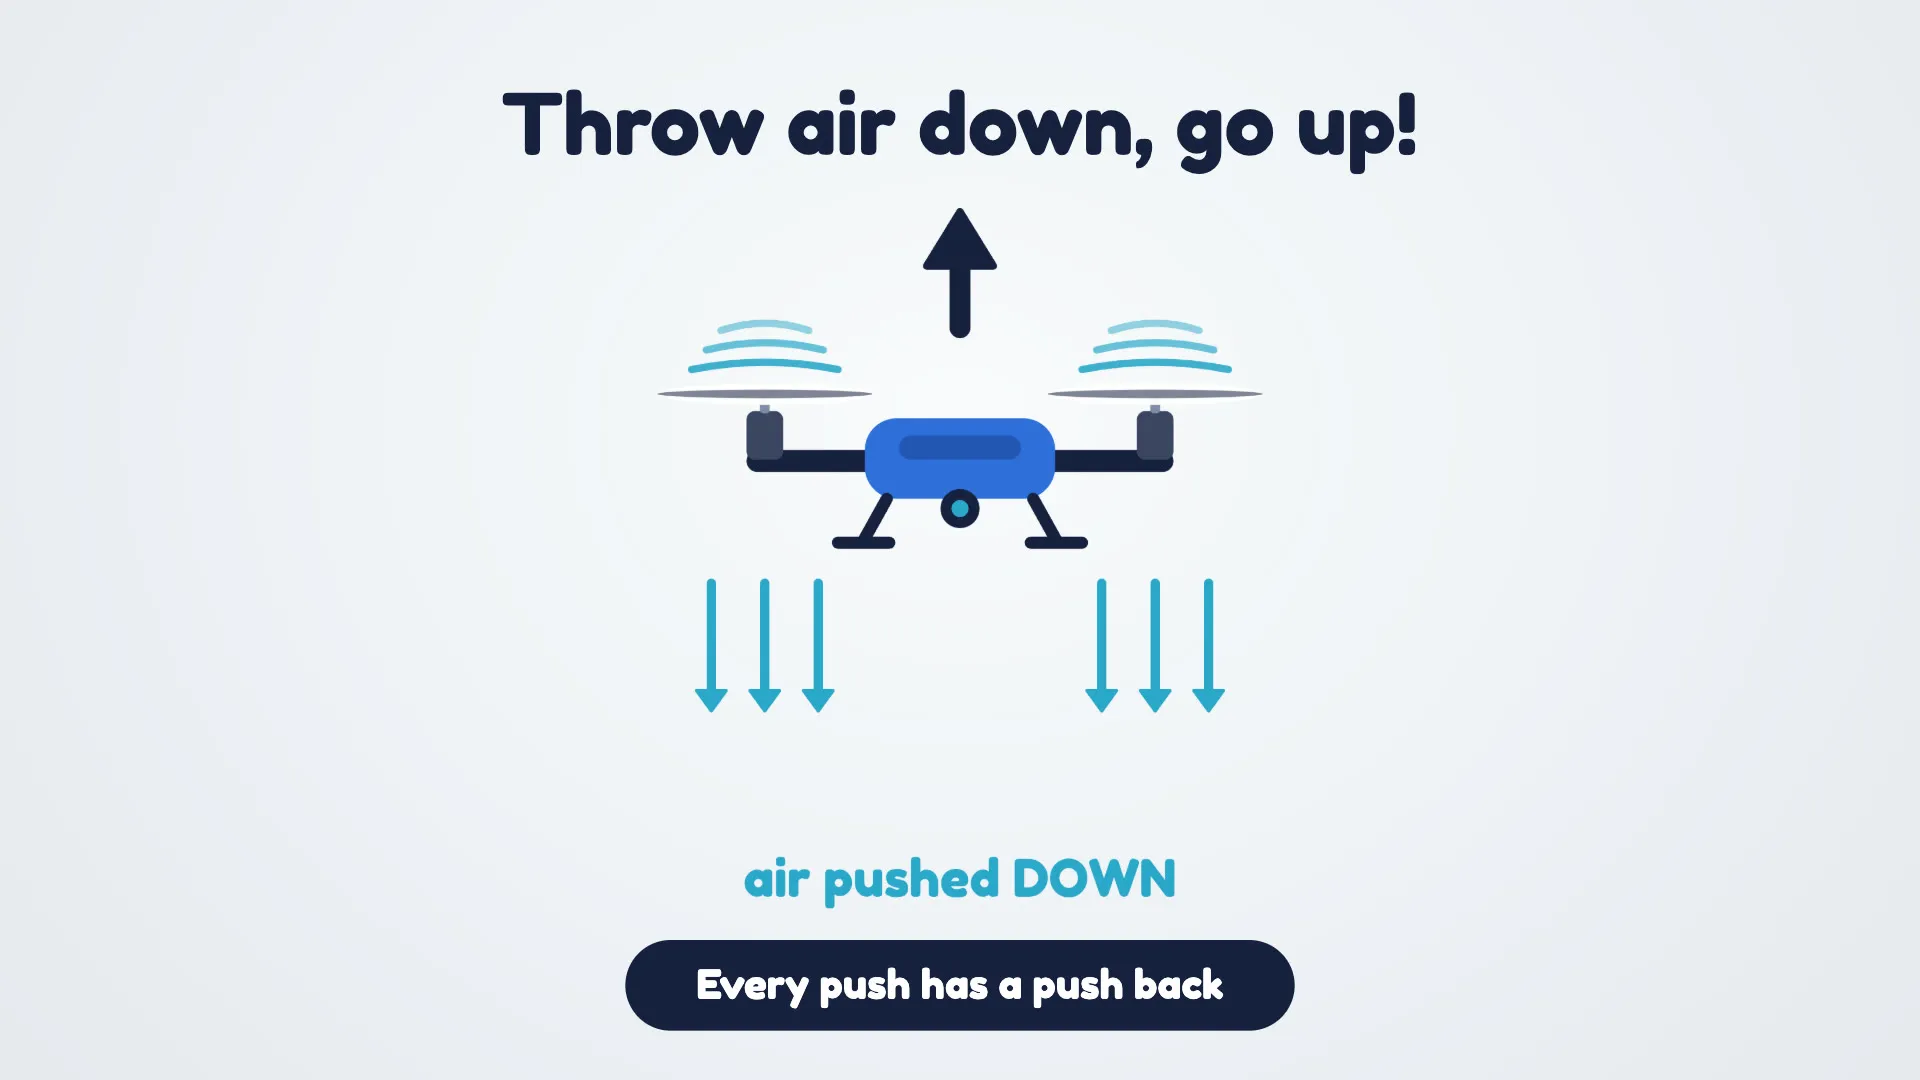
The propellers throw air down, and the air pushes the drone up. Every push has a push back!
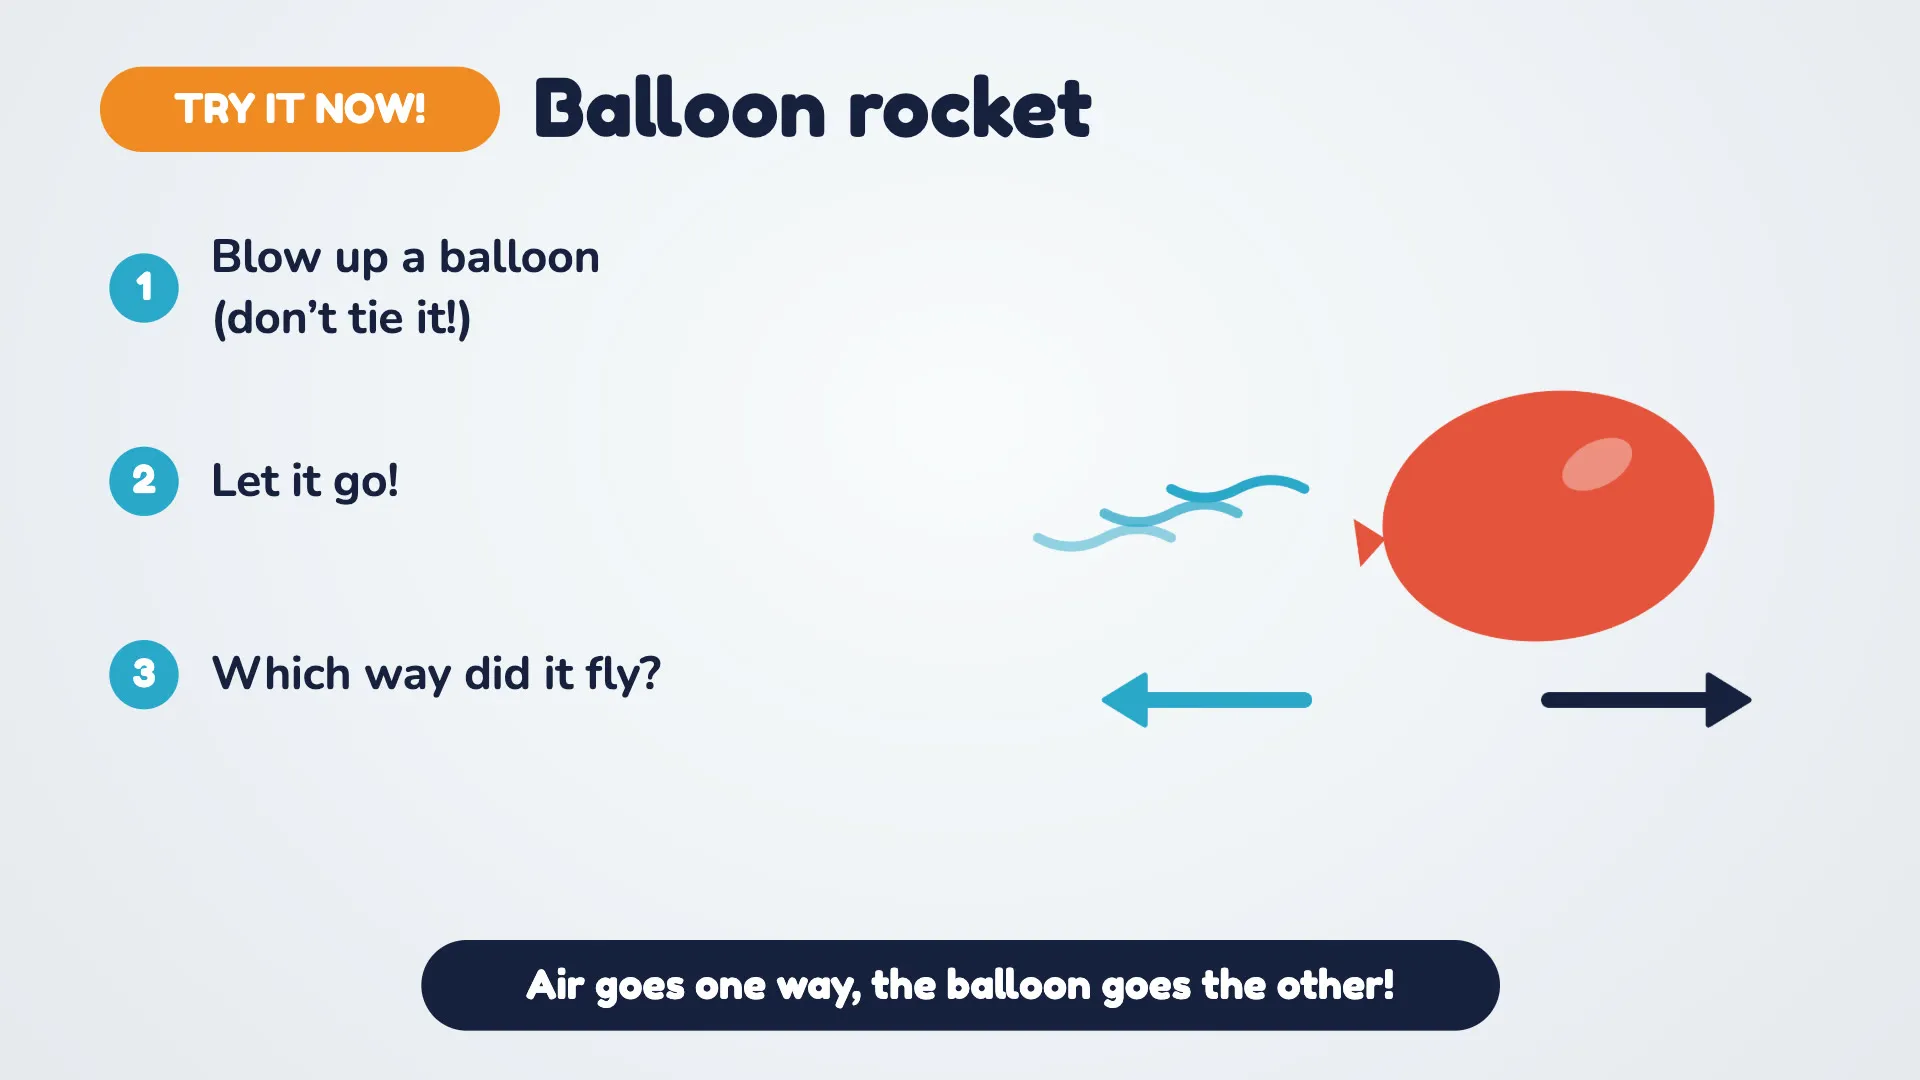
Try it now: balloon rocket
The air goes one way and the balloon goes the other way. A drone works the same way.
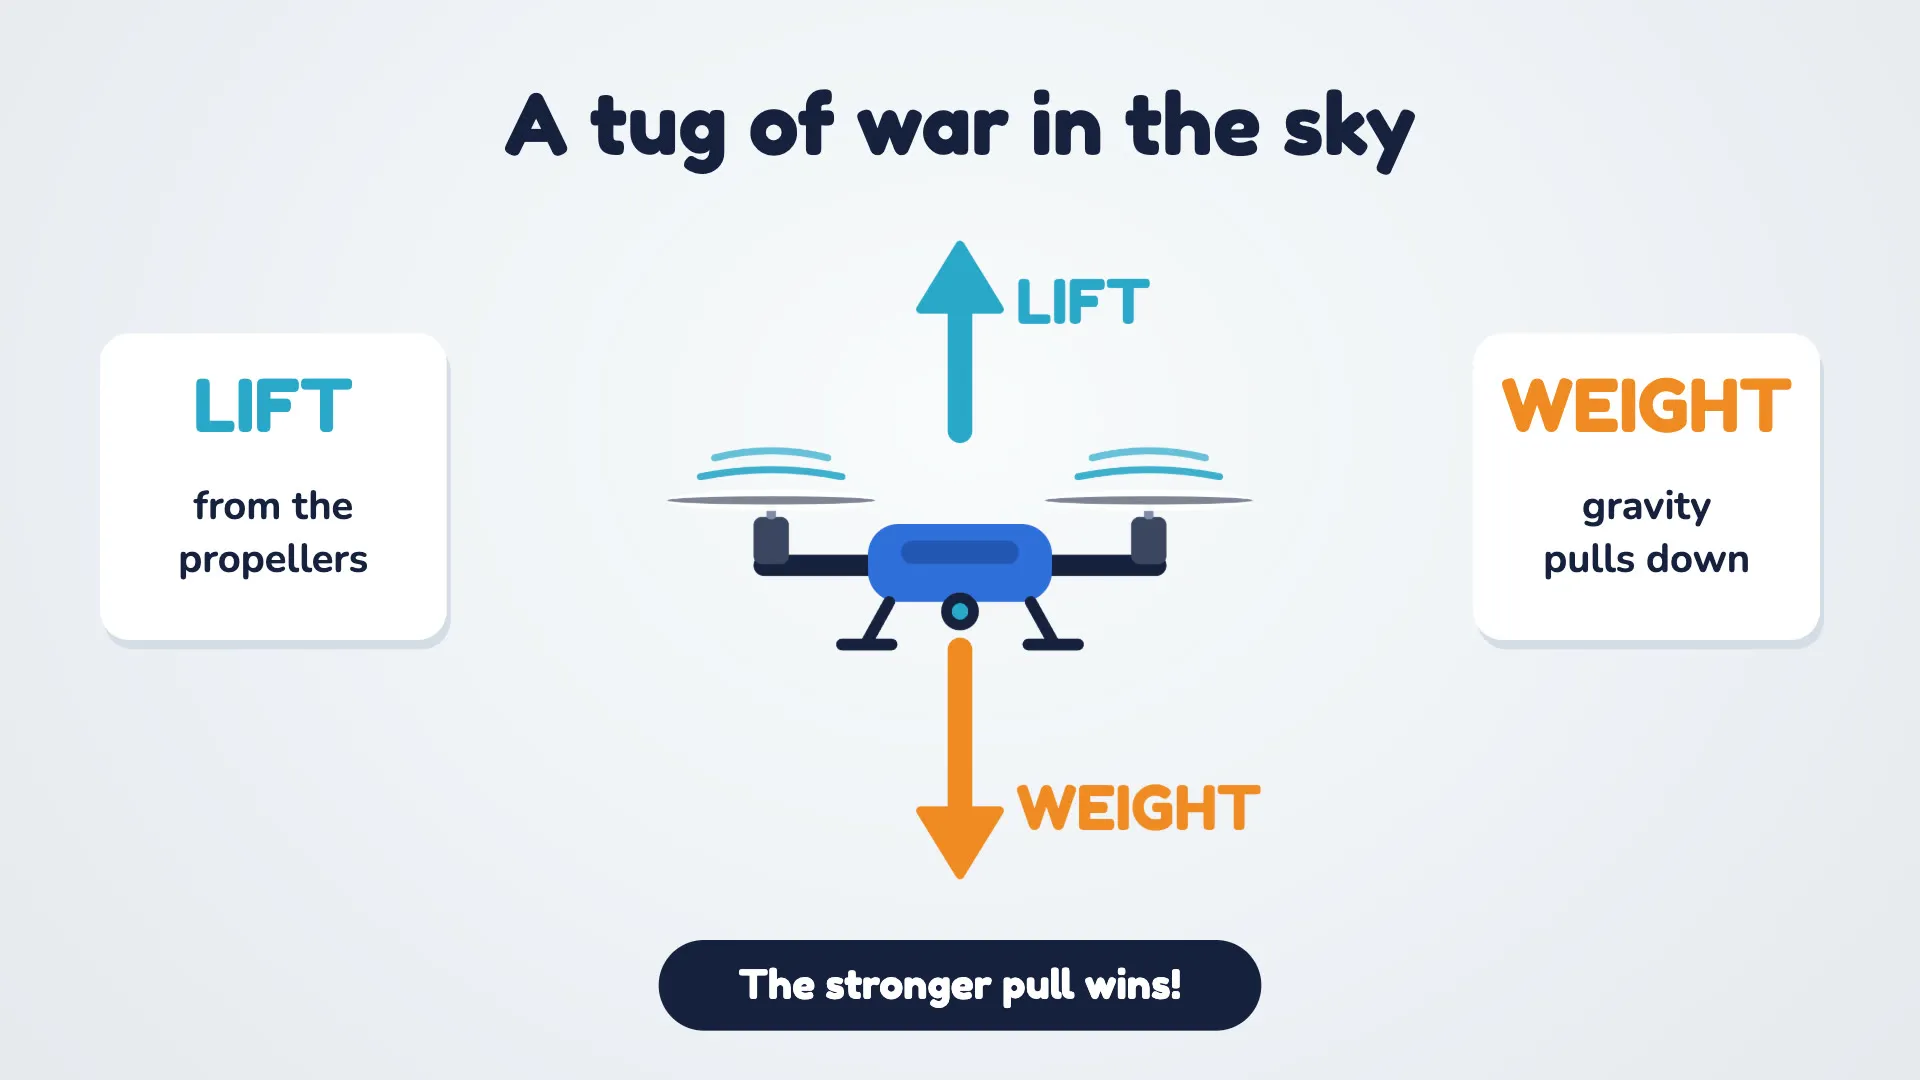
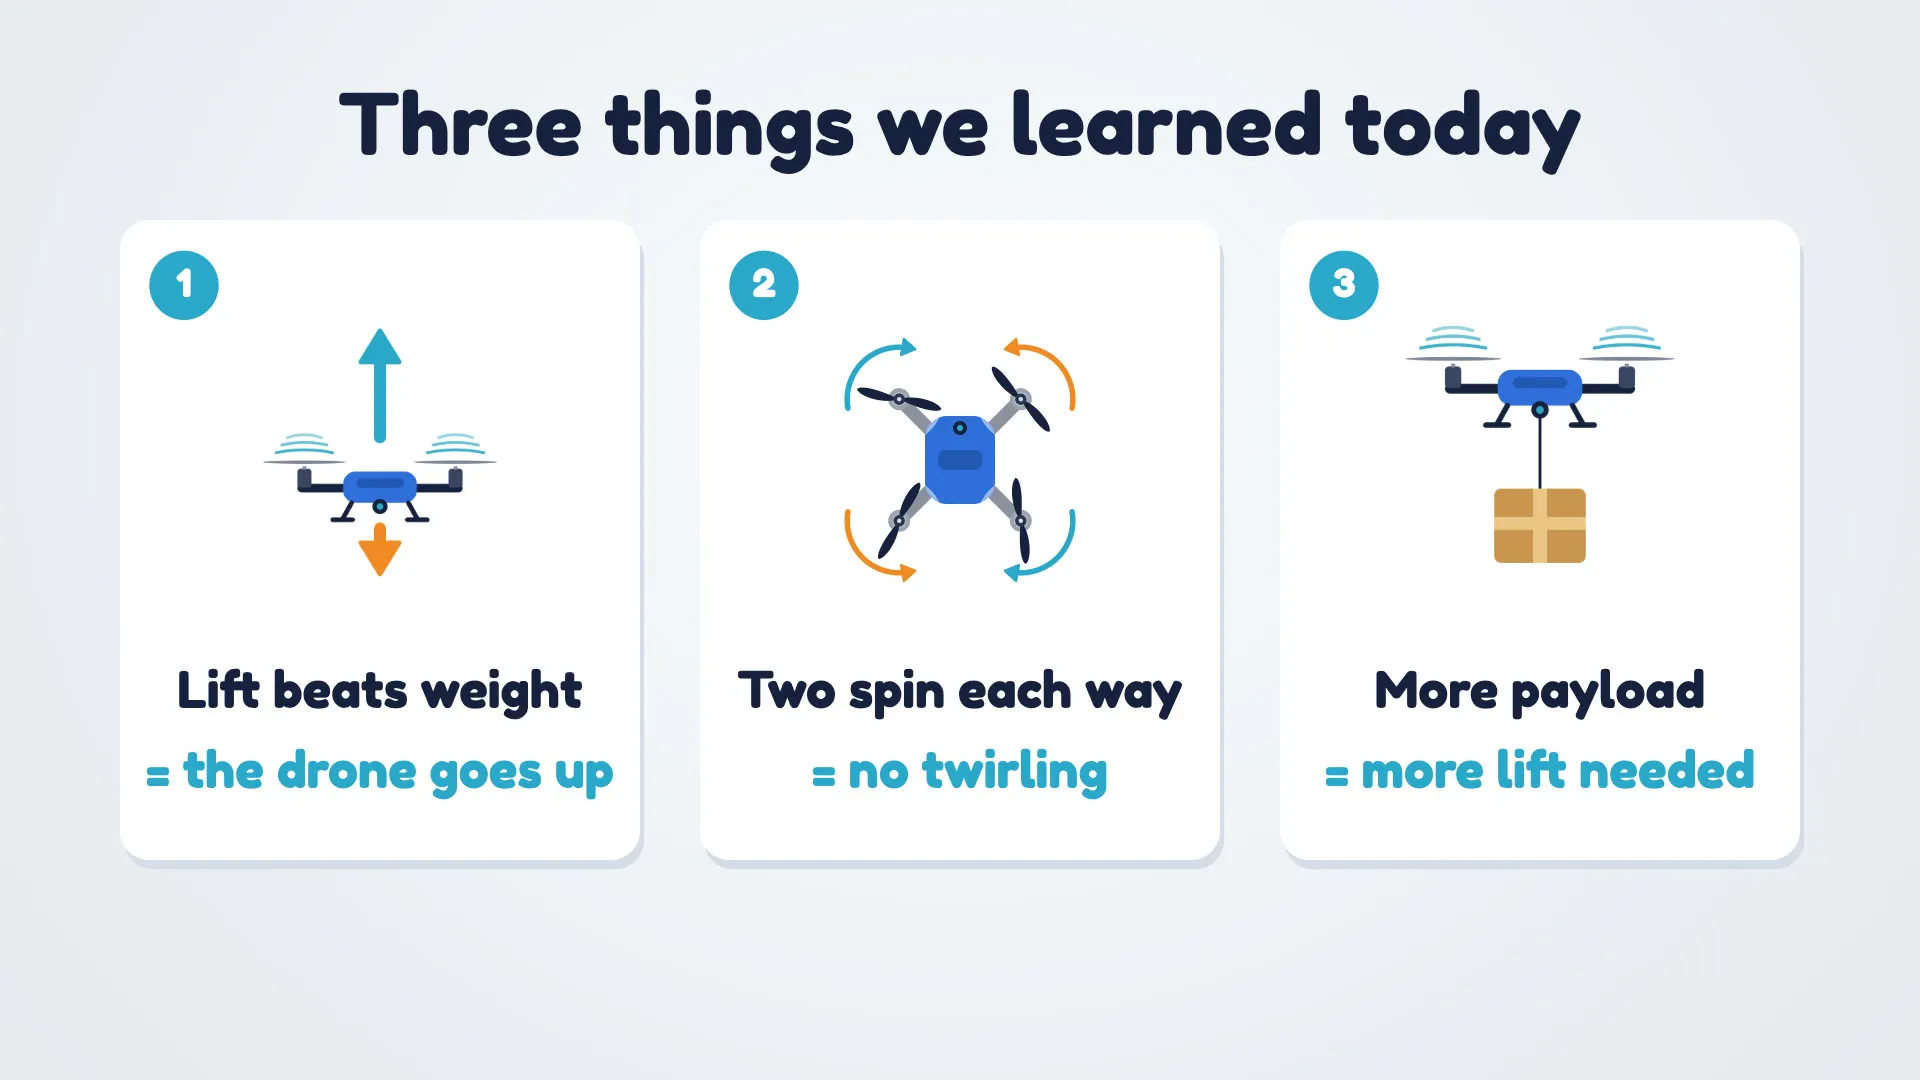
Two forces pull on a drone:
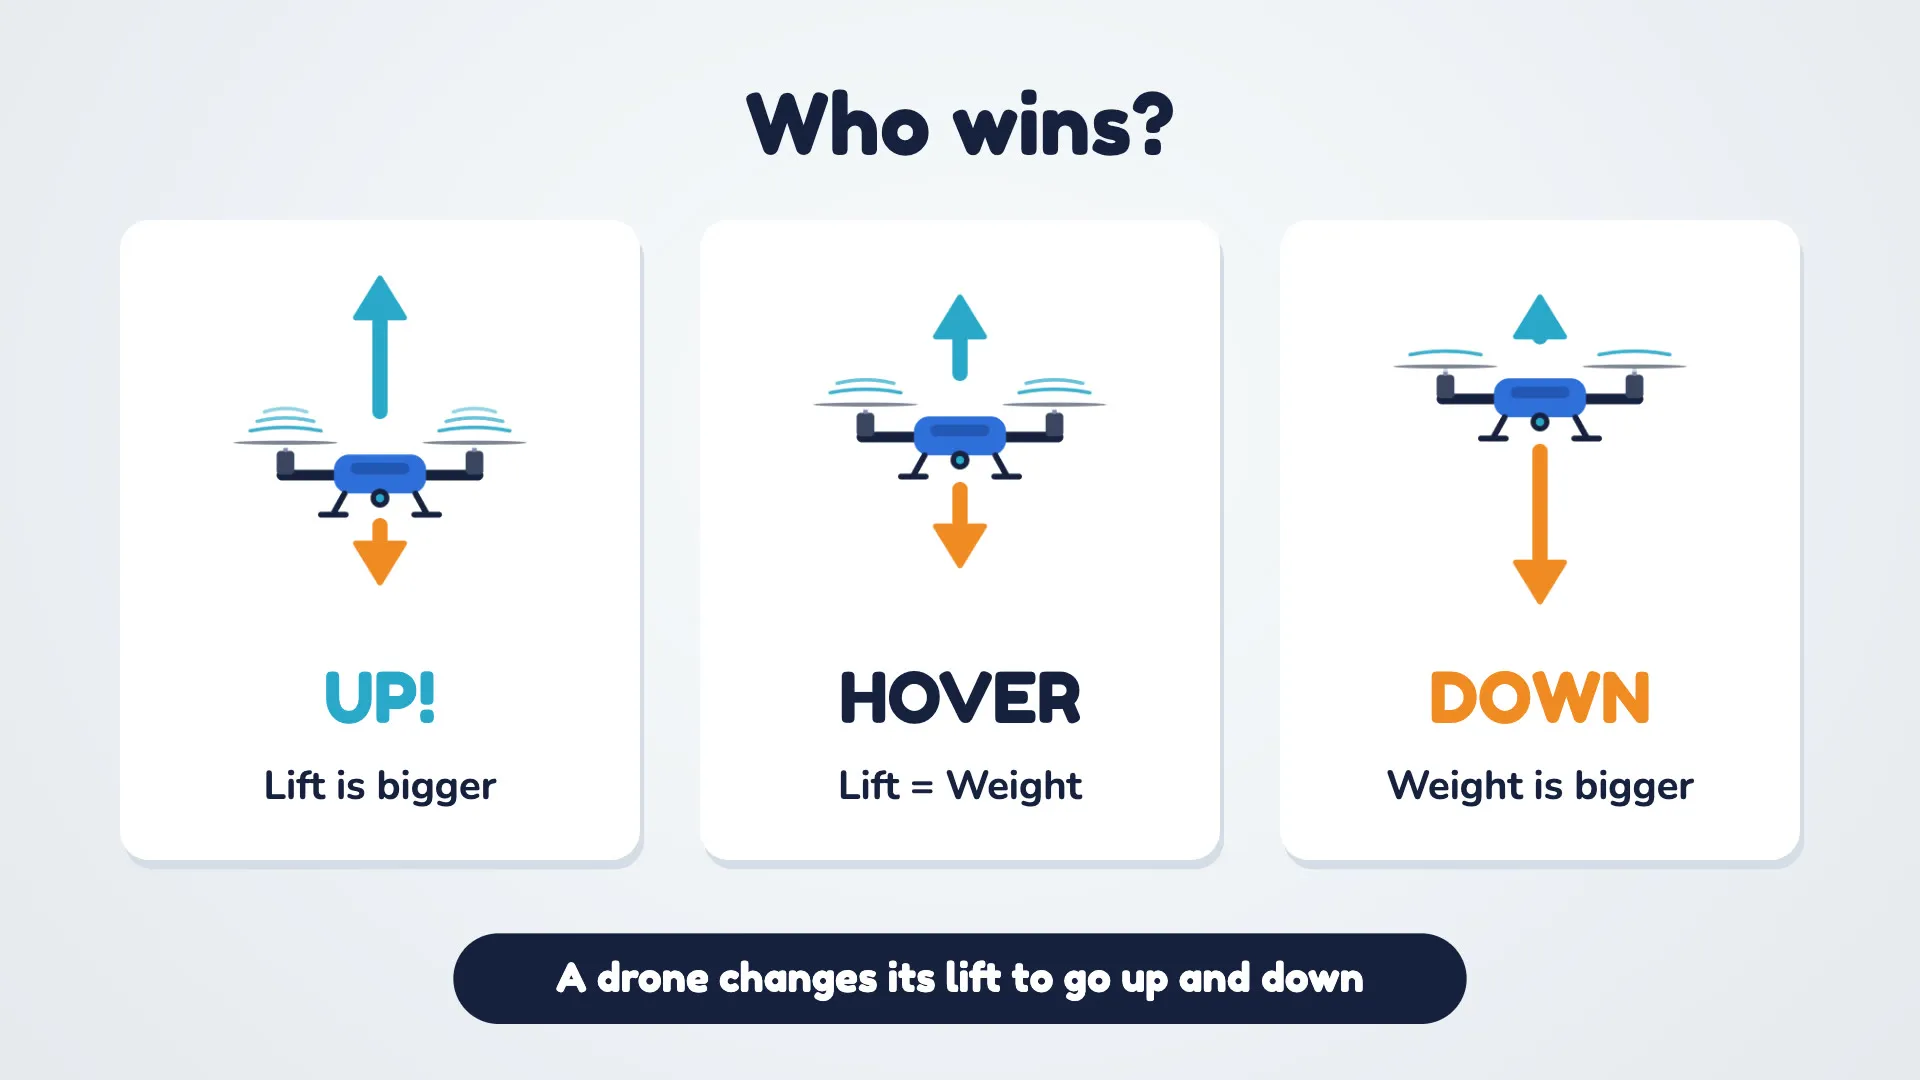
The stronger pull wins:
A drone changes its lift to go up and down.
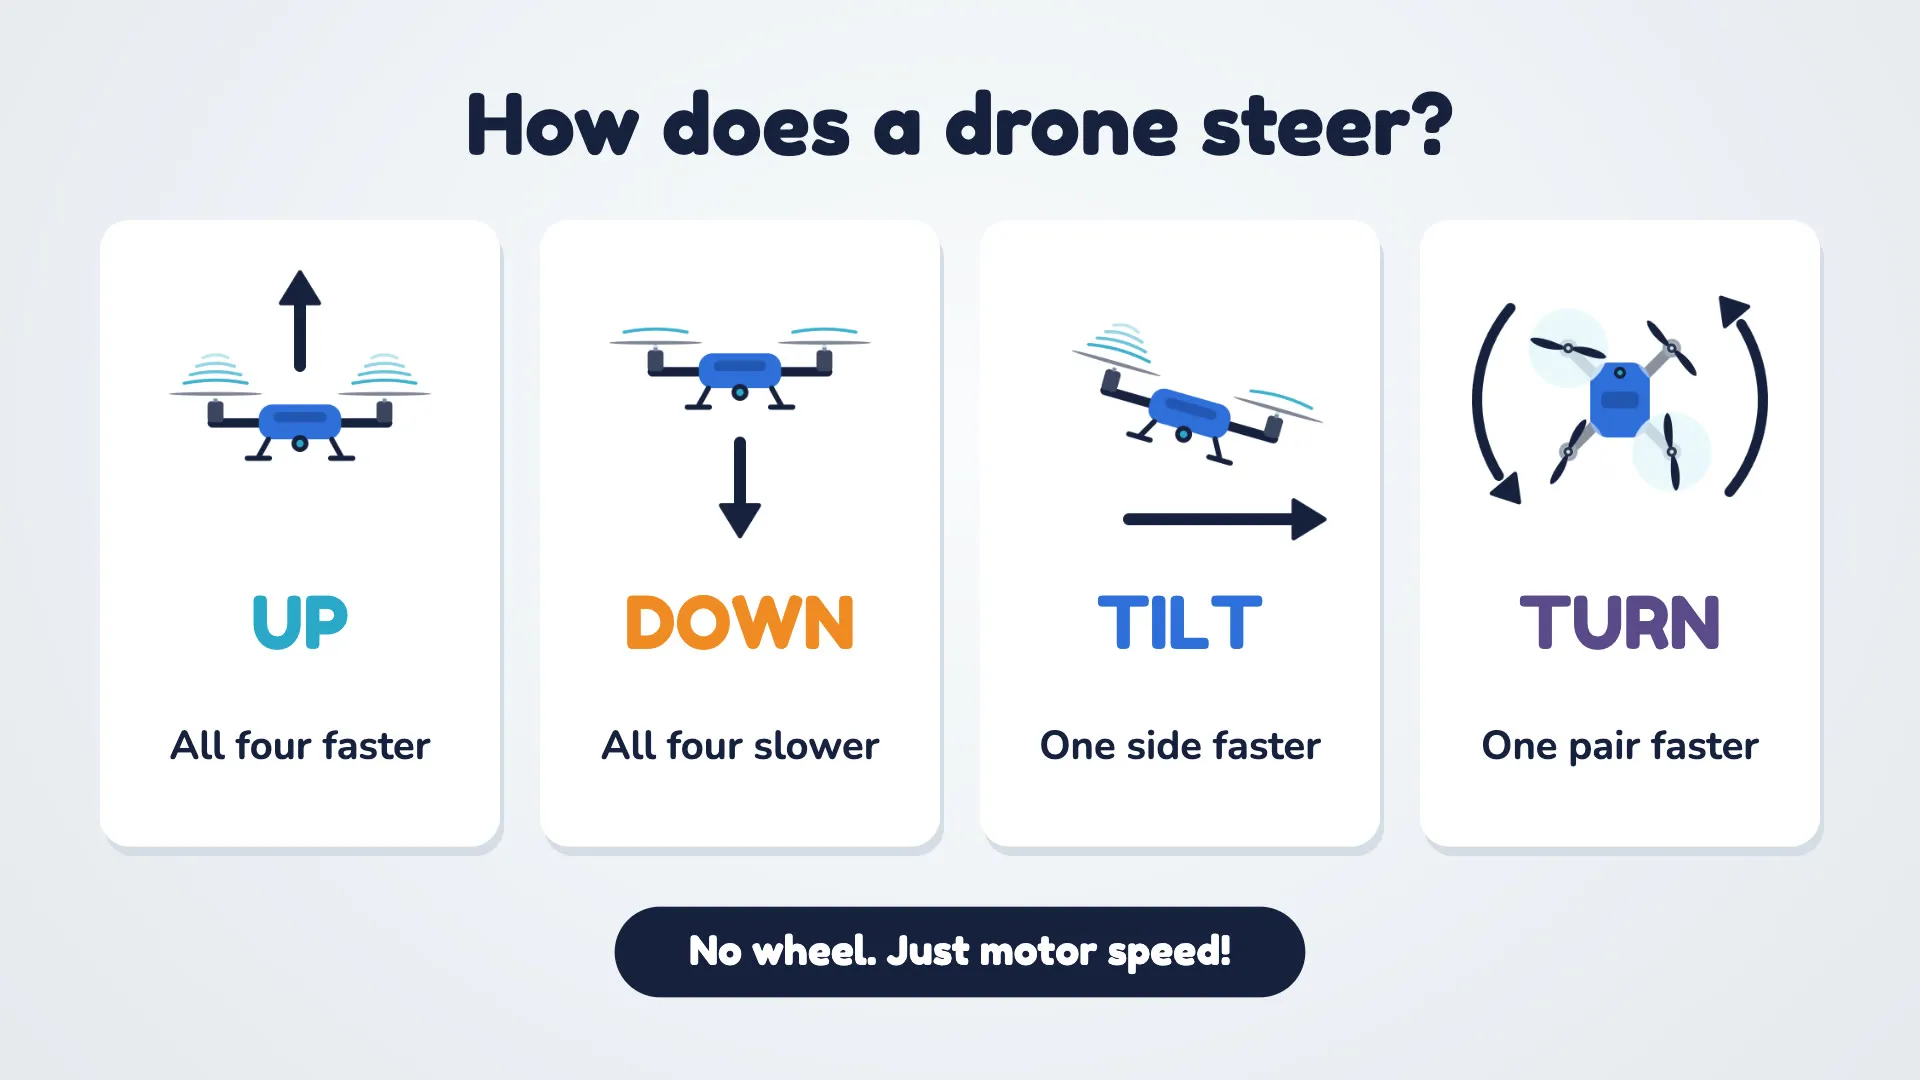
A drone has no steering wheel. It only changes how fast each motor spins:
No wheel. Just motor speed!
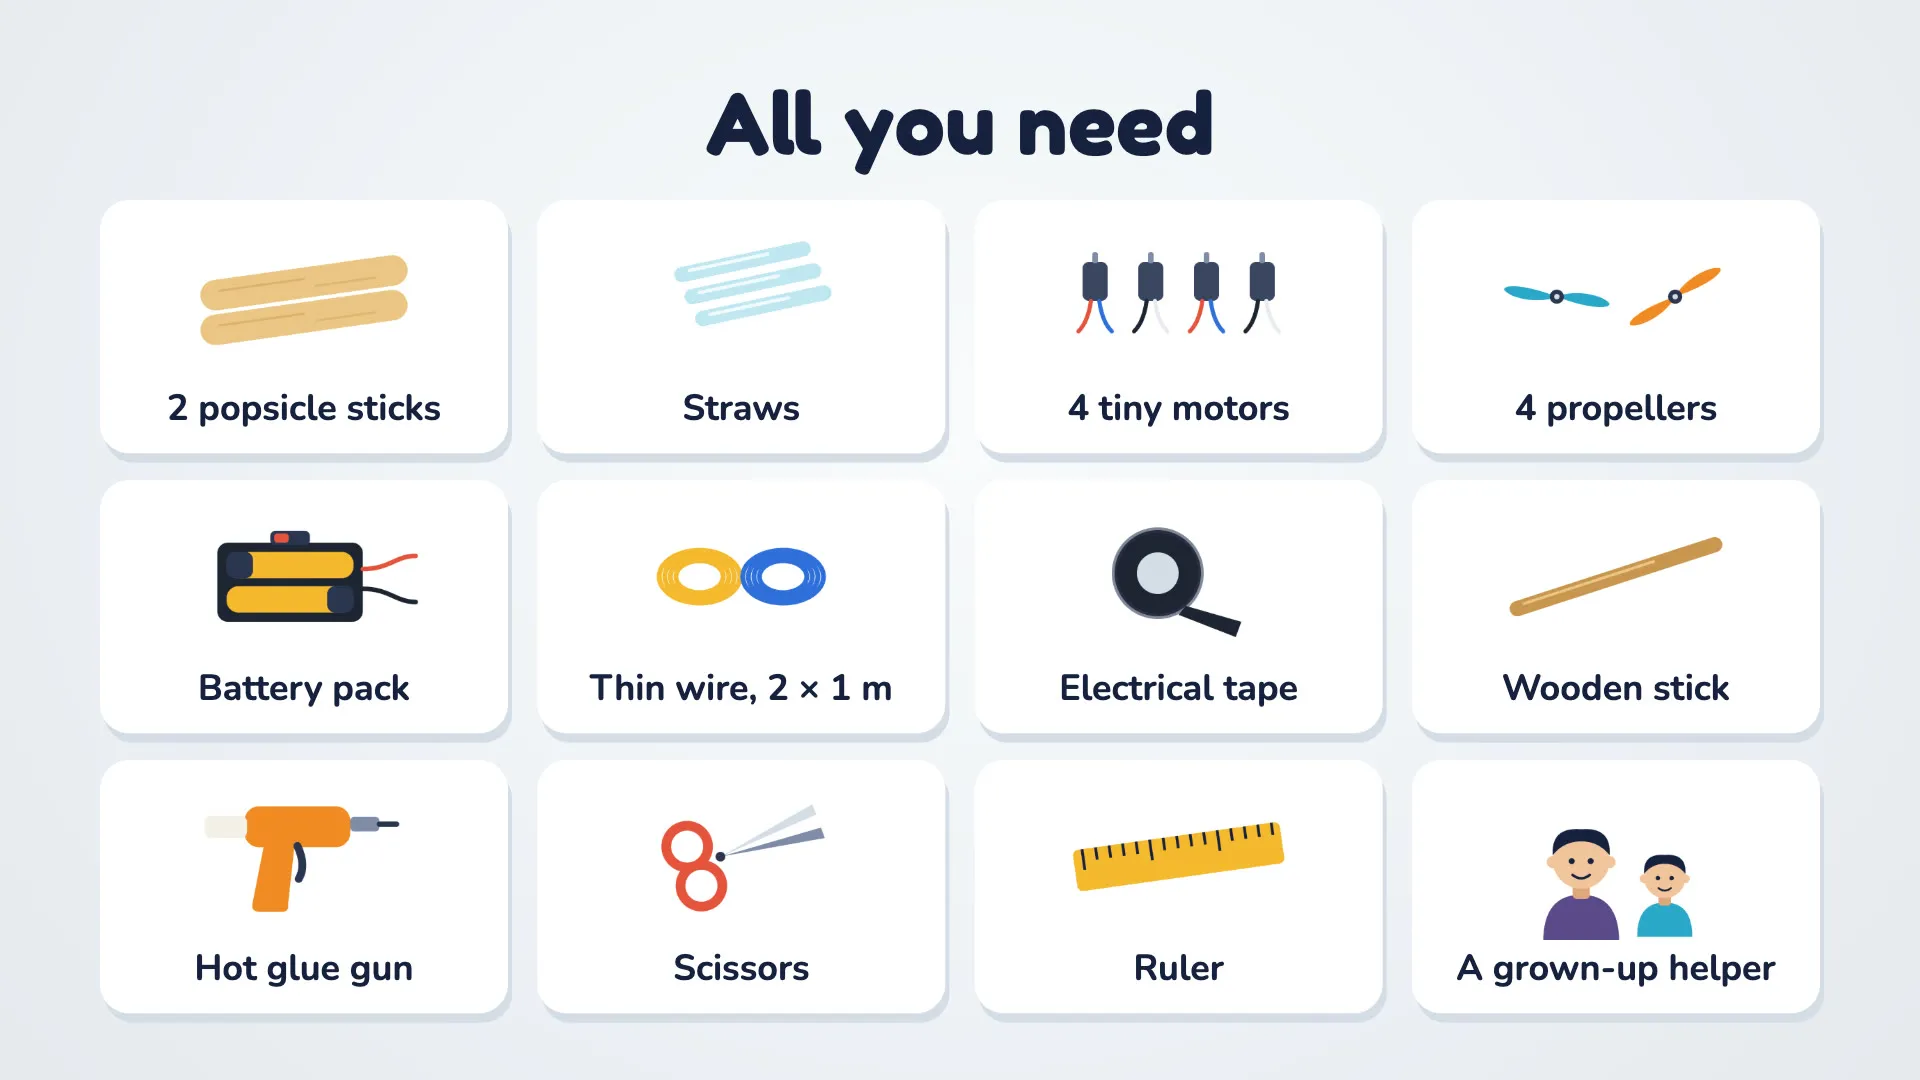
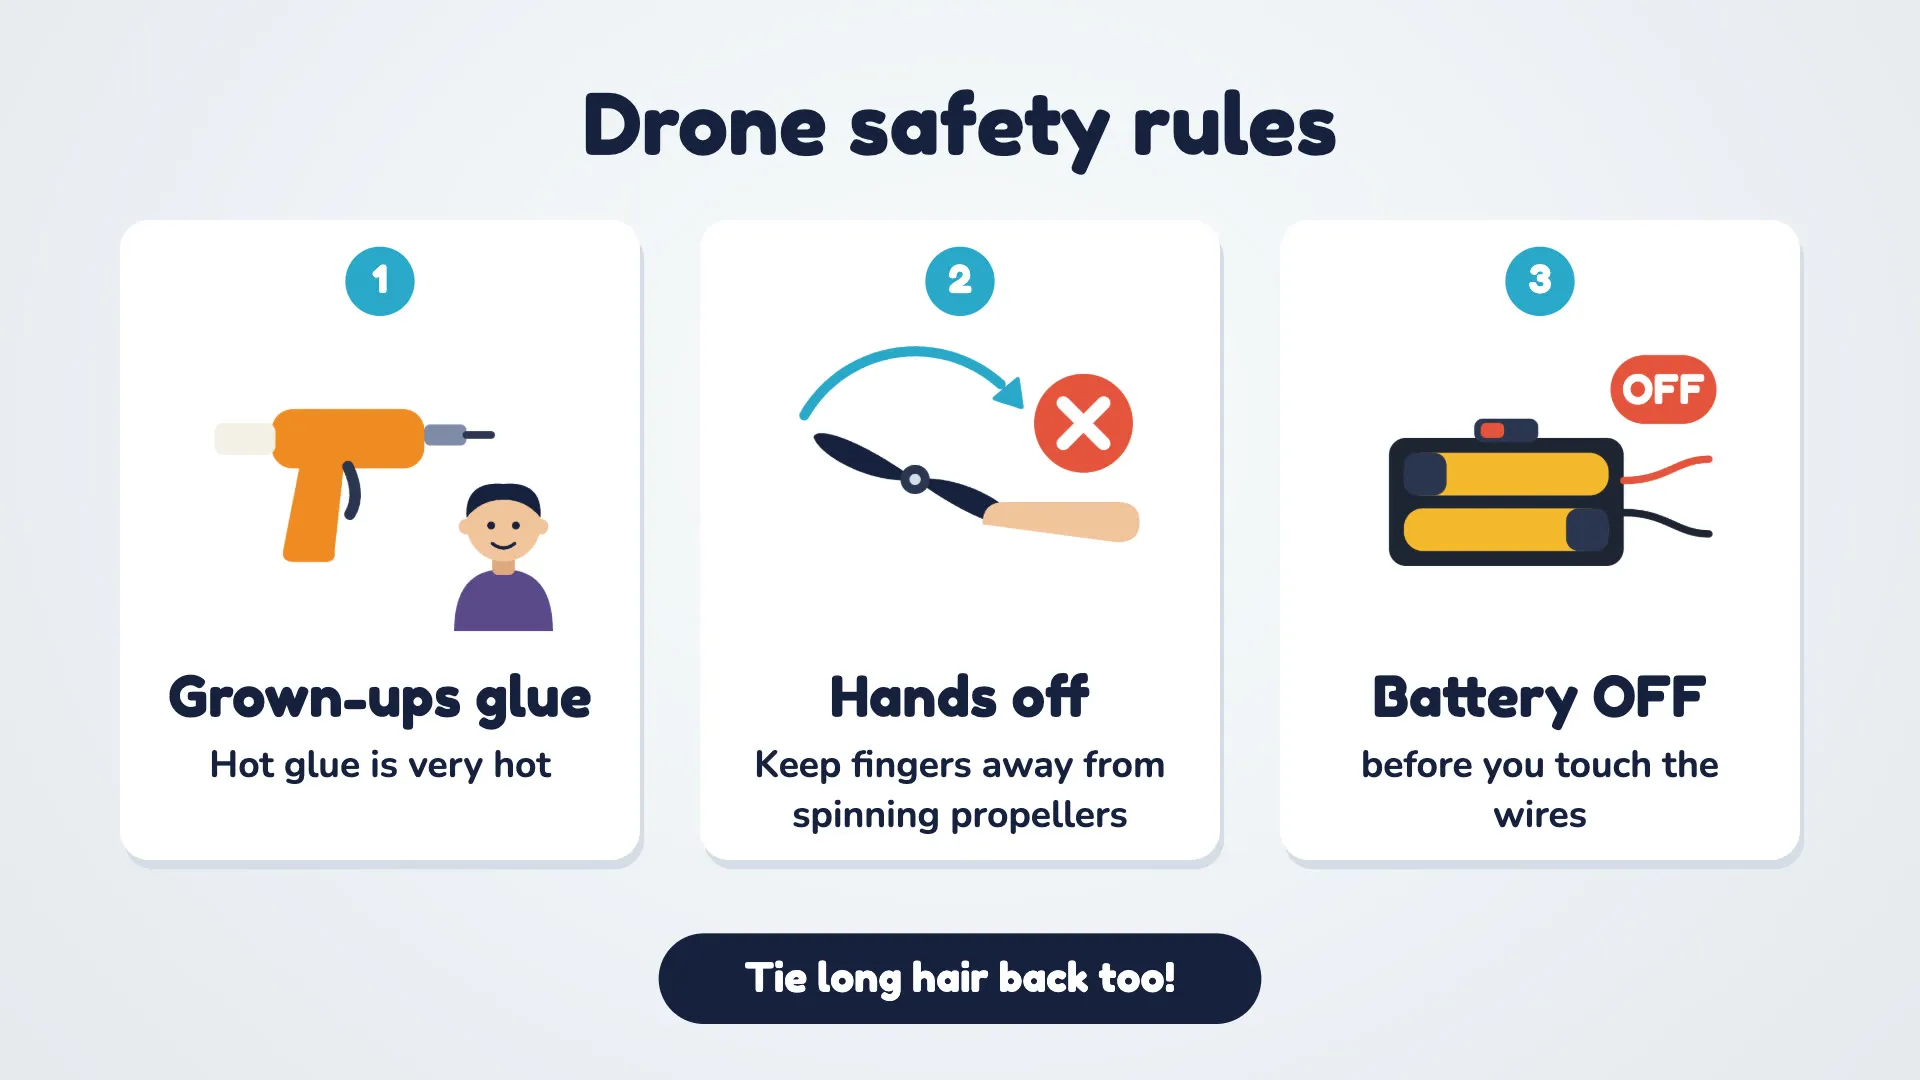
Gather everything from the supplies list, then read the safety rules before you start:
Tie long hair back too!
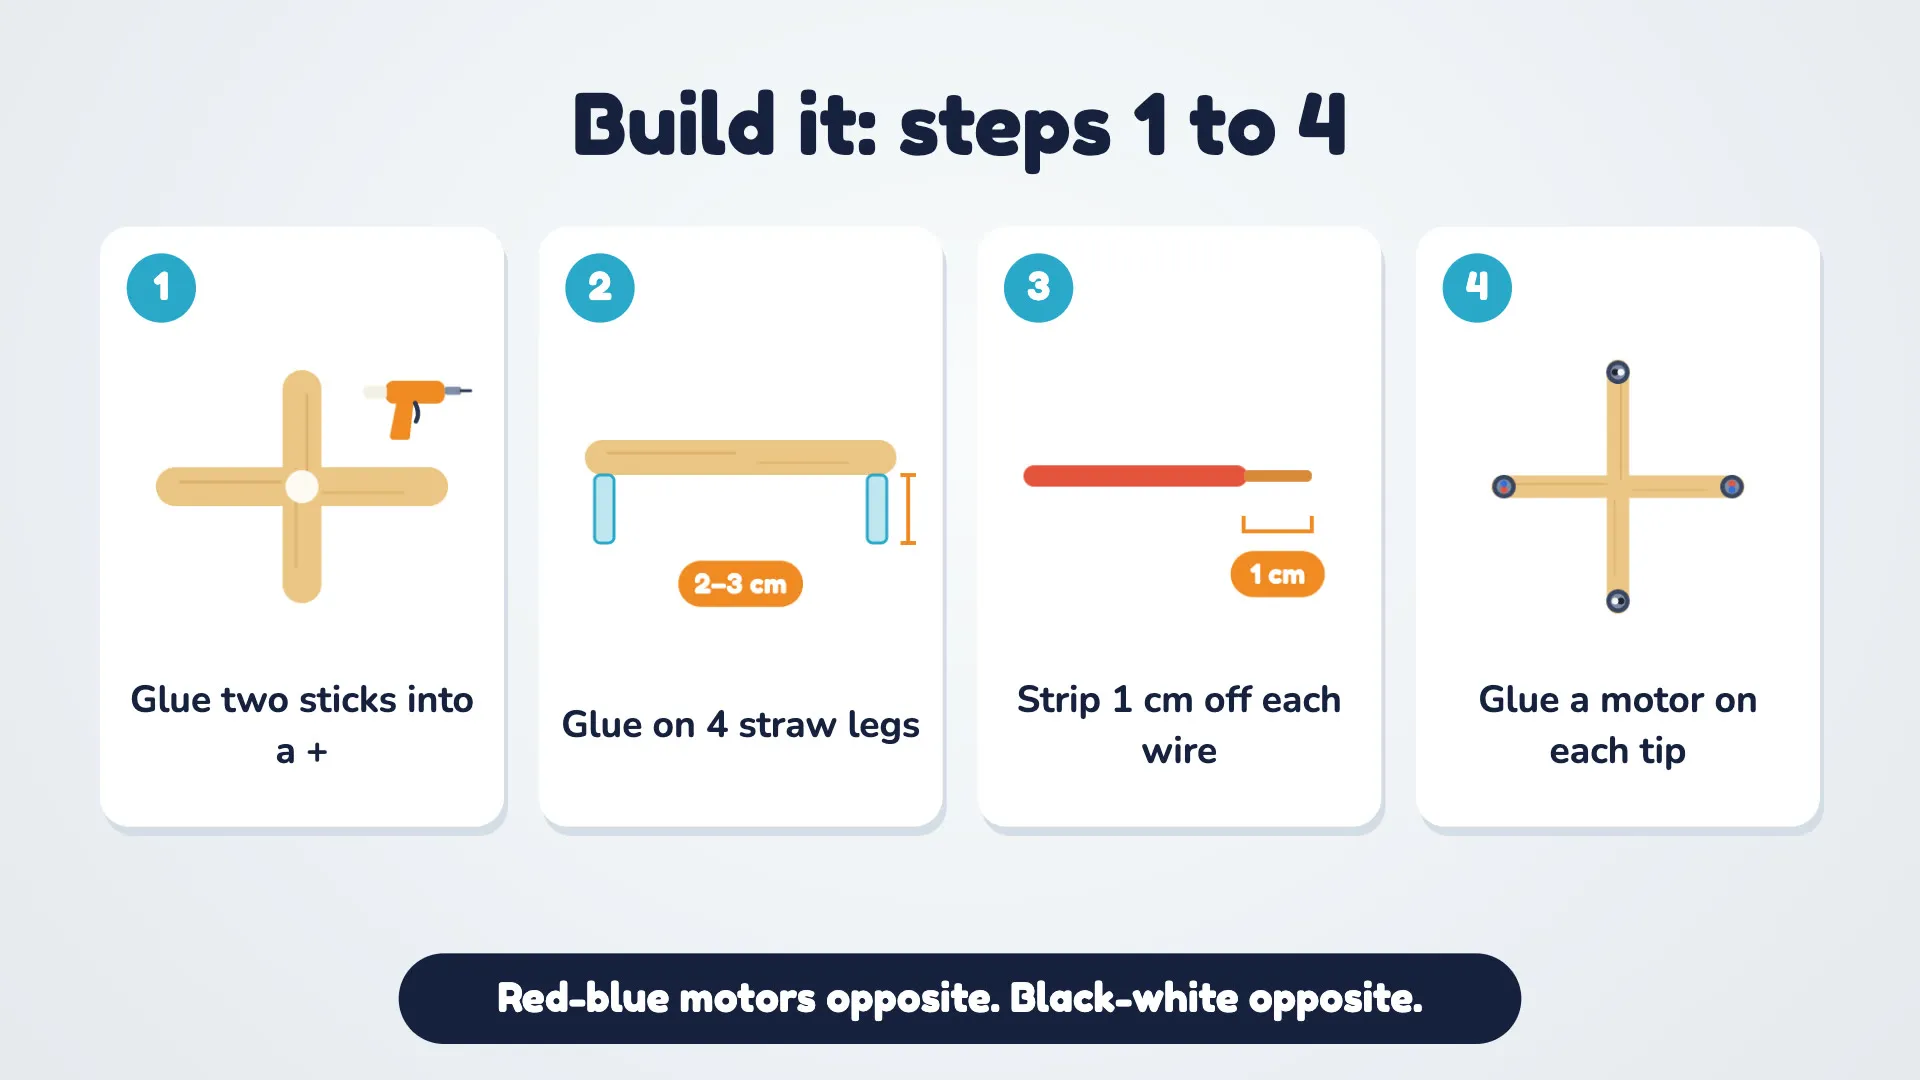
Put the red-blue motors on opposite corners, and the black-white motors on the other two corners.
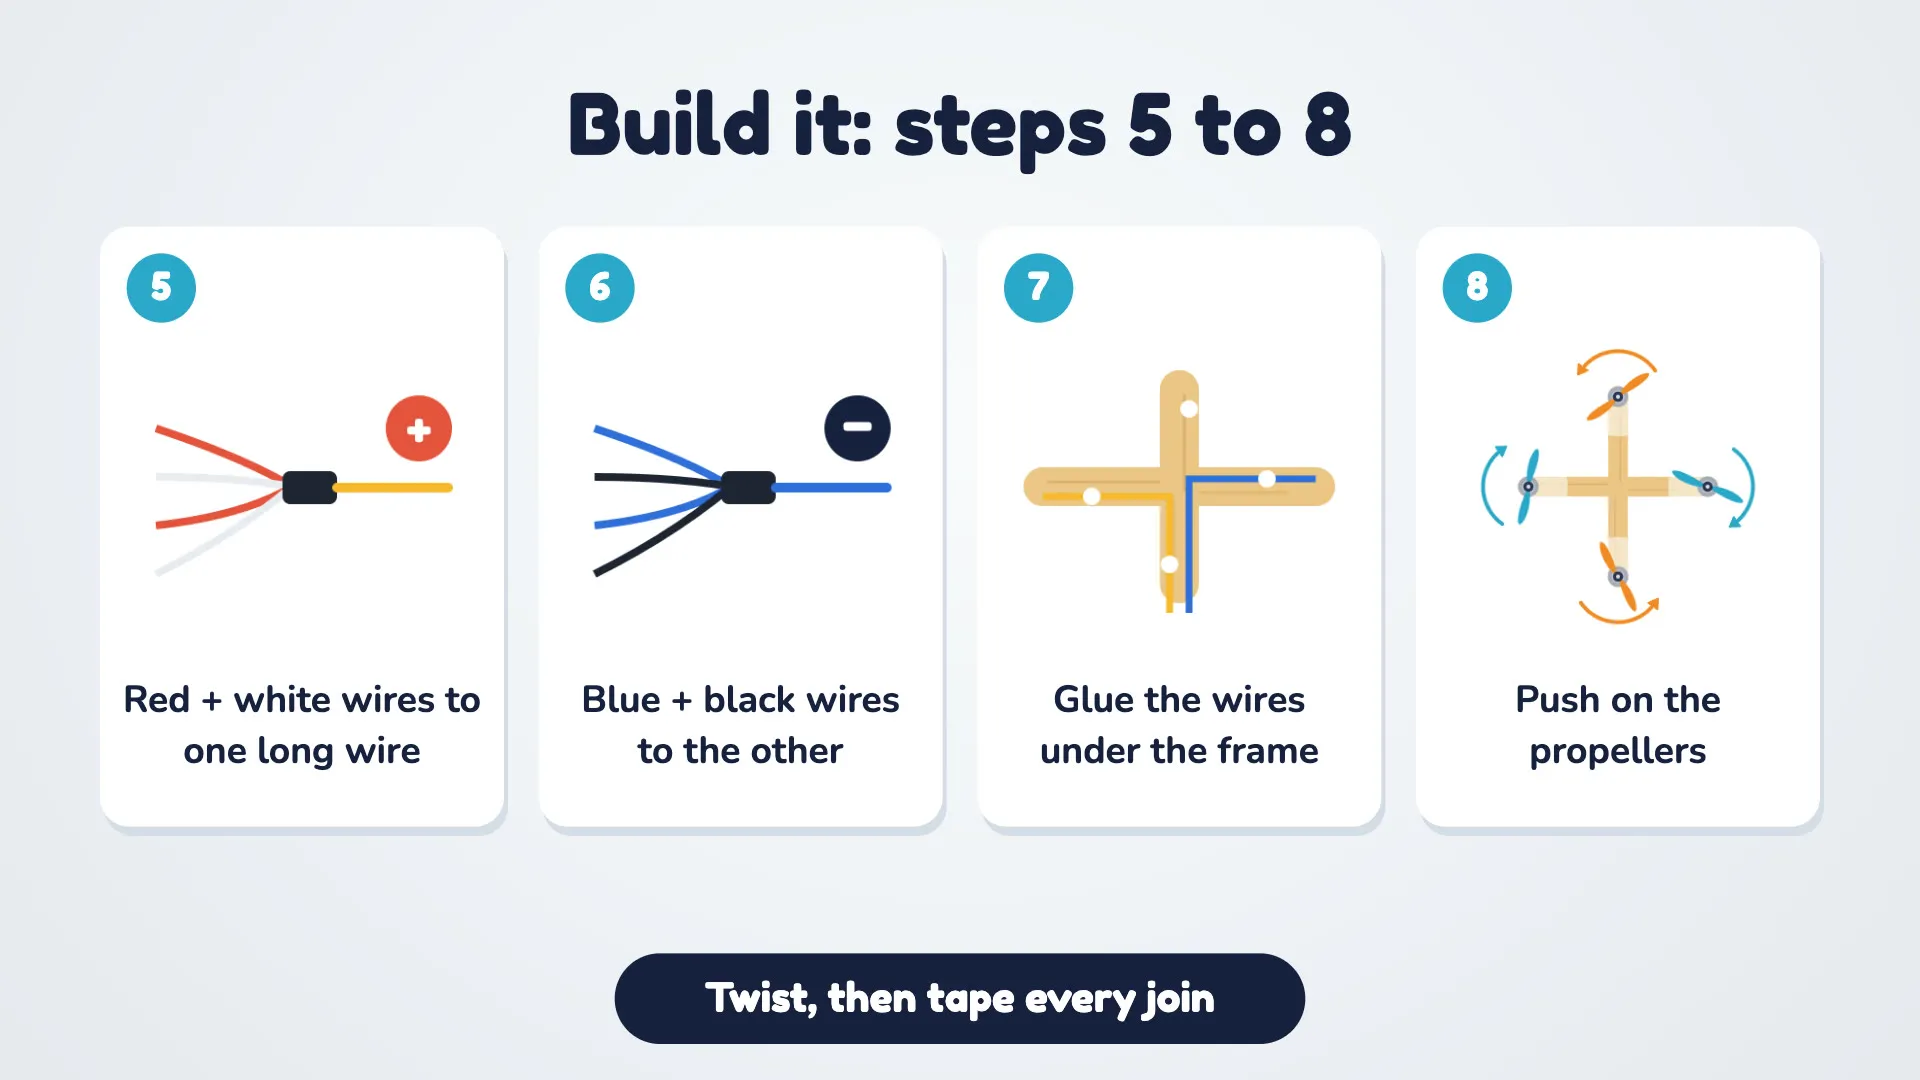
5. Twist the red and white motor wires onto one long wire.
6. Twist the blue and black motor wires onto the other long wire.
7. Glue the wires neatly under the frame.
8. Push on the propellers.
Twist, then tape every join.
The propeller rule: the red-blue motors need clockwise propellers, and the black-white motors need anticlockwise propellers. Opposite corners match.
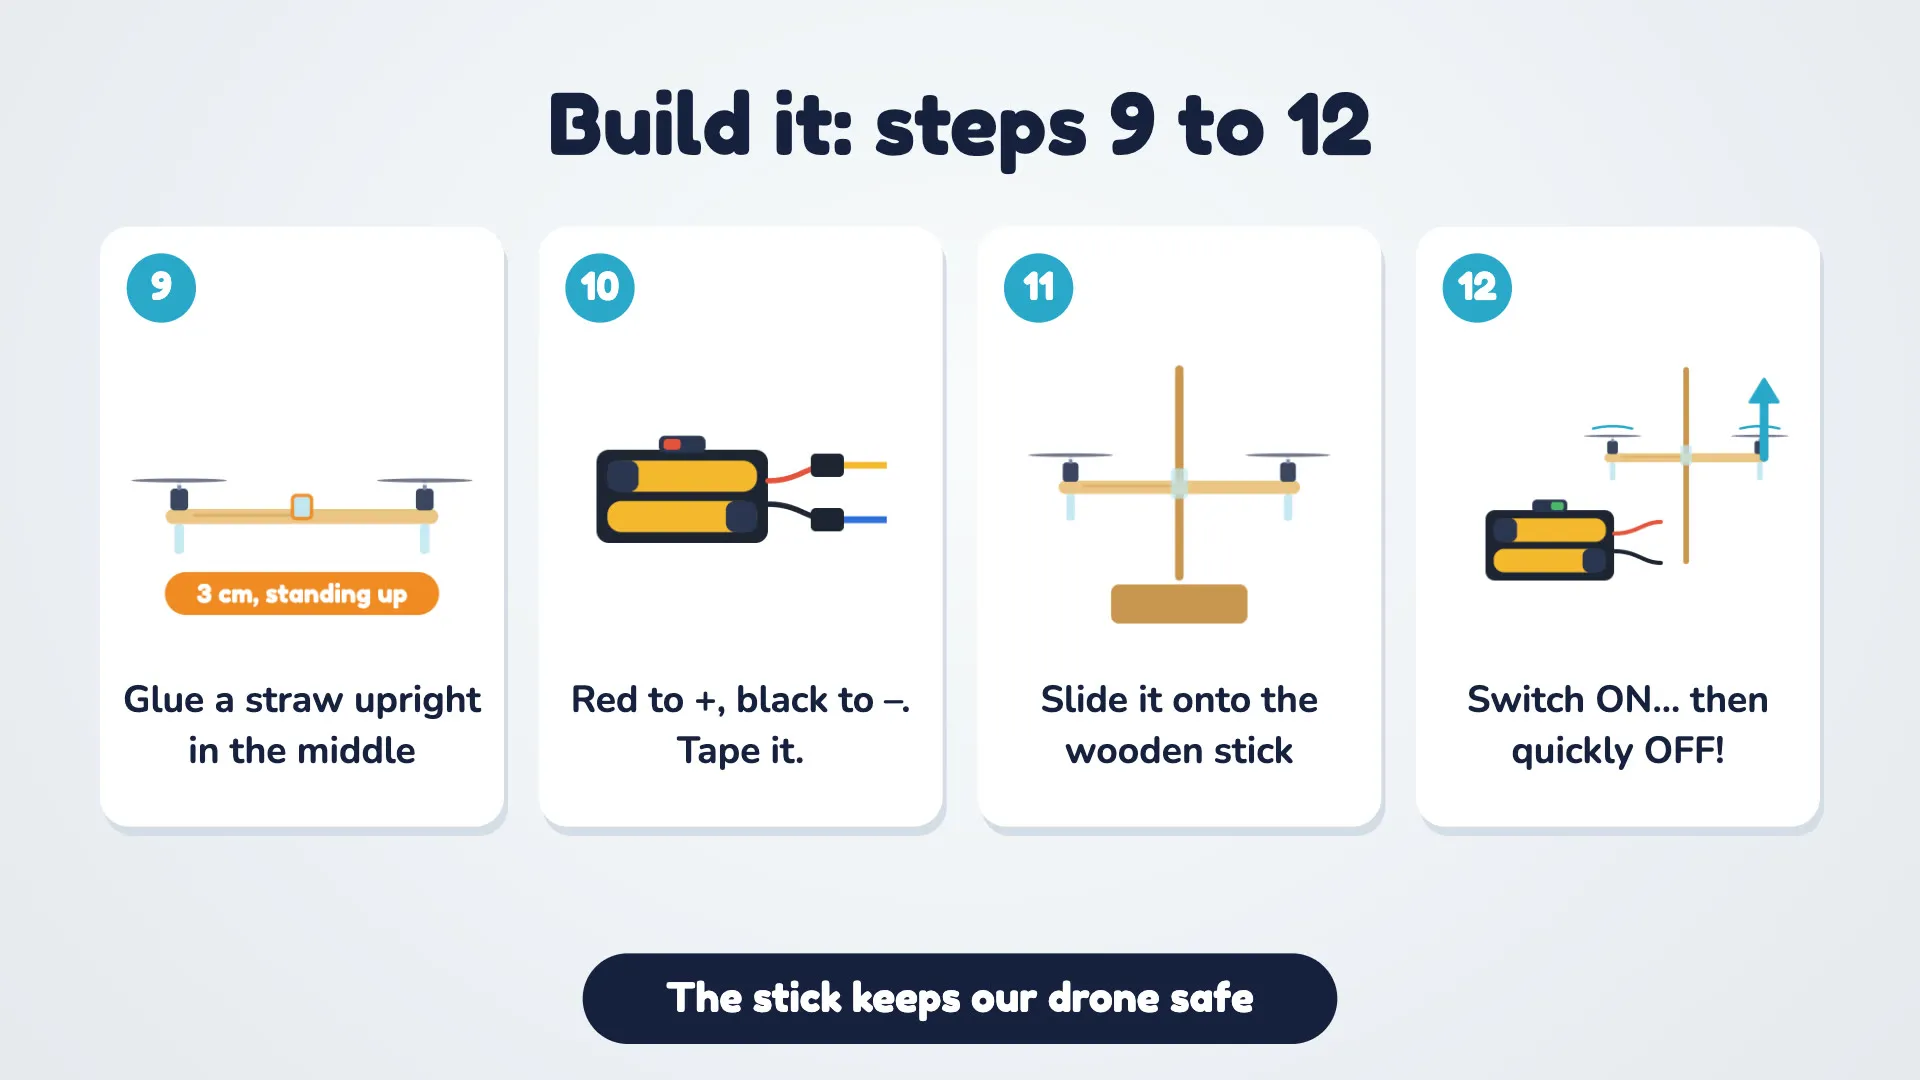
9. Glue a straw (about 3 cm) standing up in the middle of the frame.
10. Connect the battery pack: the red + white long wire goes to the battery's red (+) wire, and the blue + black long wire goes to its black (-) wire. Tape the joins.
11. Slide the drone's middle straw onto the wooden stick.
12. Switch ON... then quickly OFF!
The stick keeps our drone safe. It can fly up and down the stick, but it can't fly away.
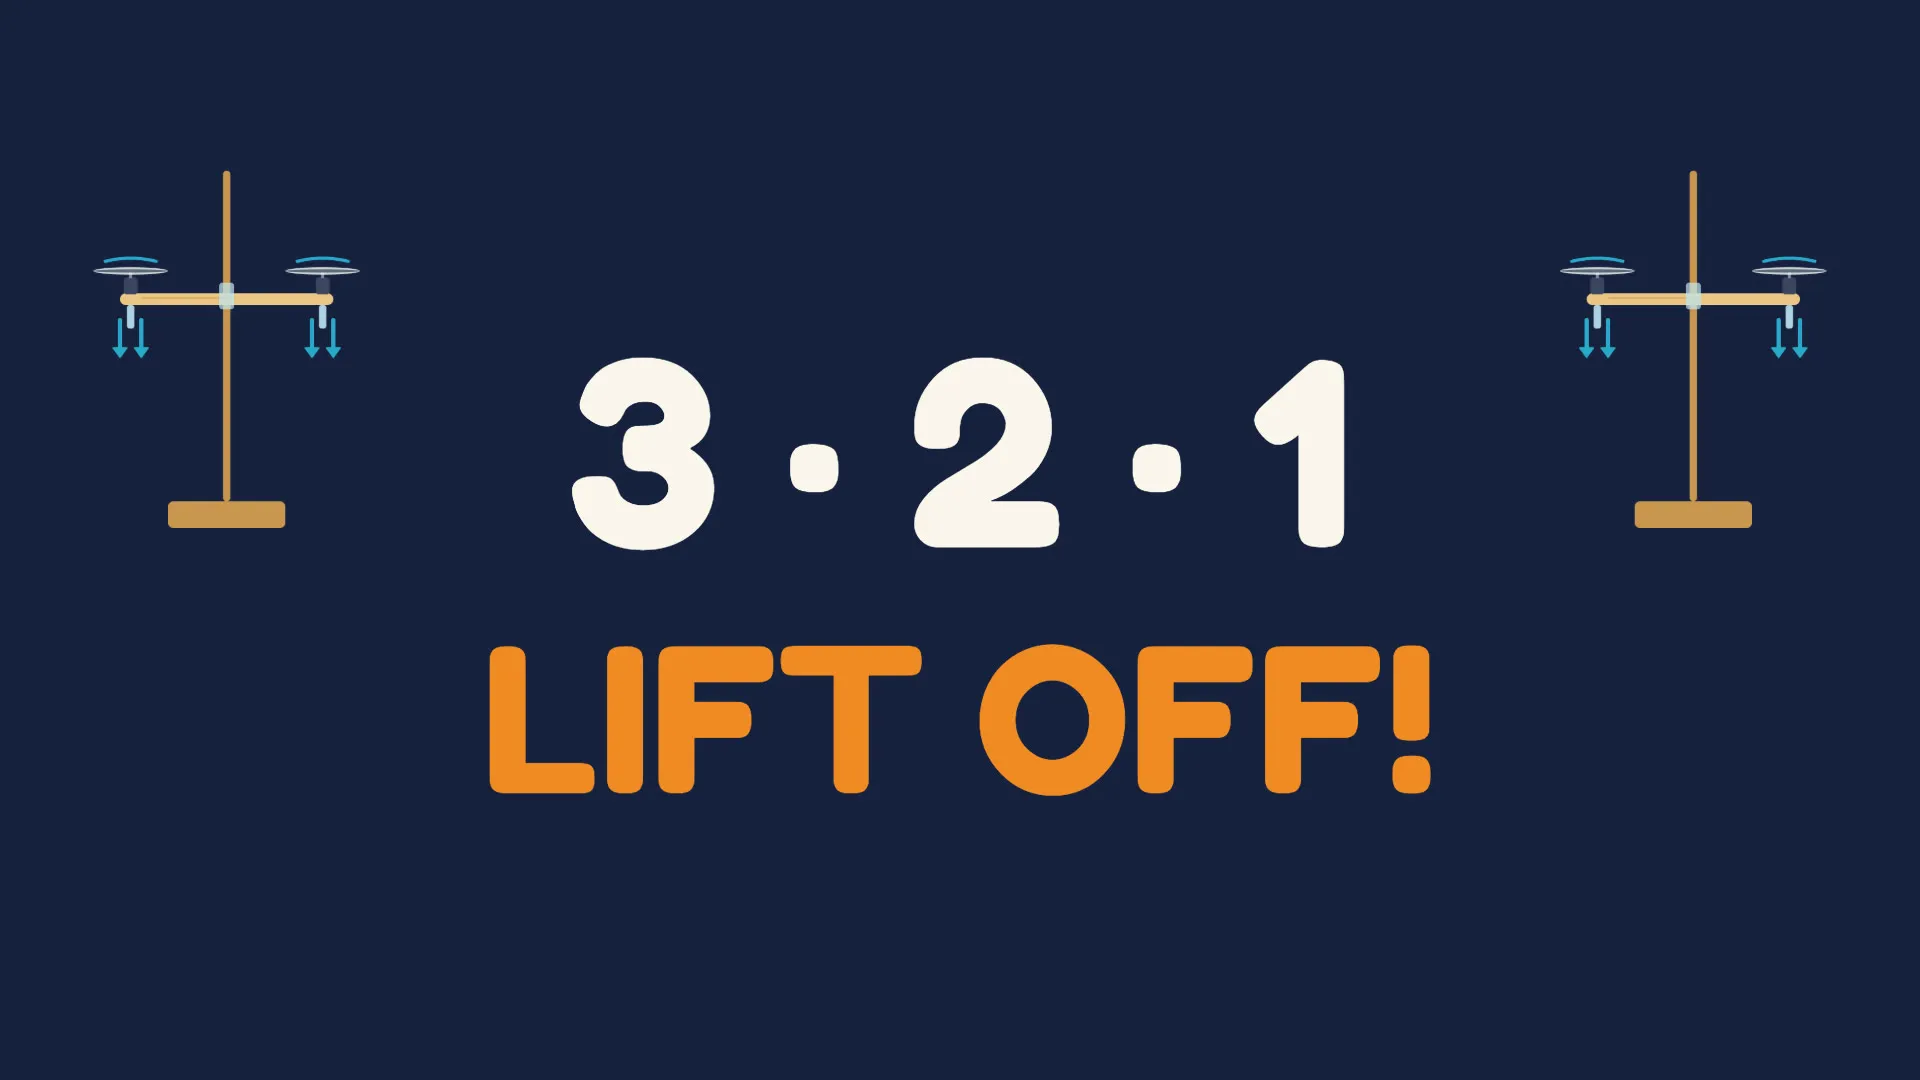
Switch on and watch your drone climb up the stick!
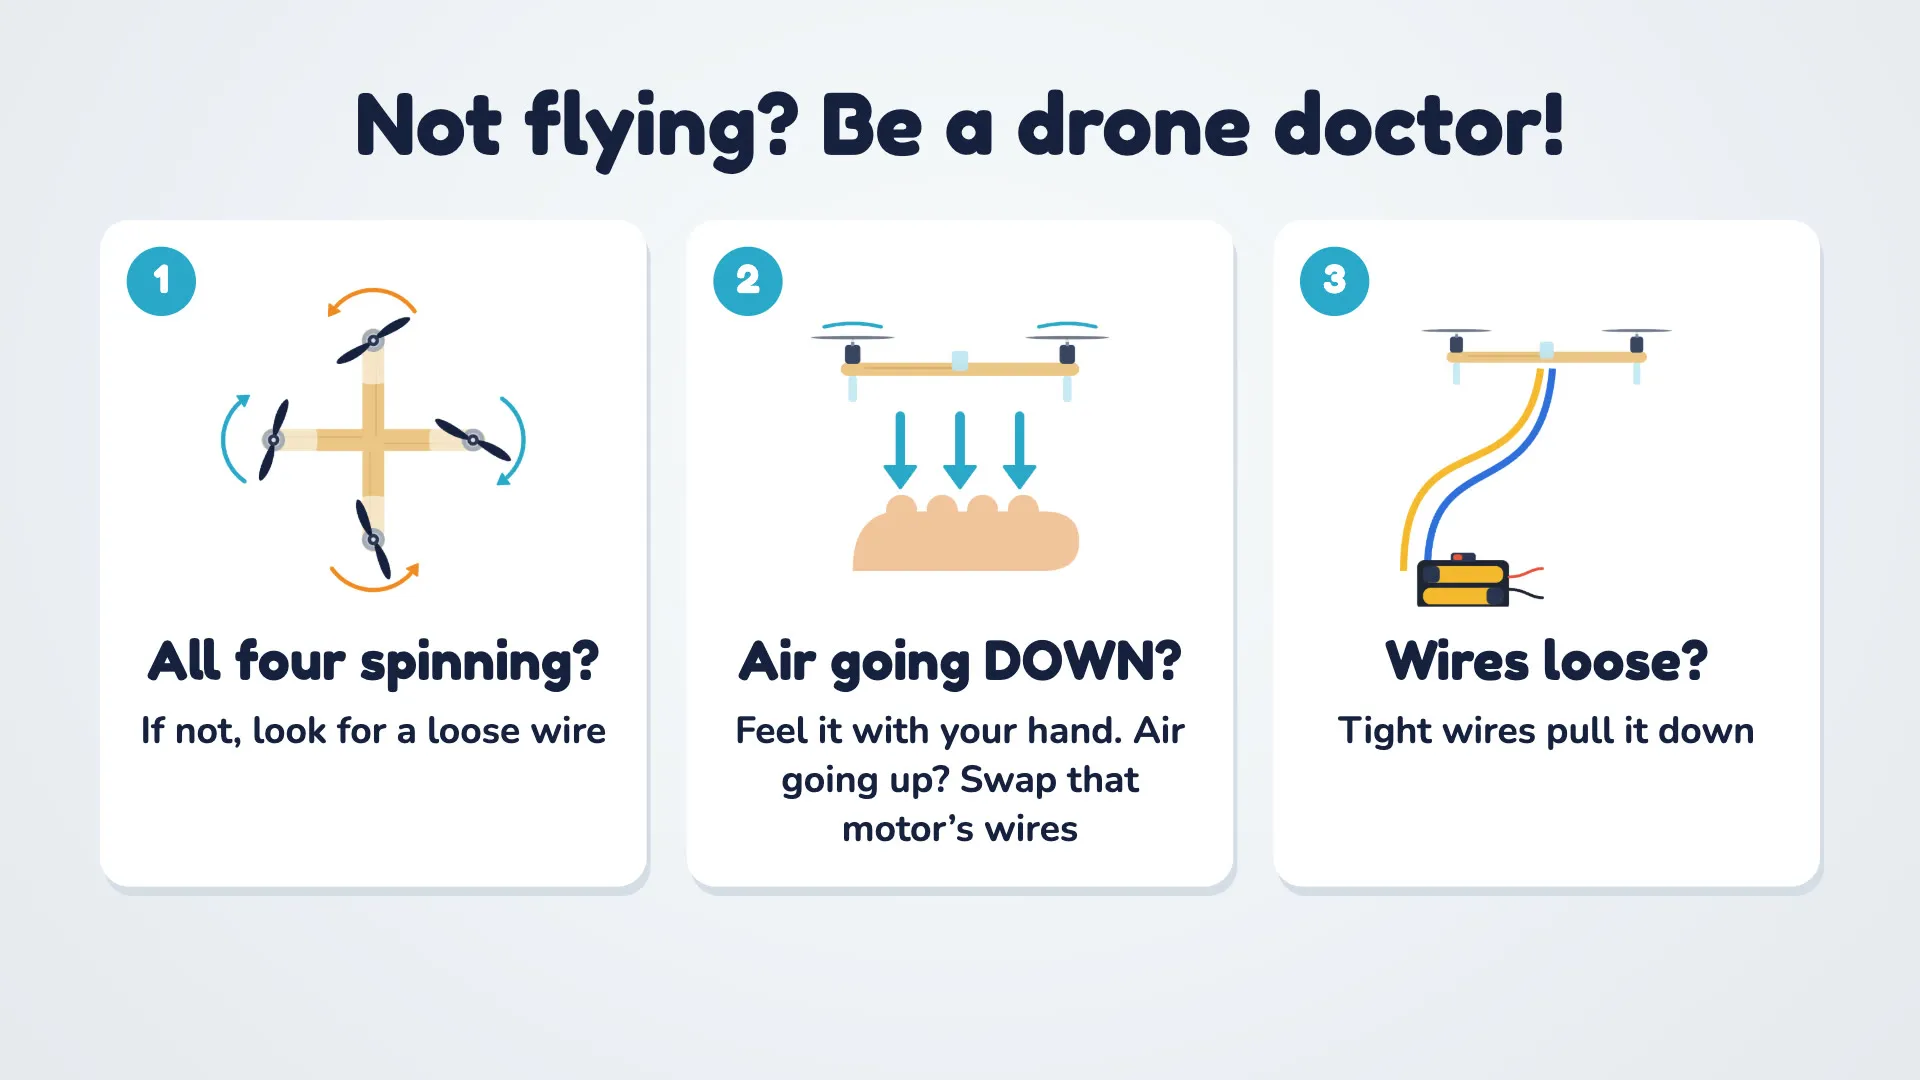
Not flying? Be a drone doctor:
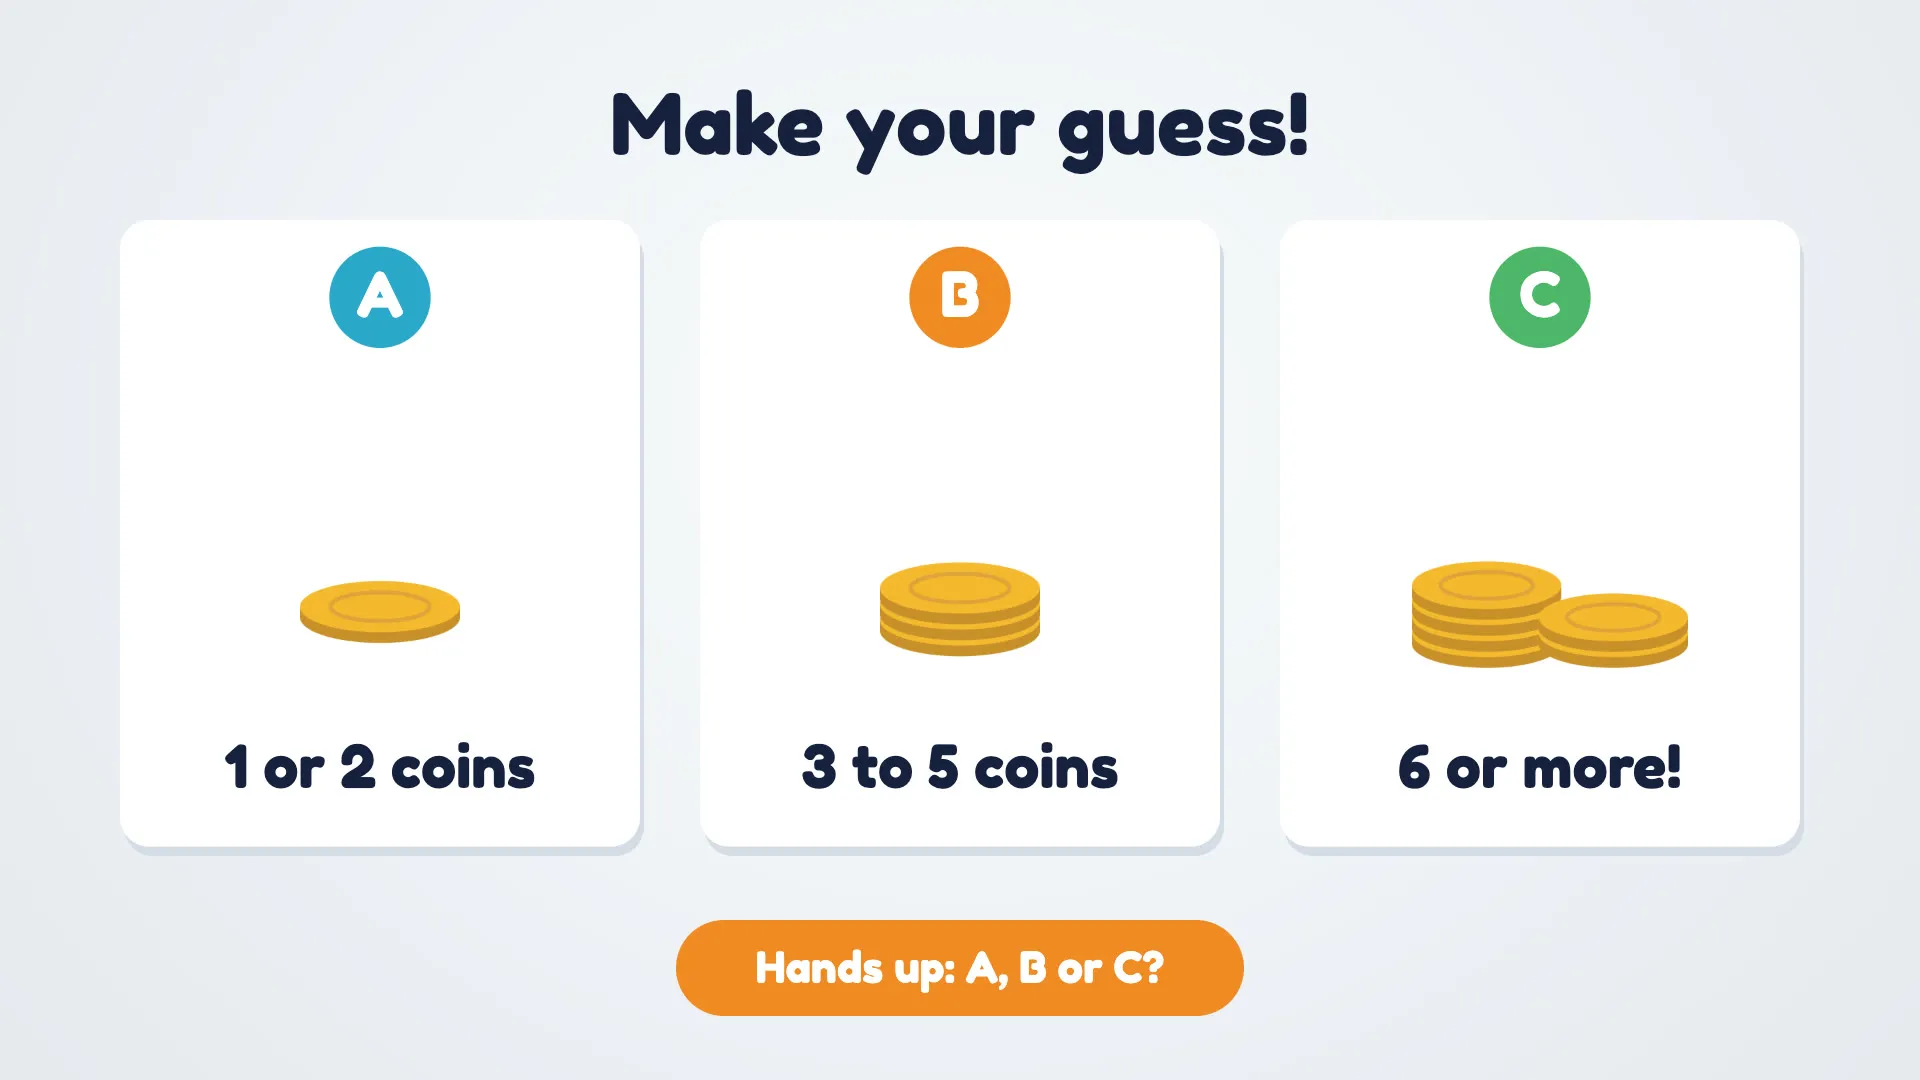
How many coins can your drone lift? Make your guess first:
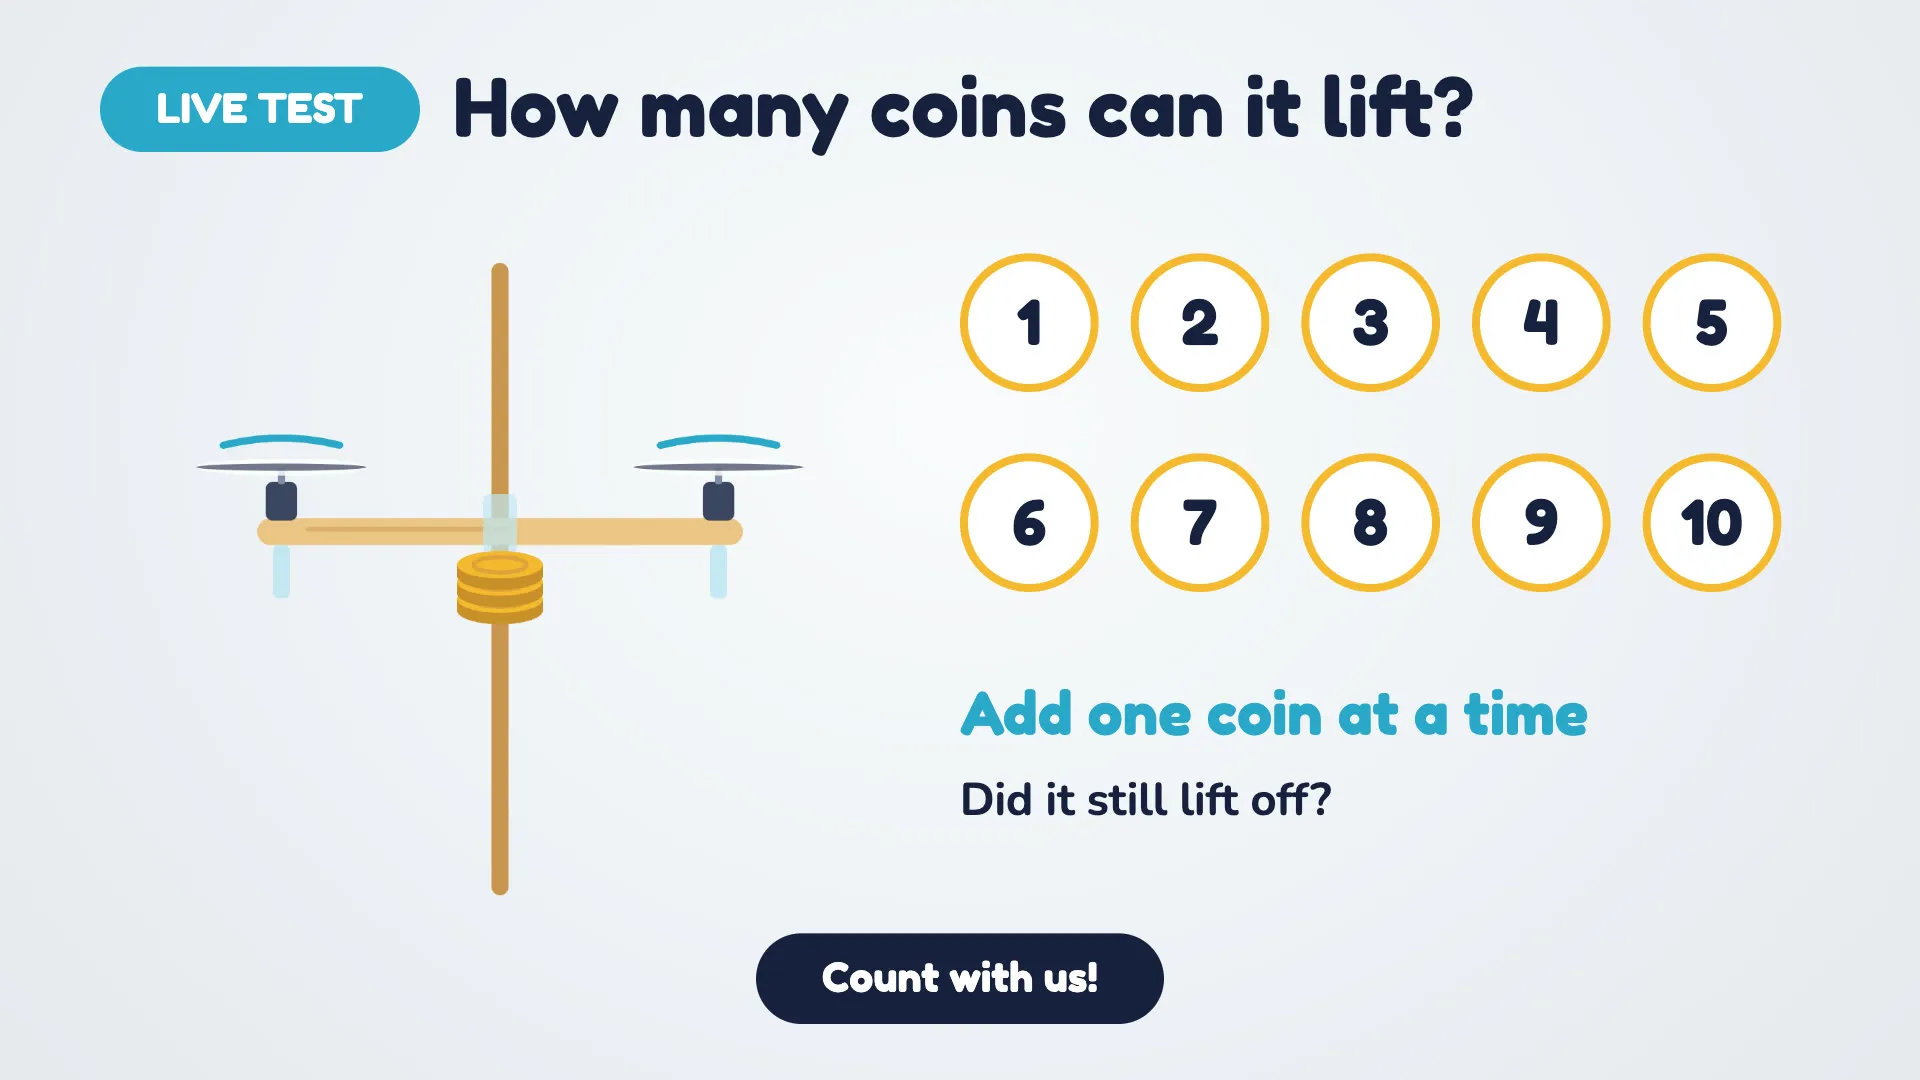
Tape one coin onto the frame and switch on. Did it still lift off? Add one coin at a time and count.
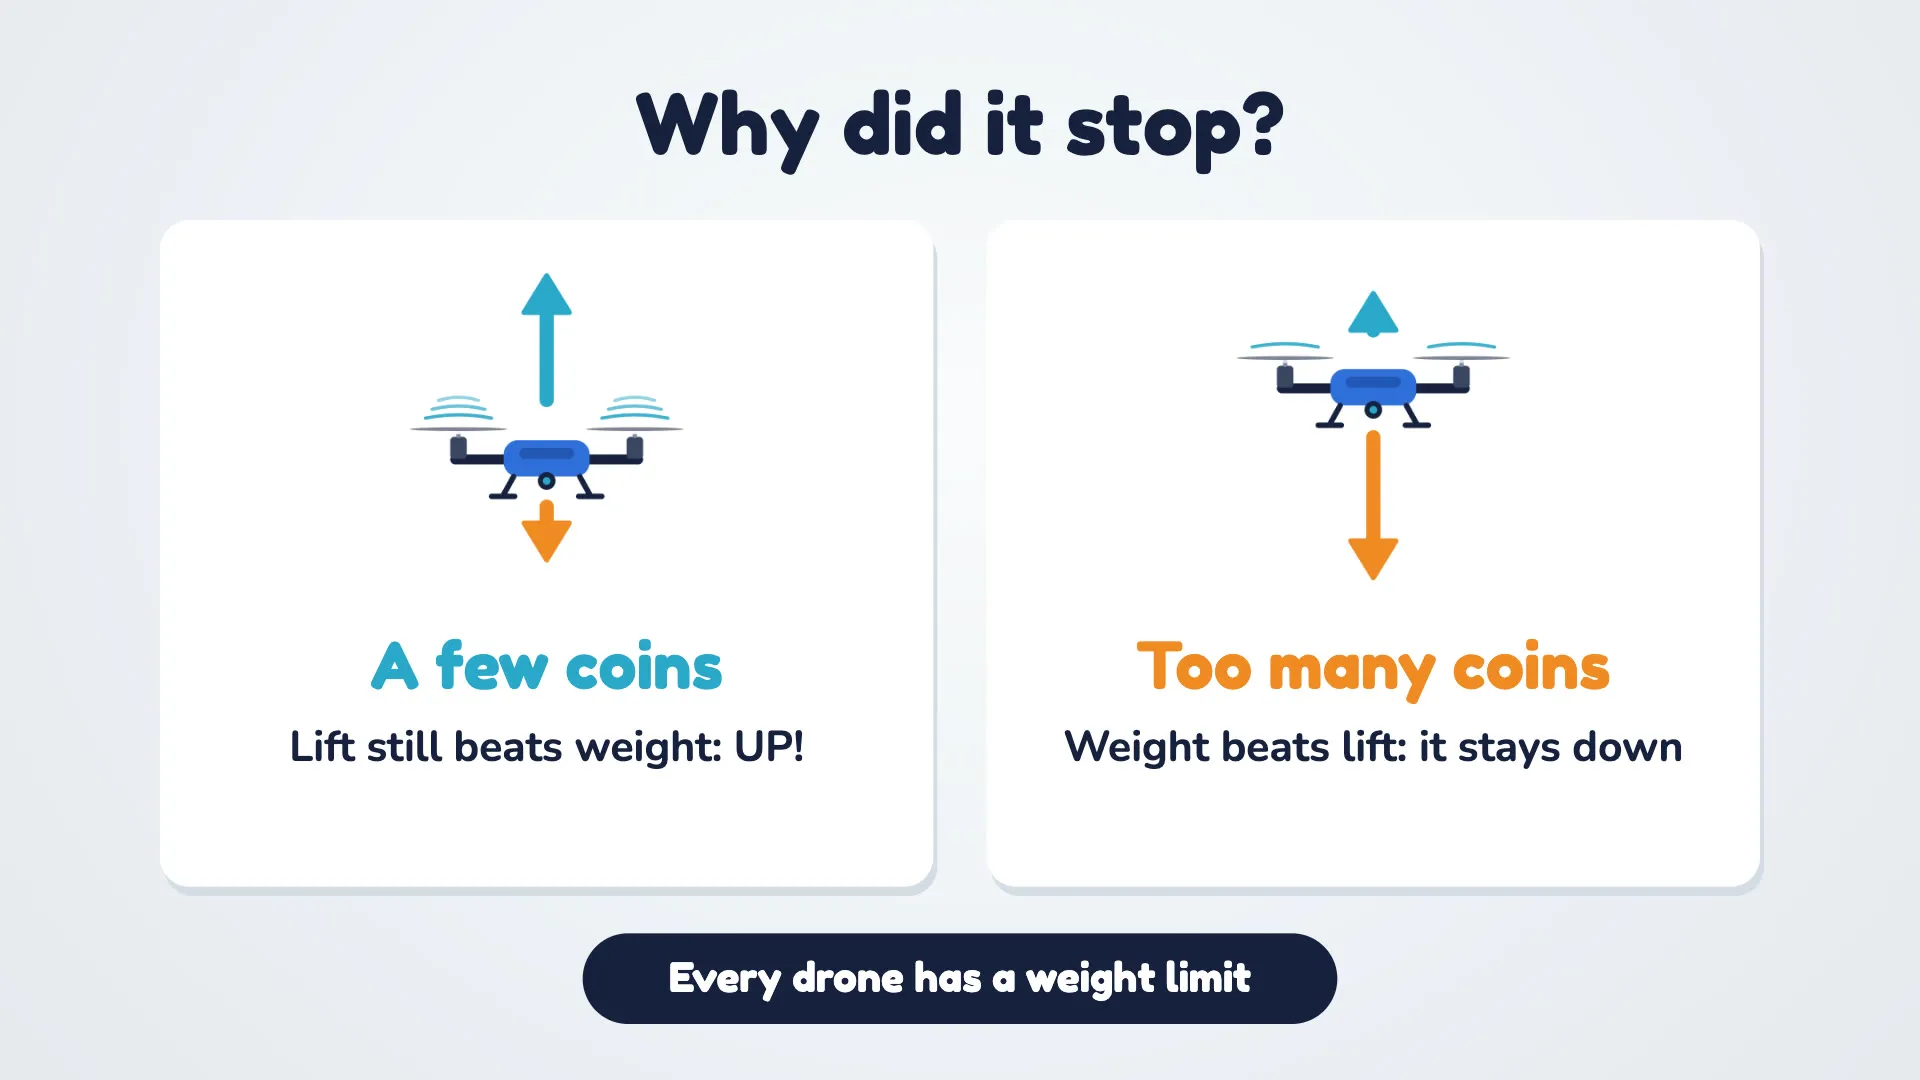
Why did it stop? With a few coins, lift still beats weight, so it goes up. With too many coins, weight beats lift and it stays down. Every drone has a weight limit!
A new word! PAYLOAD is whatever a drone carries: medicine, cameras, seeds... or our coins!
Three things we learned today:
Now it's your turn to build a mini drone:
Then submit your build: click I built this at the top of this project and add a photo or short video of your drone lifting off, and tell us how many coins it lifted.
Bonus challenge: can you make your drone lift more coins? Try lighter wires or a lighter frame.
Our popsicle-stick drone build is adapted from the DIY Mini Drone activity series by Ben Finio, PhD, Science Buddies. Try all eight drone projects for free at sciencebuddies.org.